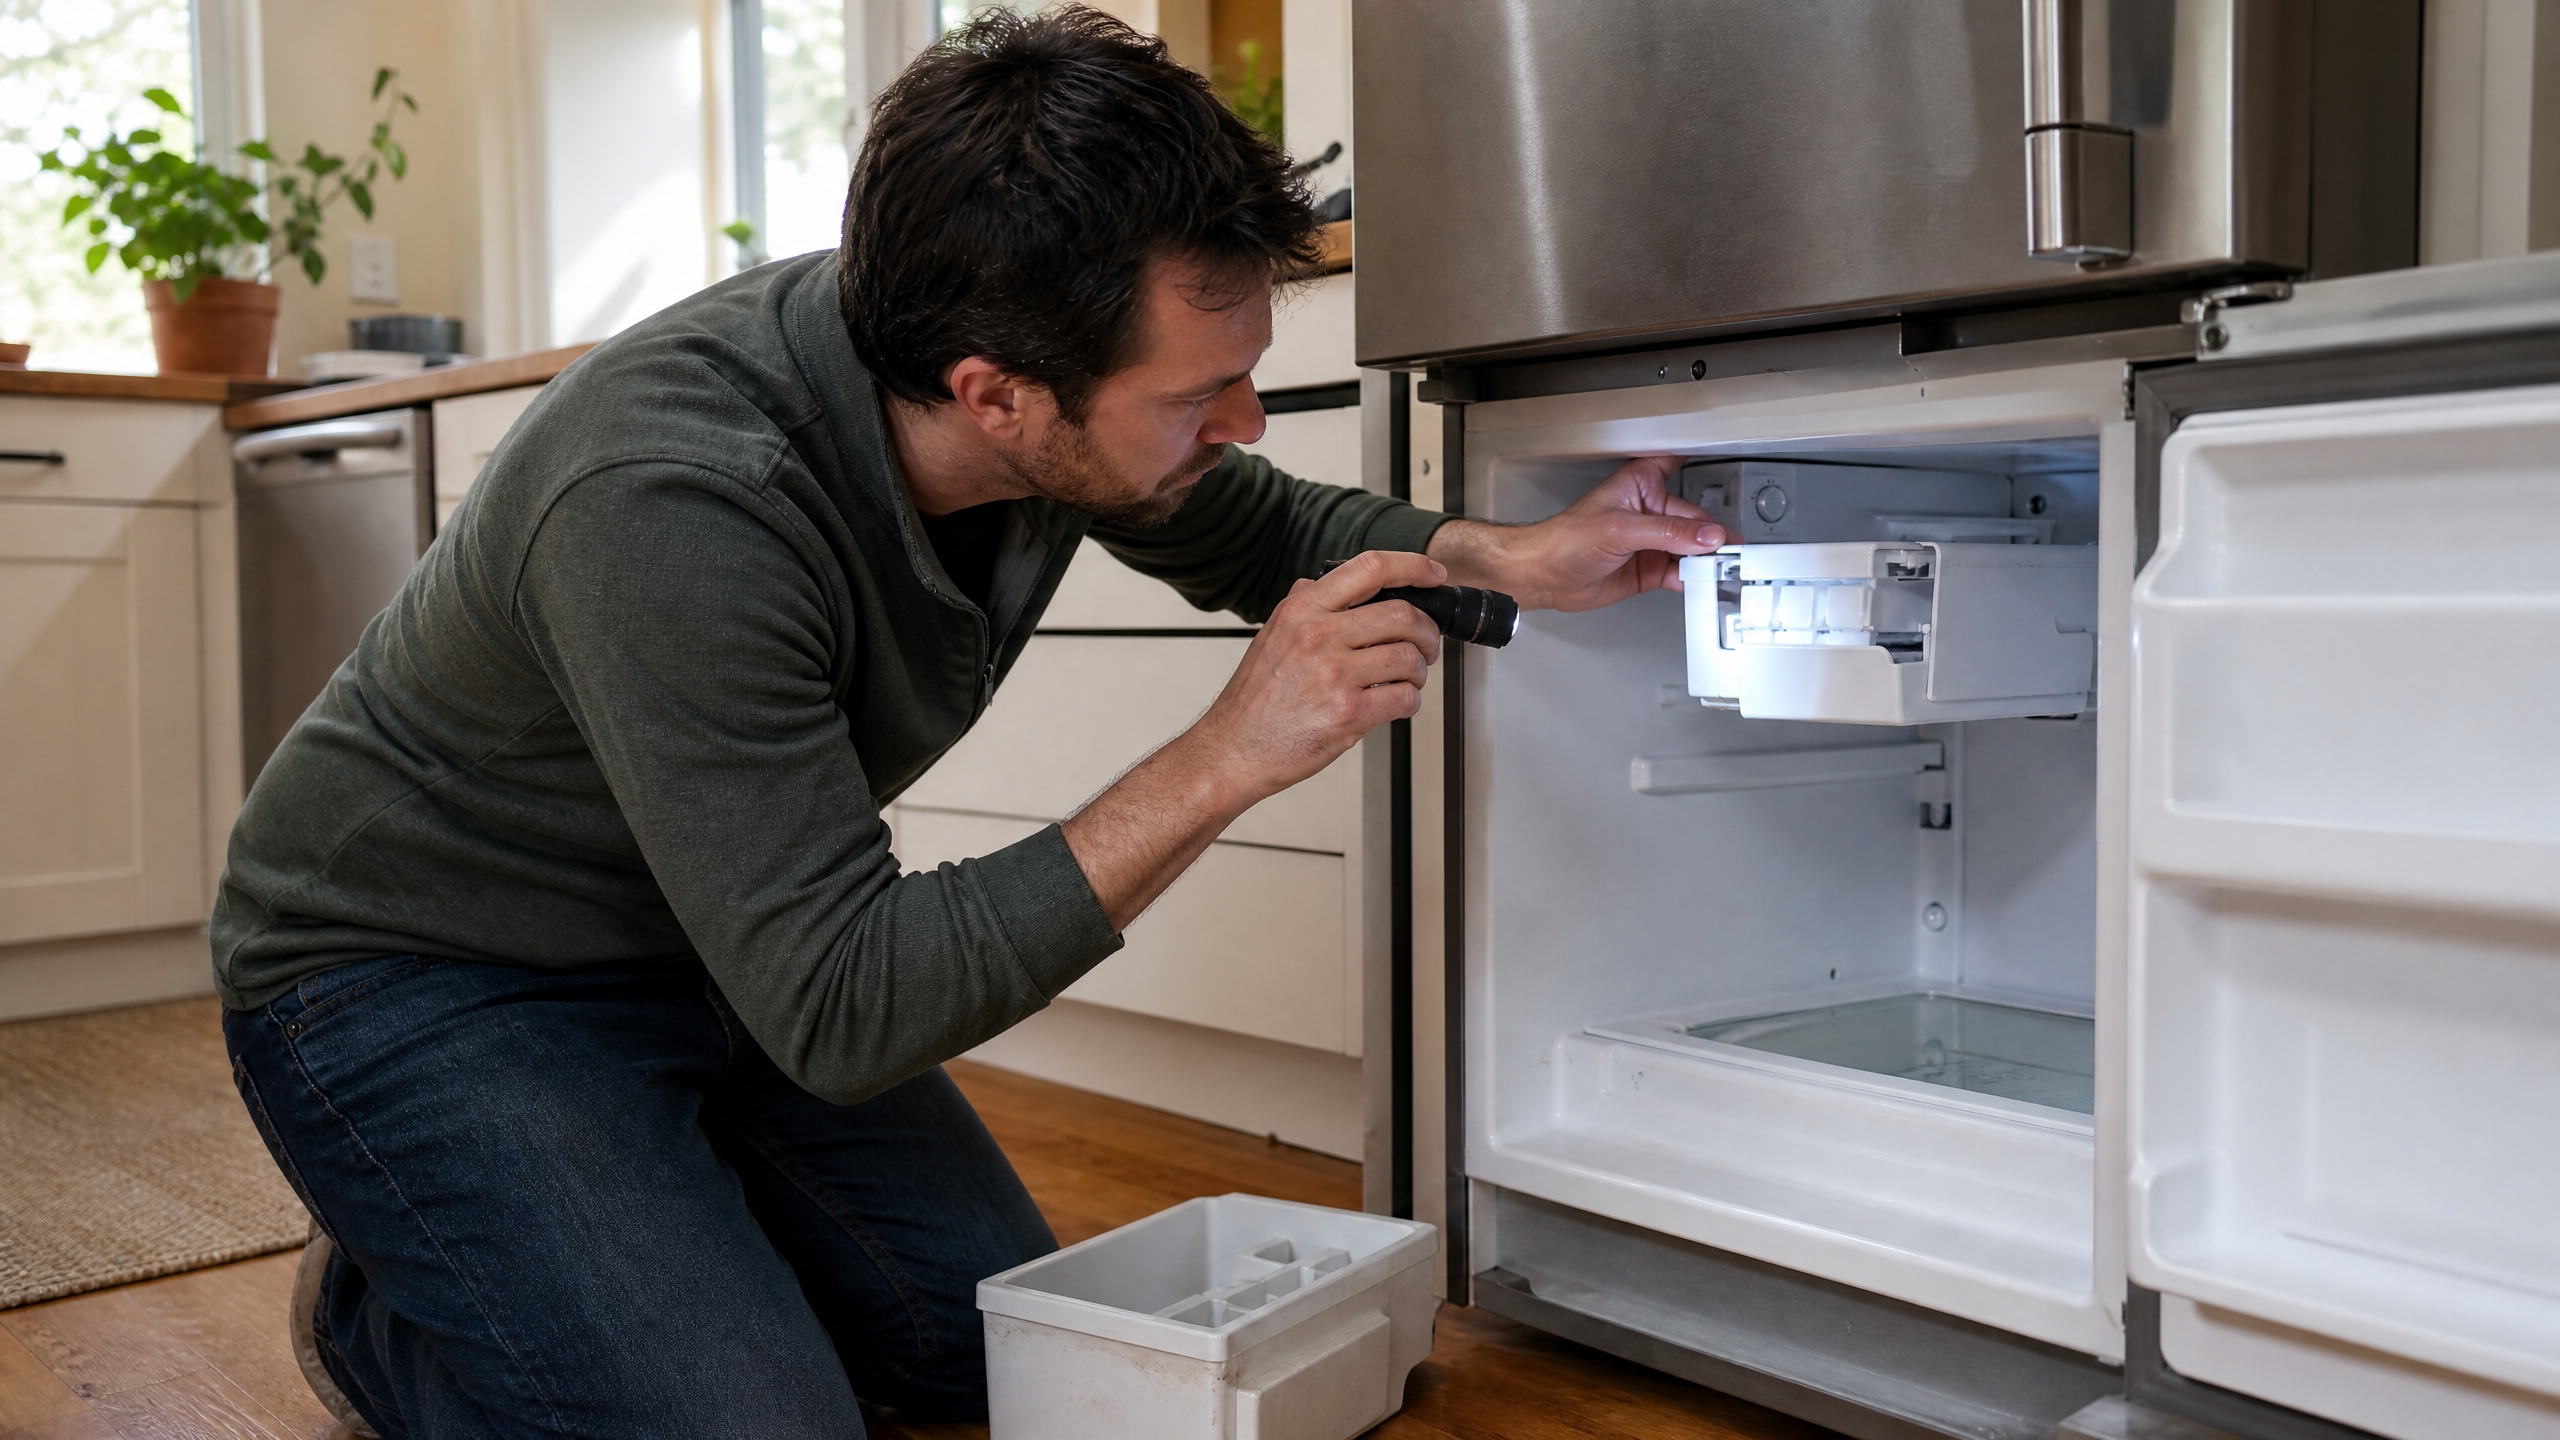
The first ice maker I diagnosed was not broken at all: the bail arm had been nudged up while someone loaded the freezer. Another one had a pinched water line after the refrigerator was pushed back. I now start with power, the arm, the bin, and the water supply before I remove a panel or order a part.
I use this order because it saves time and prevents damage: check the controls first, then the bin and water path, then temperature and the fill tube. Those simple checks have restored ice production for me without disassembly. For cooling problems that accompany ice issues, see how to clean refrigerator coils.
Tools and materials (concise table)
| Tool / Material | Why you might need it |
|---|---|
| Flashlight | See the ice maker, fill tube, sensors, and bin area clearly |
| Towels or small bucket | Catch drips when you check the water line or remove the bin |
| Pliers or adjustable wrench | To operate a shutoff valve if accessible |
| Replacement water filter (optional) | If the current filter is overdue or visibly clogged [1] |
| Socket or nut driver set (optional) | For basic panel or bin removal if needed and allowed by manual |
| Phone or camera | Document connections and bin placement before moving parts |
Quick overview — diagnostic order to follow
-
Confirm power and controls: verify the fridge has power and the ice maker is enabled. [1]
-
Check the control arm or switch: a raised arm or OFF switch disables production. [1]
-
Verify ice bin seating and ejector: misalignment or jams often halt operation.
-
Inspect the water supply and shutoff valve: closed or pinched lines are common. [2]
-
Assess the water filter: a clogged filter reduces flow and yield. [1]
-
Confirm freezer temperature and airflow: warm temps slow or stop ice formation. [1]
-
Look for ice jams or a frozen fill tube and thaw gently if present. [1]
-
Allow time after installation or emptying a bin: the first batch can take hours. [1]
Follow this order to minimize disassembly and focus on fixes that are safe for most home users.
Quick self-check
| Scenario | Quick answer |
|---|---|
| Ice maker is quiet and the bail arm is up | Put the arm down or switch to ON; a raised arm or OFF switch disables production. |
| You recently changed the water filter and see no ice | Run a few water dispenser cycles (or wait for several ice cycles) to purge air and let the system refill. |
| There’s frost or a little ice at the fill tube opening | The fill tube may be frozen; thaw gently with warm water or warm air. Do not chip at it. |
| The water line behind the fridge looks pinched | Move the fridge forward carefully (with help) and straighten the line; confirm the shutoff valve is fully open. |
| Ice tastes off but the machine cycles normally | Discard old ice, clean the bin, and replace the water filter if overdue. |
Step-by-step checks (numbered procedure)
-
Confirm power and control settings 1.1. Open the refrigerator and check interior lights, the control panel, and the dispenser (if present). If other functions work but the ice maker is inert, note that difference before deeper checks.
1.2. Many models have a dedicated ice-maker ON/OFF control or an internal switch. Verify that control is set to ON. Manufacturer guides emphasize this as a common, easily overlooked cause. 1.3.
If the entire fridge has no power (no lights, no dispenser), check the outlet and the circuit breaker. If the fridge has power but the ice maker module does not respond, that is a reason to escalate toward service.
-
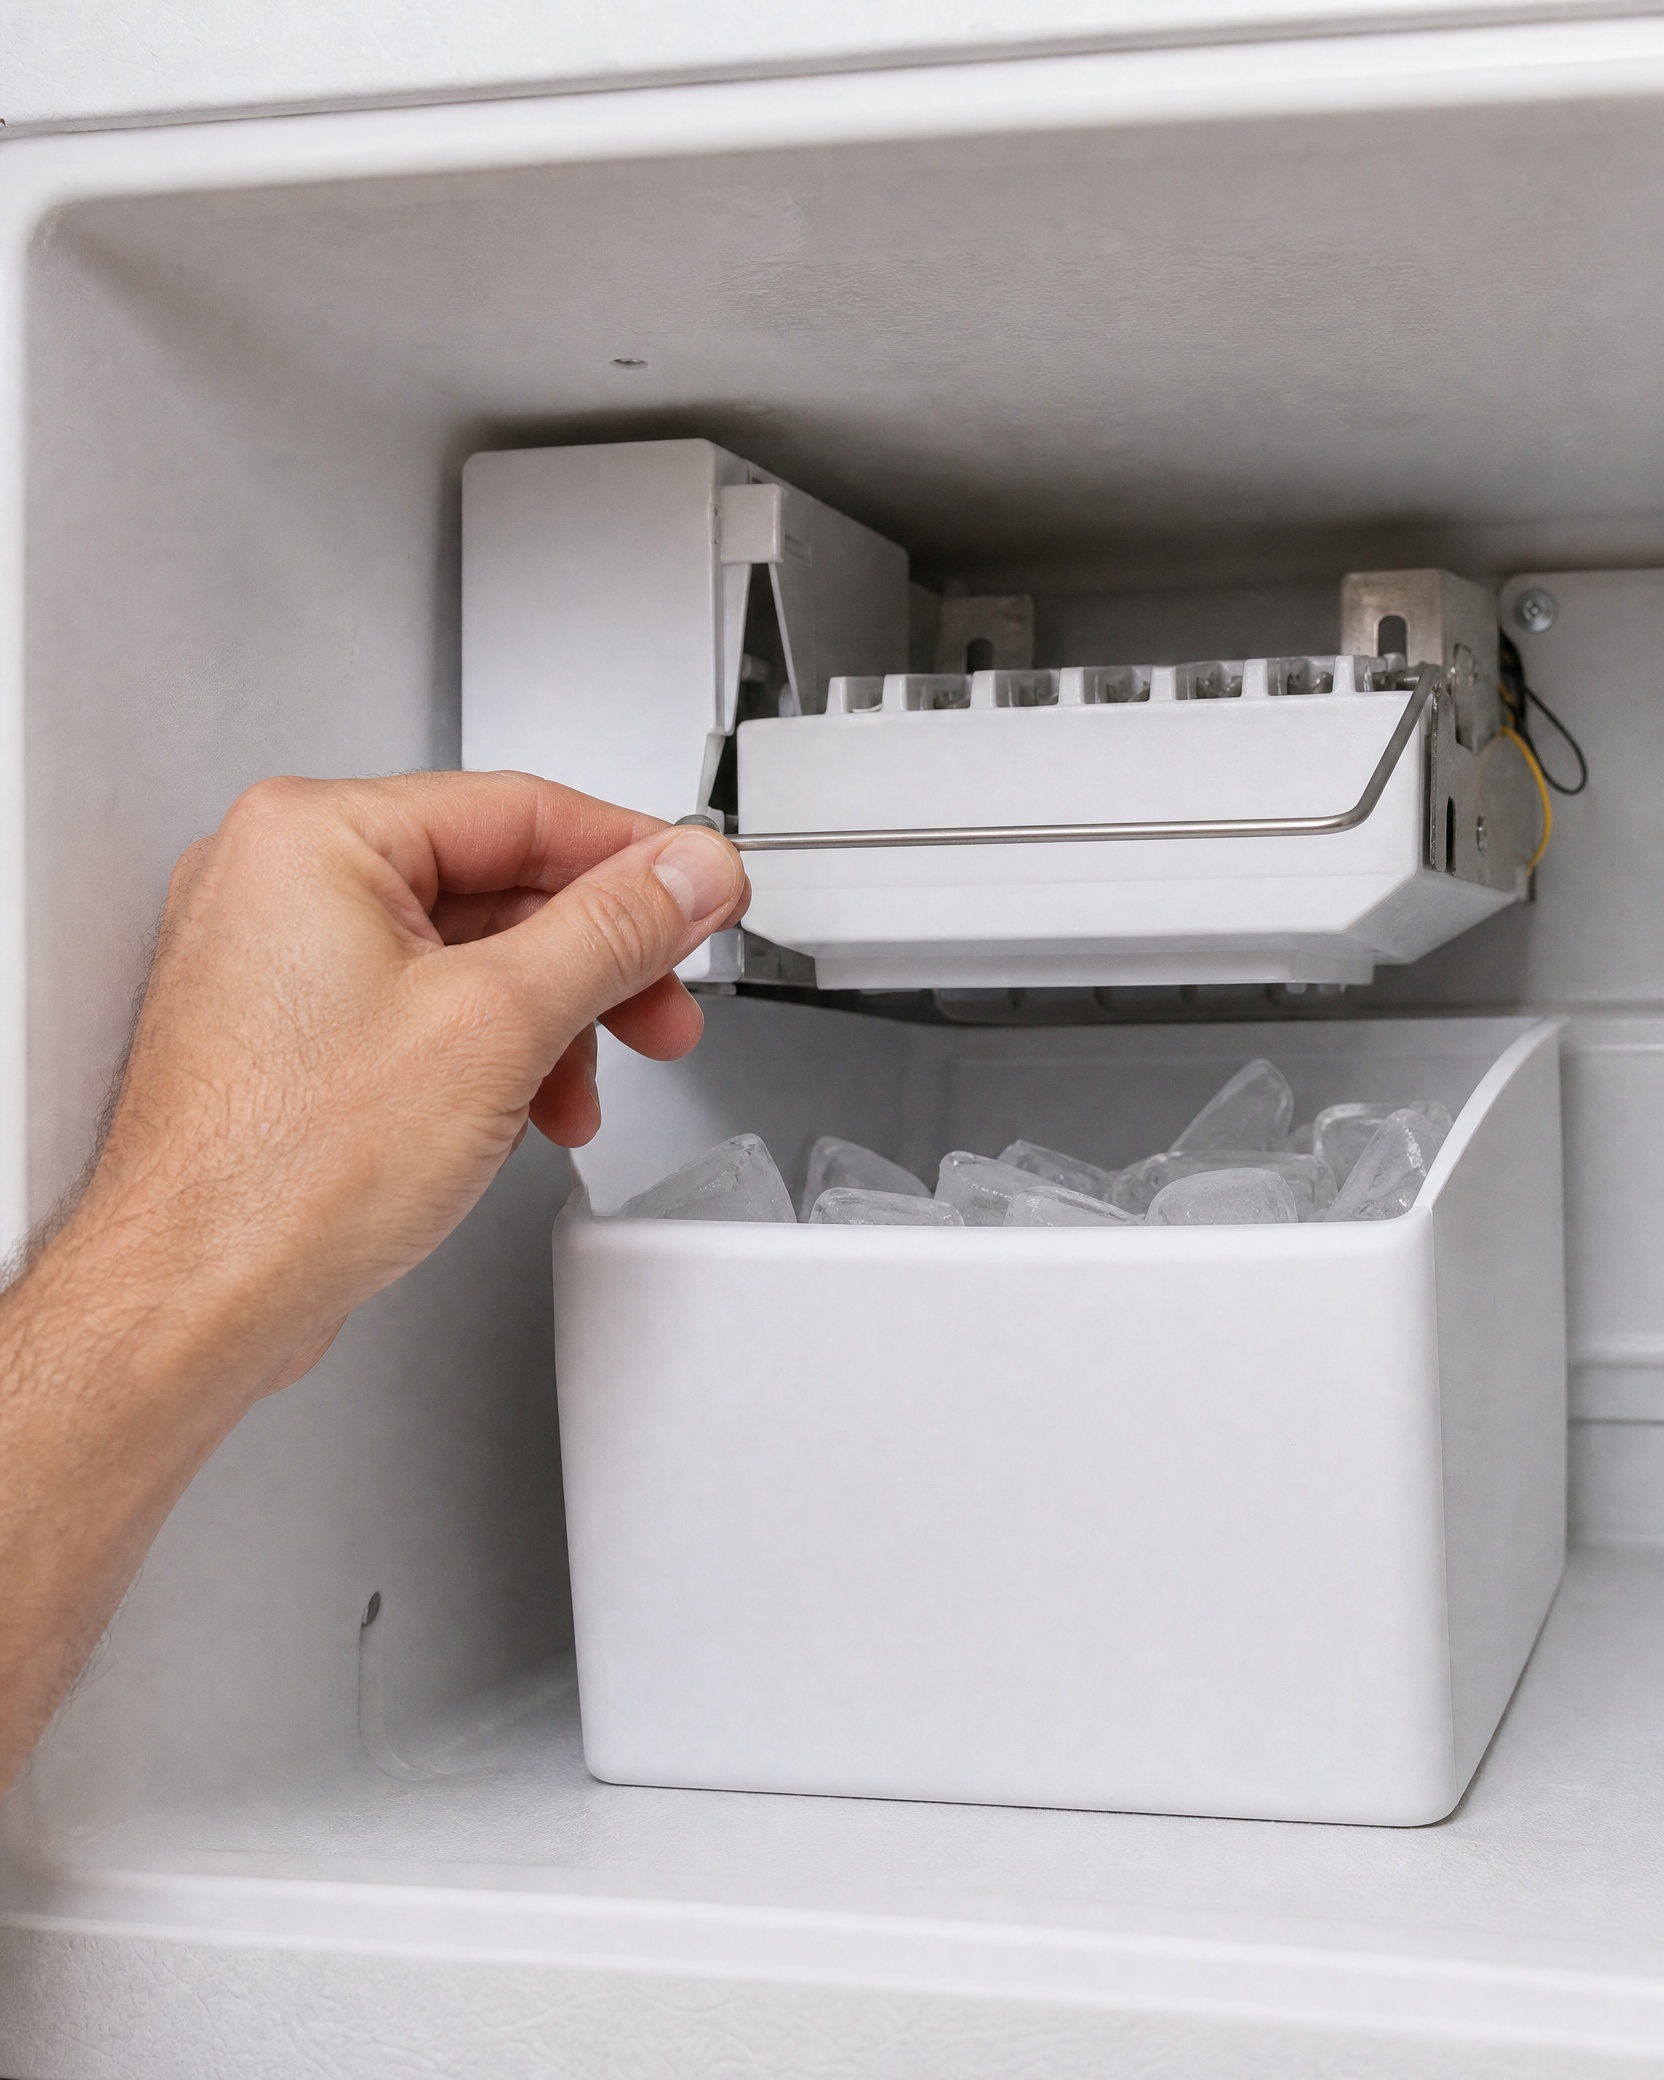
Check the ice-maker control arm or switch 2.1. Locate the ice maker and find the bail arm, lever, or electronic switch. Ensure the arm is fully down or the switch is set to ON. A raised arm or OFF switch will stop production.
2.2. If the arm is bent, loose, or broken, avoid forcing it; forcing can harm the mechanism. A damaged arm or switch typically requires technician attention. 2.3. Gently push the arm to the ON position and listen for a click, motor noise, or a faint water-fill sound that indicates a cycle start. If nothing happens and power is confirmed, proceed to water-supply checks.
-
Verify the ice bin and ejector assembly are seated correctly 3.1. Pull out the ice bin and inspect for proper seating. If the bin is not fully inserted it can prevent the ejector and fullness sensor from operating; re-seat it so it aligns with the ejector blades and any switch or optical sensor.
3.2. Look for ice blocks or jams that stop the ejector from turning or falsely trigger a bin-full sensor. Remove jammed ice by hand or with warm water; avoid sharp metal tools that can damage plastic components or sensors. 3.3.
If your model supports a manual harvest cycle, try it after re-seating the bin. If the motor runs but the ejector blades don’t move, or if blades are damaged, that indicates motor or gearbox failure and likely needs service.
-
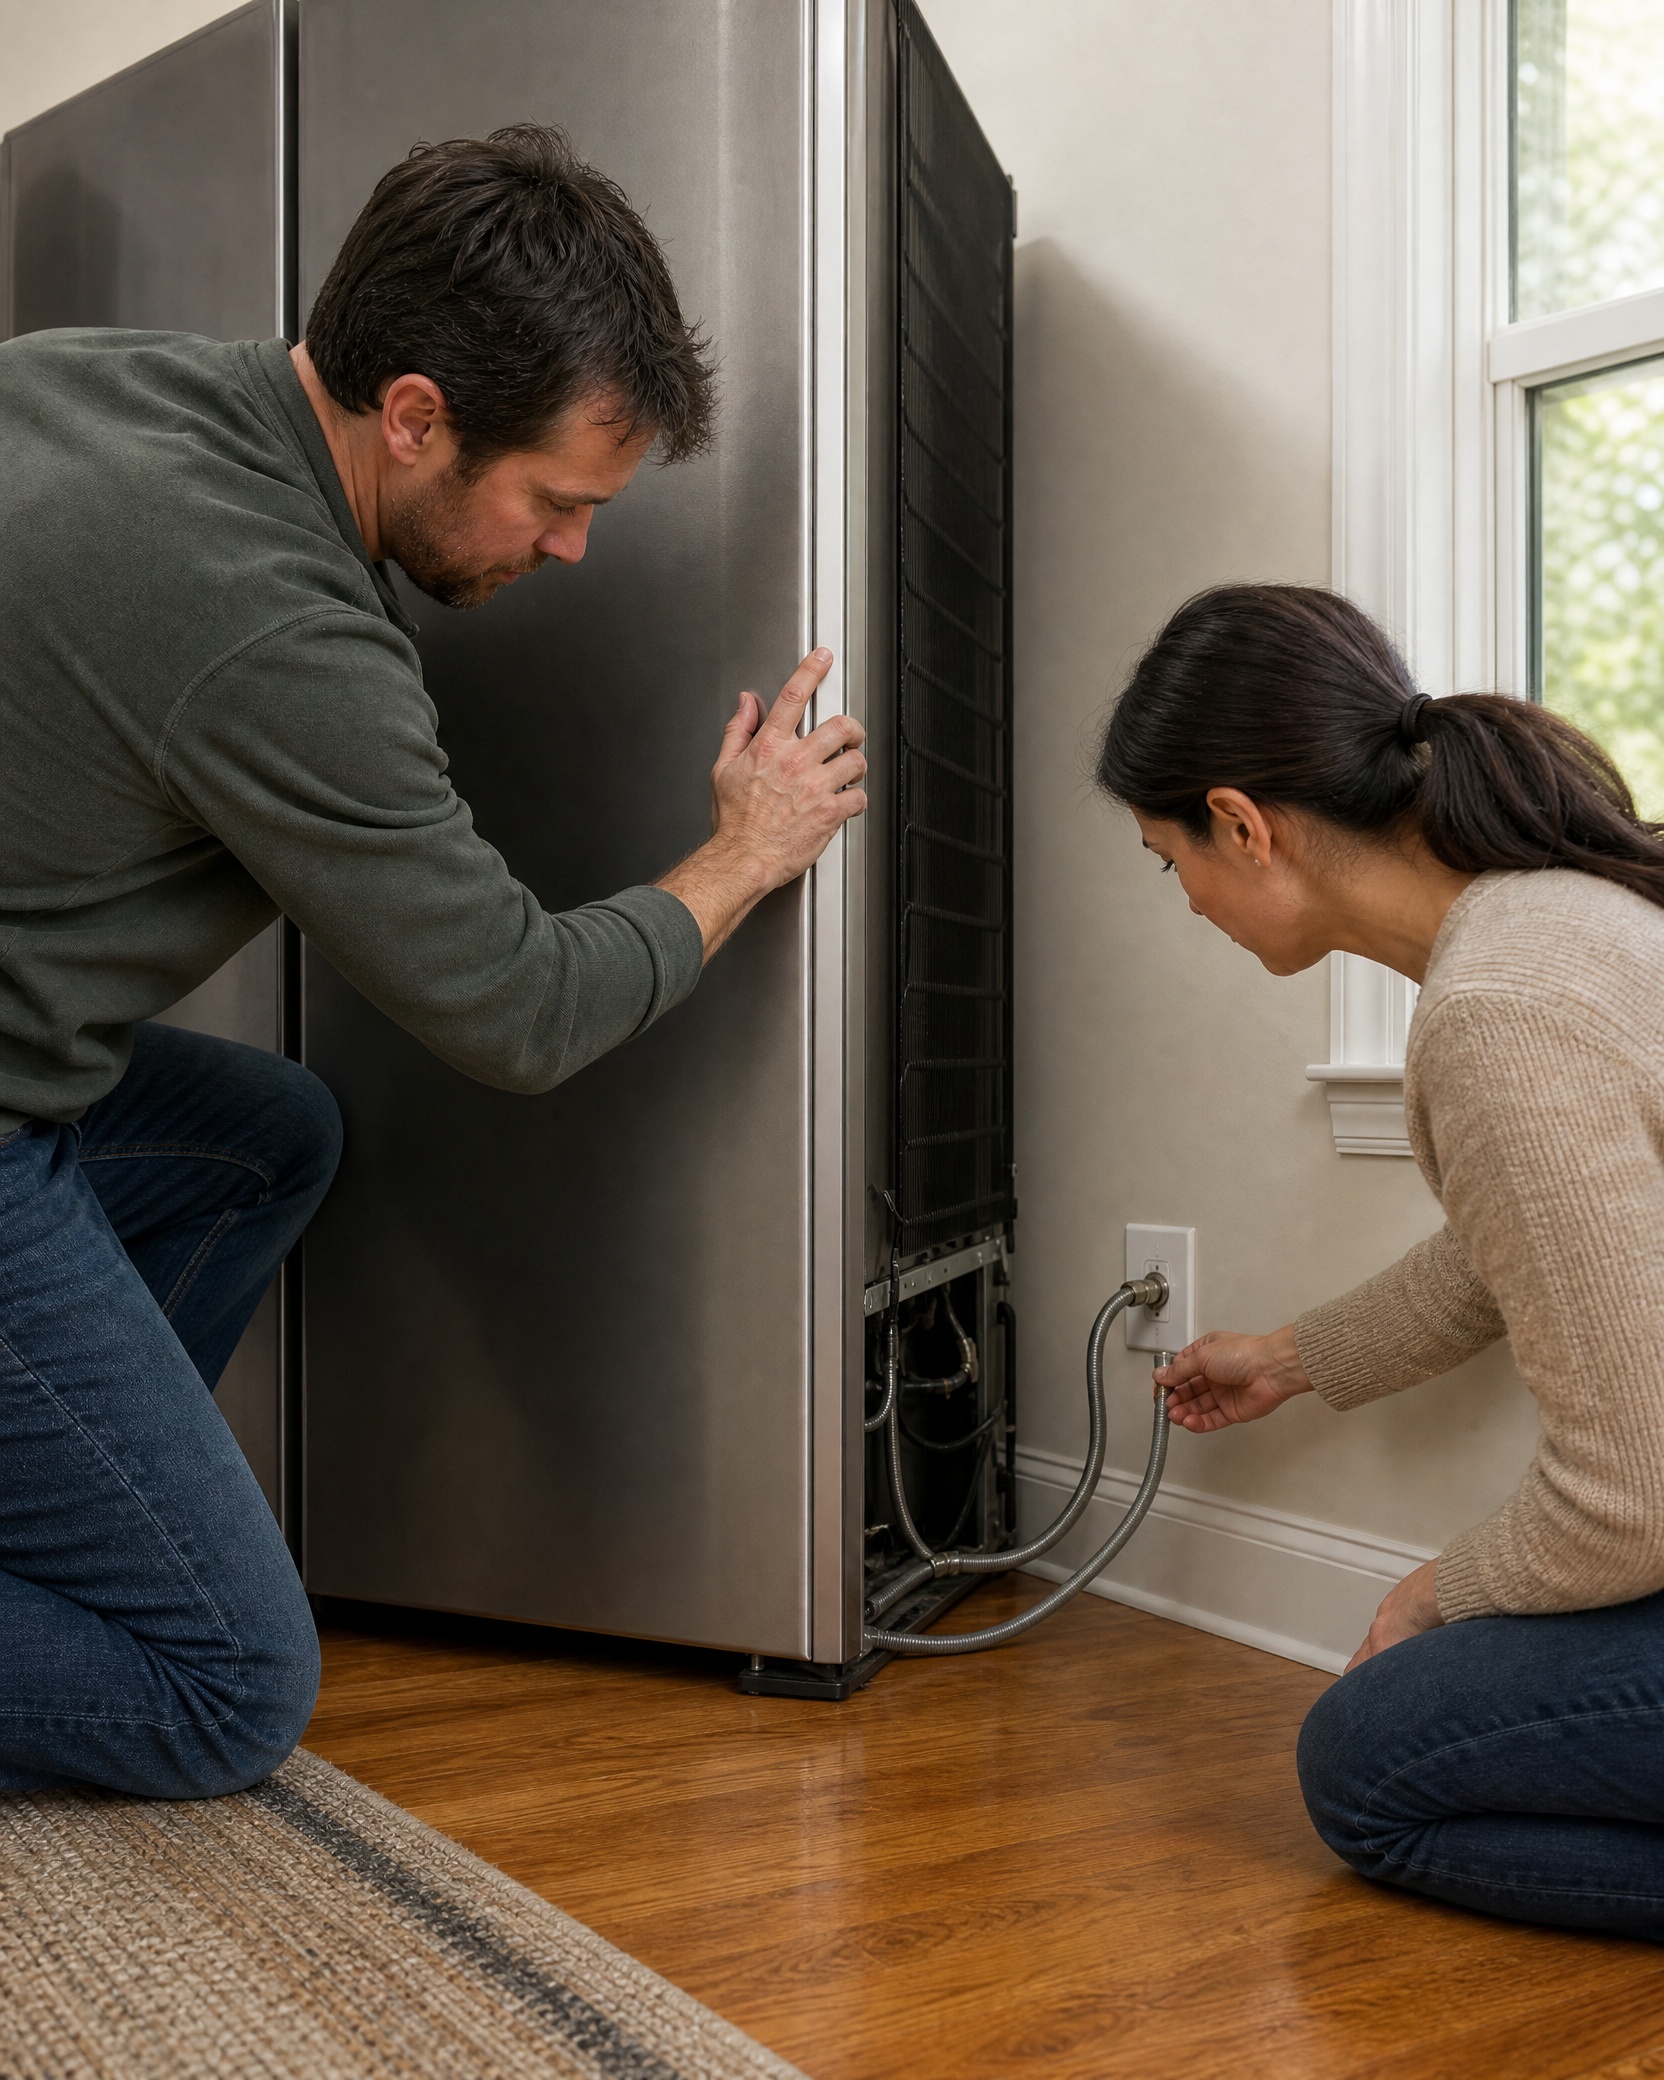
Check the water supply and shutoff valve 4.1. Locate the household shutoff or the refrigerator’s water valve (commonly behind or under the unit). Ensure the valve feeding the refrigerator is fully open; an accidentally closed valve is a very common cause of no ice.
4.2. Inspect the supply tubing where it exits the back of the fridge for kinks or pinches. If you must pull the fridge forward, get help and move it carefully; don’t pull on tubing or twist fittings. Owner manuals list safe pull distances and moving steps.
4.3. If you open a closed valve, allow time for the system to purge air and resume cycles. Use the water dispenser (if present) as a quick indicator that water flow is restored. If the dispenser works but the ice maker does not fill after a reasonable period, check the inlet valve and fill tube. If the separate filtered-water faucet leaks, see how to fix a water filter faucet leak.
-
Inspect or replace the water filter 5.1. A clogged or long-overdue filter reduces water pressure to the inlet valve and can produce small cubes or no ice. Replace the filter according to the manufacturer’s schedule and follow activation steps in the manual.
5.2. After replacing a filter, run several water-dispense cycles to clear air from the line. If there’s no dispenser, allow multiple ice cycles and check for improvement over the next 24 hours. 5.3.
If the filter change doesn’t restore production and the valve is open and tubing intact, the inlet valve may be weak or the home water pressure insufficient — that typically requires a professional check.
-
Confirm freezer temperature and airflow 6.1. Aim for a freezer near 0°F for reliable ice production; warmer temperatures reduce yield and slow production. Adjust the thermostat and allow several hours for stabilization.
6.2. Ensure vents that route cold air to the ice-maker area aren’t blocked by food or packaging. Restricted airflow can produce warm pockets that reduce yield. 6.3. Heavy frost or ice buildup on the back wall or around vents can indicate a defrost system or door-seal issue; if that persists after basic adjustments, document it and consider calling service.
-
Look for ice jams and frozen fill tubes (without damaging anything) 7.1. Inspect the fill tube — the small plastic or rubber tube that delivers water to the mold — for frosting or an ice plug. A frozen fill tube often shows frost or a small cone of ice at the opening.
7.2. Never chip at frozen plastic tubing or components with a sharp tool. Thaw gently with warm (not boiling) water or warm air from a hair dryer set to low while keeping heat away from wiring and plastic parts. Avoid concentrated high heat that can warp plastic or damage wiring.
7.3. After thawing, try a manual fill or harvest cycle if available. If the tube refreezes frequently, stop and call a technician — repeated freezing may indicate a failed heater, thermostat, or sensor that needs professional diagnosis.
-
Consider timing after installation or when the bin was emptied 8.1. If the fridge was recently installed, moved, or if the ice bin was emptied, expect a delay. The system needs time and several cycles to purge air from lines and produce the first batch of ice. Allow several hours to a day; manufacturers commonly note this time window.
8.2. If nothing appears after 24 hours and you’ve followed the steps above, escalate to professional service to avoid trial-and-error that could cause unnecessary damage.
Safety first:
-
Unplug the refrigerator or switch off the circuit breaker before accessing wiring, removing panels that expose electrical connections, or servicing the inlet valve. Electrical work is hazardous and many repairs are better left to trained technicians.
-
When pulling the refrigerator forward to check a water line, get help if the unit is heavy. Avoid dragging it across the floor and don’t stress or twist the water-line fittings. Refer to the manual for safe-moving instructions.
-
Use only warm water or low heat to thaw frozen plastic parts; boiling water or direct high heat can warp plastic or damage wiring.
-
If you encounter standing water, visible leaks, or electrical arcing, shut off power and water immediately and call service.
Troubleshooting table
| Symptom | Likely cause(s) | What to try |
|---|---|---|
| No ice and no sounds from ice maker | Ice maker switched off, control arm up, or loss of power | Check on/off switch and bail arm; confirm fridge power and control panel. |
| Very small or irregular ice | Low water pressure, clogged filter, or partially closed valve | Replace filter if due; confirm shutoff valve is fully open; inspect water line for kinks. |
| Ice tastes or smells bad | Old ice, stale water, or overdue filter | Discard old ice, clean the bin, replace the filter, and run water cycles. |
| Ice maker cycles but does not fill | Frozen fill tube, inlet valve issue, or low water pressure | Look for frost at fill tube and thaw gently; check supply valve; if inlet valve sounds weak, call service. |
| Ice maker overfills or leaks | Faulty inlet valve or misaligned fill tube | Switch water off and call service — inlet-valve or control failures may be present. |
| Ice maker makes ice but stops after a short run | Bin-full sensor triggered by jam, stuck control arm, or motor overheating | Remove bin, check for ice blocks, re-seat sensor and bin; test after cool-down. |
When to stop and call for help
-
Call a technician if you suspect a broken control arm, a damaged or leaky inlet valve, or an electrical control issue; those parts often require replacement and diagnostic tools.
-
If you find the inlet valve wet, dripping, or you hear continuous humming without water movement, shut off the water and power and call service — that can indicate a failed solenoid and may cause additional damage.
-
If thawing a frozen fill tube fails to restore flow, or it freezes repeatedly, seek a professional evaluation; recurring freezing can signal a failed heater, thermostat, or sensor.
-
If the ice-maker motor does not run during a manual cycle after you’ve confirmed power and the arm/switch, stop and call service. Electrical diagnostics and motor replacement are best handled by a trained technician.
Cleaning, resetting, and preventive maintenance
-
Clean the ice bin every few months: empty it, wash with warm water and mild soap, rinse well, and dry before replacing. Clean bins reduce odors and stuck ice.
-
Replace the water filter on the manufacturer’s recommended schedule, or sooner if you notice taste or flow issues. Mark the replacement date so you remember the next interval.
-
Don’t overpack the freezer where the ice maker is located. Leave clearance so cold air can circulate and reduce frost buildup around vents.
-
After power outages or moves, allow time for the system to settle and refill. Running the water dispenser a few times helps purge air from the lines if your model has a dispenser.
-
Check door gaskets periodically for gaps or wear; poor seals let warm air in and increase frost and temperature problems.
-
If your model has a documented reset procedure, follow the manual’s steps rather than guessing. Reset locations and procedures vary by model; some units have a reset button on the ice maker while others use a control-panel sequence. If you lack the manual, use the model number (often on an interior wall or door edge) to download manufacturer instructions.
Troubleshooting an ice maker is largely a matter of checking power and controls, confirming the control arm and bin seating, ensuring the water supply and filter are OK, and verifying freezer temperature and the fill tube condition.
These steps resolve most problems without special tools. When you find a broken part, a leaking inlet valve, repeated fill-tube freezing, or an electrical control fault, stop and call a qualified technician to avoid further damage.
References
-
Whirlpool, Ice Maker Troubleshooting: How to Fix an Ice Maker: https://www.whirlpool.com/blog/kitchen/ice-maker-troubleshooting.html
-
KitchenAid, Refrigerator Ice Maker Troubleshooting: https://www.kitchenaid.com/pinch-of-help/major-appliances/refrigerator-ice-maker-troubleshooting.html
Leave a Reply