

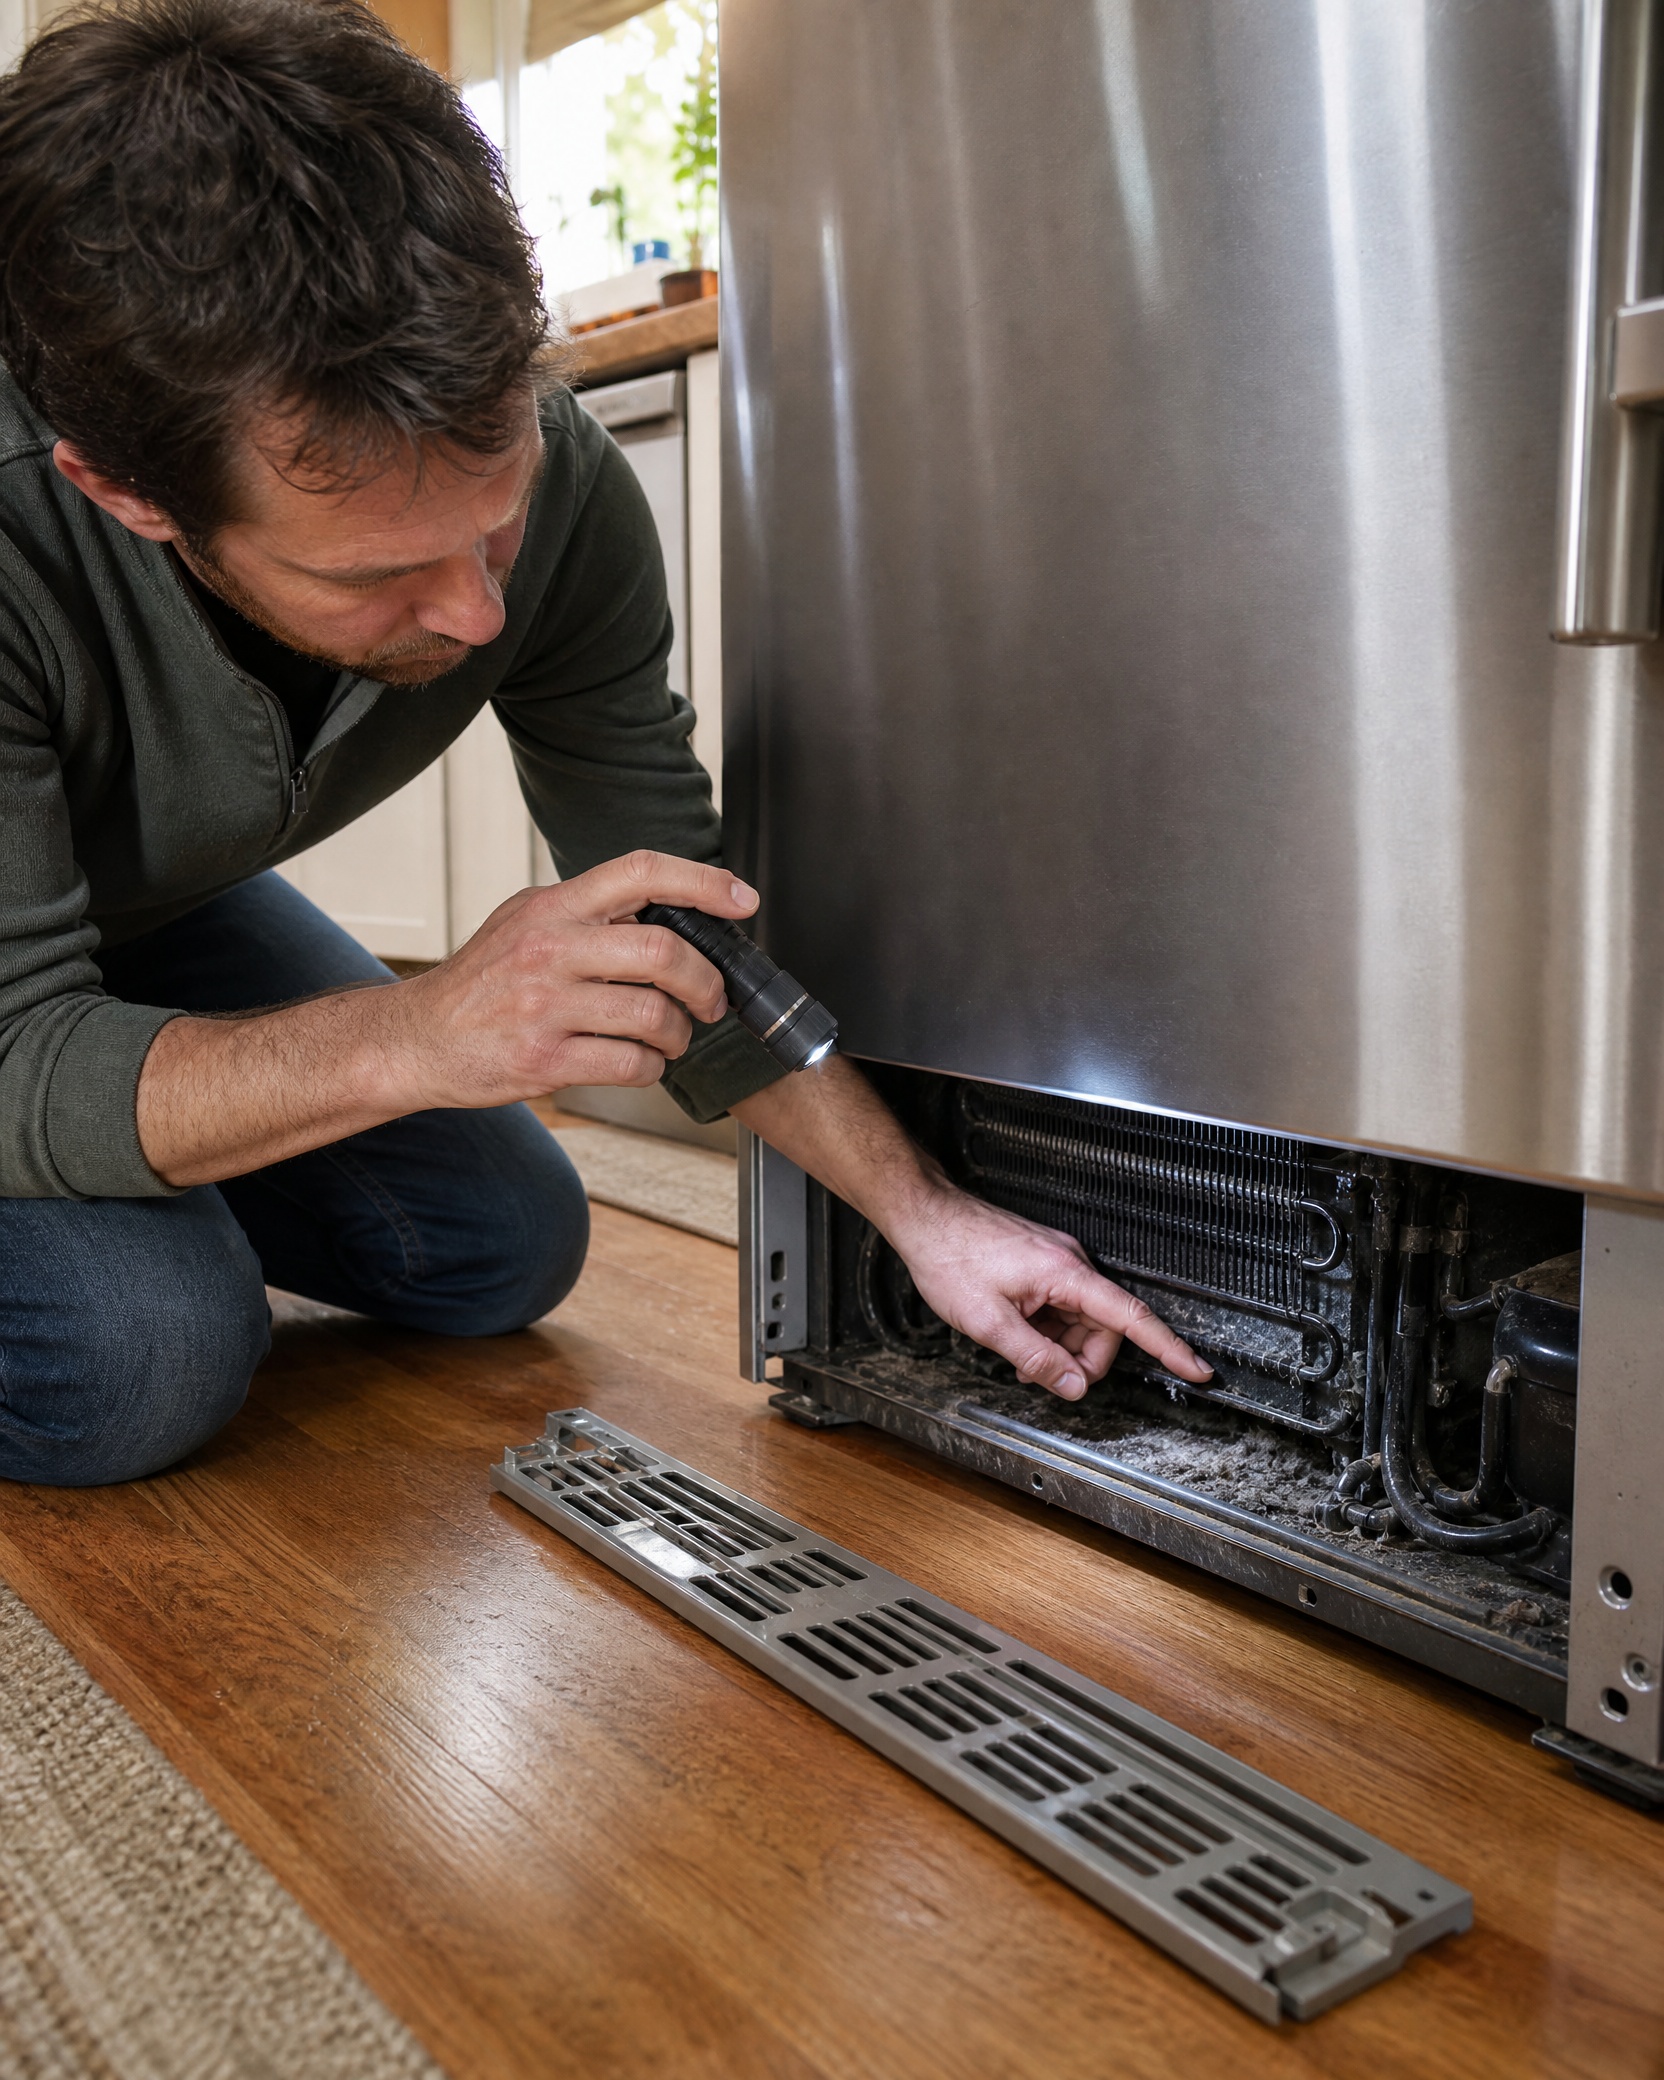
The first time I cleaned the coils behind a refrigerator, I expected a thin layer of dust and found a felt-like mat of pet hair packed against the grille. The fridge had been running almost nonstop, so I now treat coil cleaning as a quick maintenance job rather than waiting for cooling problems.
Why clean the coils? Condenser coils are where heat gathered from inside the cabinet is expelled to the room. When those coils collect dust, pet hair, lint, or debris, airflow and heat transfer suffer, the compressor runs longer, and interior temperatures can rise.
After I brush and vacuum accessible coils, I can usually hear the compressor cycle off sooner, especially in a dusty kitchen with a shedding dog. I still check the owner’s manual first because some newer refrigerators hide sealed coils or reserve access for service technicians.
Where condenser coils are usually located
Most household refrigerators place condenser coils in one of three spots:
-
Behind a bottom grille at the front base.
-
On the exterior rear panel.
-
Inside an upper machine compartment under a removable panel (more common on some built-in or older units).
If the coils are behind a grille, you usually remove a small plastic cover to reach them. If they’re on the rear, the entire back panel or fan assembly may be removable.
Because layout and serviceability differ by manufacturer and model, follow the owner’s manual instructions for locating and accessing coils; if the manual says not to service them, stop and contact the manufacturer or an authorized technician [1].
Tools and materials (quick table)
| Tool / material | Why you need it |
|---|---|
| Soft coil brush (long, narrow) | Loosens dust without bending fins |
| Vacuum with crevice tool or soft brush attachment | Removes loosened dust and hair |
| Disposable gloves | Keeps hands clean and dry |
| Flashlight | Helps you see dust in corners |
| Screwdriver or nut driver (if grille/panel screws present) | To remove access panels safely |
| Drop cloth or old towel | Protects floor and catches debris |
| Mask (optional) | If you’re sensitive to dust |
| Broom and dustpan (optional) | For initial under-fridge debris cleanup |
I keep these items together so I can do a spot clean when I notice buildup. If your fridge has a washable grille filter, add a sink and mild detergent to this list.
Safety first:
-
Always disconnect power before touching coils, fan blades, or wiring. Unplug the refrigerator or switch off the dedicated circuit breaker so the compressor and fan cannot start while you’re working [1].
-
Wait a minute after unplugging to let the compressor and fan stop.
-
Avoid working on a refrigerator that’s recently been tipped; if the unit was on its side during transport, follow your manual for required wait times before powering it again.
-
If you see refrigerant oil, a strong solvent-like odor, or evidence of leaks, stop and contact a qualified technician — refrigerant work is not a homeowner task [1].
-
If moving the fridge, get help; these appliances are heavy and awkward. Avoid straining or bending your back.
How often to clean
The frequency depends on environment. A common recommendation is to clean accessible coils every 6–12 months, and more often if you have shedding pets or the unit lives in a dusty garage [2]. Use what you see and hear as a guide: if the grille looks dusty at three months, clean it then.
Typical cadence:
-
No pets, indoor kitchen, low dust: check at 12 months.
-
Light-shedding pets or busier airflow: check at 6 months.
-
Heavy-shedding pets or garage placement: check every 3 months.
These intervals are general; adjust for your conditions. Regular checks prevent heavy caking that takes much longer to remove and reduces immediate performance gains.
Step-by-step: cleaning accessible coils
The numbered procedure below is the routine I use when I clean coils. Plan 30–90 minutes depending on access and soil level. If your manual limits owner service, follow that guidance and stop.
-
Prepare the area – Clear space around the fridge and remove objects from the top and sides so you can slide it a few inches if needed. Protect hard floors with a towel or piece of cardboard.
– Move perishable items you might need during the job, or pack them in a cooler if you expect to leave the fridge pulled out for a long time. Minimize door openings to help the interior stay cold. – Spread a drop cloth or towel under the fridge to catch dust and hair. Lay out tools and a container for screws so nothing gets lost.
-
Disconnect power
– Pull the fridge out a few inches to access the plug and unplug it, or turn the dedicated breaker off if the plug is unreachable. Wait for a minute for moving parts to stop. This reduces the risk of electric shock and prevents the fan from starting while your hands are near it.
– If the unit must be moved a long distance or tilted, get assistance to avoid injury. -
Access the coils – Remove the bottom grille or rear cover with the correct screwdriver or nut driver. Keep screws in a small container. For top-compartment coils, follow your manual’s instructions for safe removal. If you cannot find coil access instructions or the manual specifies sealed coils, stop and contact the manufacturer or a service technician.
– Take a quick photo of the assembly for reference during reassembly.
-
Loosen dust with a soft coil brush
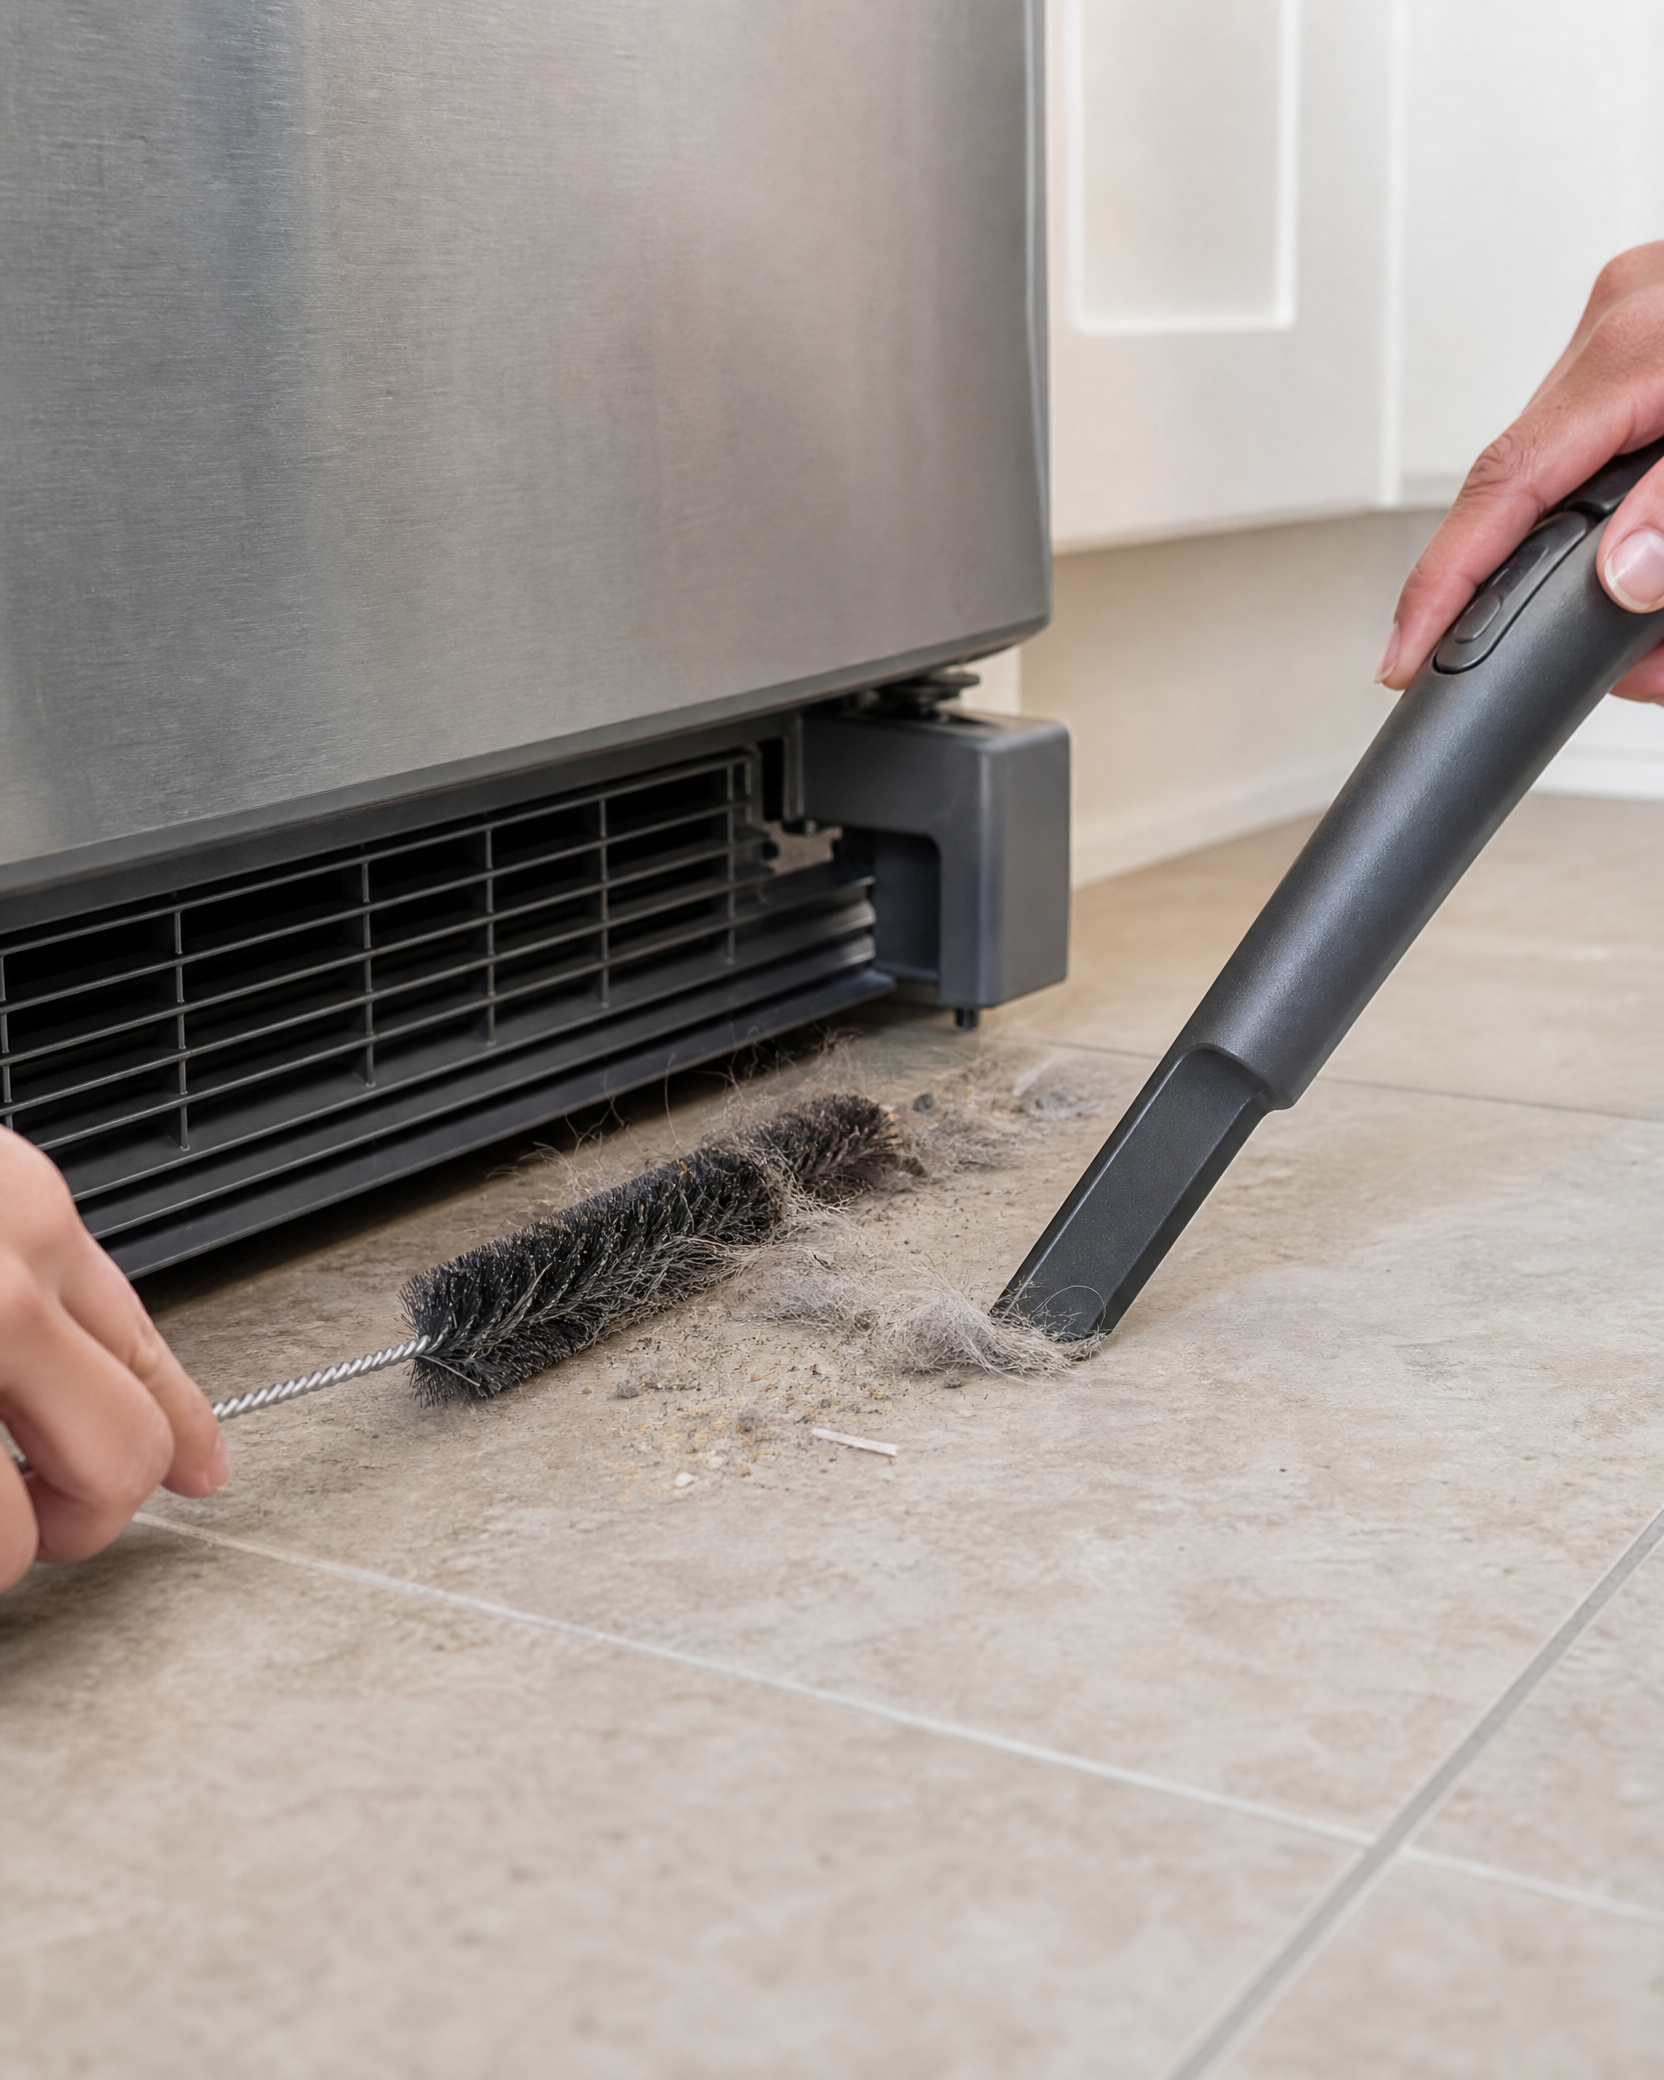
– Gently brush along coil rows to loosen dust and hair. Work from an edge toward the open area to move debris out, not deeper in. Thin metal fins bend easily; apply only light pressure.
– Avoid wire brushes or metal tools that can damage fins or tubing. If small fin areas are bent, a fin comb made for this purpose can realign them gently. -
Vacuum the loosened debris
– Use the vacuum’s crevice tool or soft brush attachment to remove dust as you loosen it. Keep the nozzle close but don’t force plastic into tight spaces where it could break. If you use a shop vac, select a low setting to avoid sucking up flexible parts or small wiring.
– Remove stringy fibers and hair that wrap around fan shafts by hand while the power is off. -
Clean under and around the compressor/fan area
– Sweep or vacuum the floor and the base area where lint accumulates. If there’s a condenser fan, carefully vacuum the fan blades and housing. If the fan has stubborn grime, a slightly damp cloth (used sparingly and only with the unit unplugged) can help; make sure everything is dry before restoring power.
– Avoid bending fan blades or disturbing wiring. -
Reassemble and return to service – Reinstall panels and grilles; secure all screws. Slide the fridge back into position without pinching water lines for an ice maker or dispenser. Keep the unit level so doors seal properly.
– Restore power and listen for normal compressor and fan operation. Monitor interior temperatures over several hours to confirm the fridge and freezer return to normal cooling. If you see abnormal behavior, refer to the troubleshooting section below or call a technician.
Food-safety note: avoid leaving perishables unrefrigerated for more than necessary. If the refrigerator must be unplugged for more than an hour, move perishable foods to a cooler.
What to avoid and why
-
Don’t use metal brushes or high-pressure compressed air. Metal tools can dent fins and tubing; high-pressure air can drive dust deeper or damage components.
-
Don’t bend or crush fins. Bent fins reduce airflow and heat transfer; if many are bent, a fin comb can help.
-
Don’t tug on tubing or wiring. Water lines and refrigerant lines can be damaged by pulling.
-
Don’t attempt refrigerant repairs, compressor replacement, or sealed-system work yourself; these require licensed technicians and specialized tools and materials.
-
Don’t ignore your manual; follow model-specific instructions for serviceable parts.
Troubleshooting table
| Symptom | Possible cause | What to try |
|---|---|---|
| Fridge runs constantly and feels warm inside | Coils clogged with dust or hair | Clean coils per steps above; confirm grille/panel not blocked; monitor temps |
| Higher-than-normal energy use | Reduced heat transfer due to buildup | Clean coils; track run-time over next weeks |
| Noisy after cleaning | Debris in fan or fan blade misaligned | Unplug and inspect fan area; remove debris; gently reposition blade if required |
| Musty odors | Dirty drain pan or debris under unit | Clean coils and inspect/clean drain pan and drain line |
| Cannot access coils (sealed compartment) | Model not intended for owner cleaning | Stop and consult owner’s manual or contact manufacturer/service |
If cleaning doesn’t restore normal operation — long run-times, wide temperature swings, or persistent error codes — you may be dealing with mechanical or sealed-system issues such as a failing compressor, low refrigerant, or control problem. Those require a qualified appliance technician.
Quick self-check
Use these 3–5 scenarios when you have a minute to decide whether a full clean is needed. I often do this while washing dishes or waiting for water to boil.
| Scenario | What you might find | Quick action |
|---|---|---|
| Fridge runs long cycles and feels warm | Visible dust at the grille or rear panel | Vacuum accessible grille now; schedule full clean if heavy buildup |
| Frequent frost in freezer | Reduced airflow or evaporator issue | Clean coils; if frost persists, consult service |
| Pet hair around base | Hair clogging intake area at grille | Vacuum around base and under grille; plan coil cleaning |
| Louder hum or new noise | Fan area dirty or fan hitting debris | Unplug, inspect fan, remove debris as needed |
| Manual shows sealed coils | Manufacturer calls for service-only | Do not attempt access; contact manufacturer/service |
This quick check is a practical way to spot issues early and avoid more involved work later.
When to stop and call for help
Stop and contact a qualified technician if any of these apply:
-
You find oil residue or a solvent-like odor near coils or tubing (possible refrigerant leak). Refrigerant repairs require certified service.
-
There’s visible broken tubing, heavy corrosion, or a mechanical failure.
-
Many fins are damaged and the sealed system appears compromised.
-
The owner manual specifies that coil service is for authorized technicians only.
-
You are uncomfortable working near exposed wiring, compressor terminals, or other electrical components.
-
You detect electrical burning smells or melted wiring.
Calling a technician is the right choice when the problem goes beyond cleaning or when safety and sealed-system integrity are in question.
Deeper cleaning and related maintenance
While the fridge is pulled out, consider these checks to support overall performance:
-
Evaporator drain and pan: Clean standing water or sludge in the drain pan and clear any clogged drain line to reduce mold and odors.
-
Door gaskets: Wipe gaskets with mild soap and water to ensure a good seal; poor seals let warm air in and increase compressor workload.
-
Water filter and dispenser lines: Replace filters per schedule and check fittings for leaks. If your ice maker is also acting up, see our refrigerator ice maker troubleshooting guide.
-
Leveling and clearances: Make sure the fridge is level and that manufacturer-recommended clearances are maintained so airflow is not restricted.
-
Washable grille filters: If your model has them, remove and wash on a routine schedule and let them dry before reinstalling.
These additional tasks are inexpensive preventive measures that help the refrigeration system work as intended.
Preventing buildup
-
Reduce the source: If the fridge is in a garage, consider moving it indoors or using an enclosure during dusty seasons.
-
Clean floors around the fridge regularly—vacuum or sweep under and behind the unit to limit lint and hair reaching the coils.
-
Groom pets routinely to reduce shed hair in the home.
-
Keep a coil brush and vacuum attachments accessible for quick spot-cleaning before buildup becomes heavy.
Routine small actions avoid larger jobs and help sustain efficiency.
How long will this take?
-
Quick grille vacuum and inspection: 20–30 minutes.
-
Full pull-and-clean with panel removal: 45–90 minutes.
-
Heavy caked buildup after years without cleaning: allow extra time and possibly repeat brushing and vacuuming.
Expect the bulk of the time to be preparation and careful brushing rather than the actual vacuuming.
Energy and cost considerations
A clean condenser coil supports better heat transfer so the compressor may run less frequently; that generally reduces energy use and wear on components. Exact savings vary by model and how dirty the coils were, so I avoid promising specific dollar amounts.
Regular maintenance, especially in dusty environments or homes with pets, tends to reduce runtime and helps the fridge operate closer to its designed efficiency.
Practical tips I use
-
Keep a coil brush and vacuum tools with cleaning supplies for spot maintenance.
-
Set calendar reminders to check coils every 3–12 months based on your household conditions.
-
Photograph assemblies before disassembly—they’re handy when you’re reattaching panels and screws.
-
If a grille has a washable filter, clean and dry it regularly before reinstalling.
Small habits cut down on heavy jobs and make maintenance straightforward. For broader appliance-care pitfalls, read these common mistakes that ruin home gadgets.
Final checklist before you finish
-
Panels and grilles reinstalled and secure.
-
Power restored and compressor/fan running normally.
-
Floor area cleaned and debris disposed of.
-
Perishable foods returned to the fridge and temperatures monitored for a few hours.
If you’ve never cleaned coils before, begin with the quick grille check and a spot vacuum. That will tell you whether a deeper session is necessary.
References
-
[1] GE Appliances, Refrigerator—Cleaning Condenser Coils: https://products.geappliances.com/appliance/gea-support-search-content?contentId=16266
-
[2] Pacific Northwest National Laboratory, Clean Refrigerator Condenser Coils: https://basc.pnnl.gov/diy-guides/clean-refrigerator-condenser-coils
Leave a Reply