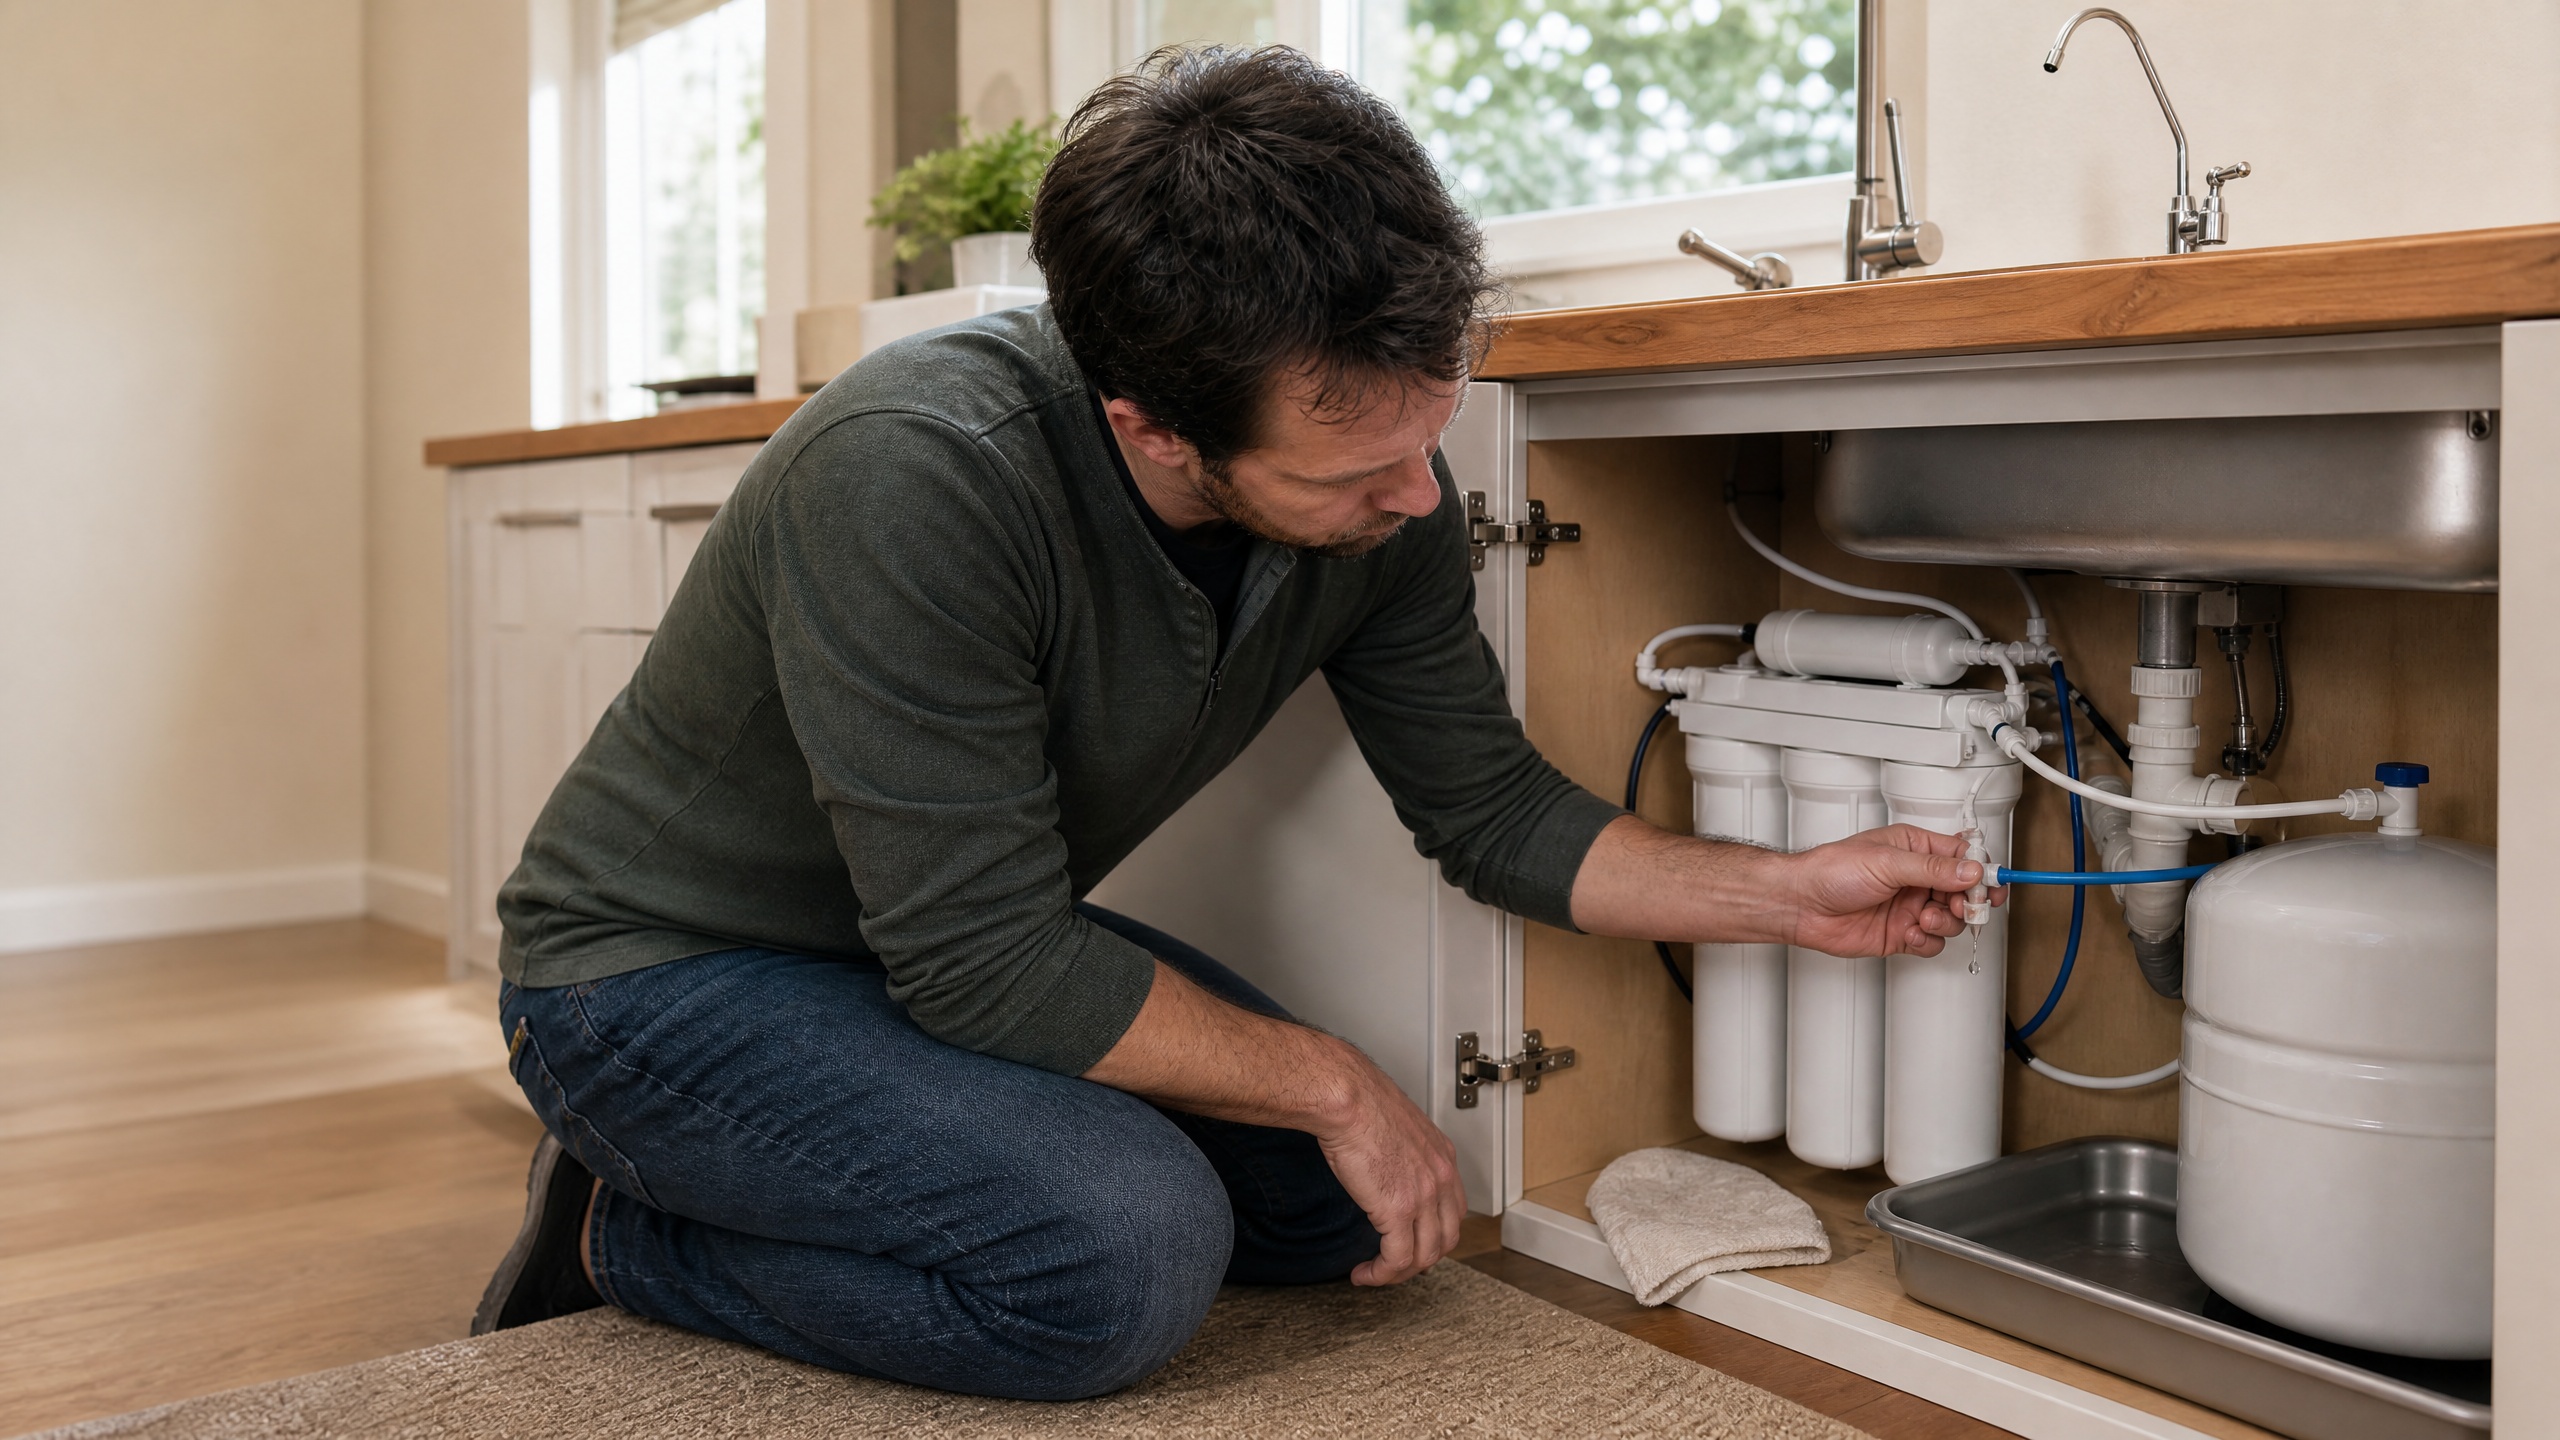
The first leak I chased under a filter system was not at the faucet cartridge; water was backing up through the RO air gap. I now dry every joint with a paper towel, pressurize the line briefly, and watch where the first damp spot appears. If the refrigerator ice maker is also affected, see quick fixes for a refrigerator ice maker.
I have found that a cartridge can look clean and still fail to seal because grit has scored the small sealing surfaces. On one faucet, cleaning the housing helped for a week, but the drip returned; replacing the worn cartridge finally stopped it. That is why I inspect the cartridge rather than tightening the handle harder.
Tools and materials (concise)
| Tool / material | Notes |
|---|---|
| Small adjustable wrench & slip-joint pliers | Avoid large torque on plastic parts |
| Proper tubing cutter or sharp utility knife | Tube cutter preferred for square cuts |
| Replacement O-rings (assorted small sizes) | Match material (EPDM, Buna-N) to OEM when possible |
| Food-grade silicone grease (NSF-rated) | For O-rings and seals only |
| PTFE (plumber’s) tape | For metal-to-metal threads only |
| Short length of replacement tubing and quick-connect fittings | 1/4" or 3/8" to match your system |
| Bucket/tray, rags, paper towels | Catch drips and keep parts organized |
Safety first:
-
Always shut off the cold-water feed to the filter system and relieve pressure by opening the filtered faucet before disconnecting anything. If you aren’t sure which valve controls the filter, trace the tubing from the filter head to the shutoff or use the household main shutoff.
-
Wear safety glasses when working under the sink; trapped pressure can spray water when a fitting is opened.
-
If you discover heavily corroded, cracked, or unknown-metal fittings and you suspect lead or other hazards, stop and consult a professional. Don’t force cracked plastic parts; they usually need replacement.
How leaks behave and where to look
Common leak locations:
-
Spout or handle (inside the faucet) — often a worn or failed cartridge. In my experience, this is one of the most common causes: on one faucet I repaired, the outside looked fine, but grit had worn the cartridge seal and the spout kept dripping until I replaced it.
-
Faucet base (where spout meets mounting) — typically a flattened or displaced O-ring or a loose mounting nut.
-
Push-fit tube connections — the tubing end may not be fully seated, may be nicked, or the collar may not be engaged.
-
Threaded joints — loose, cross-threaded, or failing seals on metal/plastic threads.
-
Filter head or cartridge housing — dirty, displaced, or damaged O-rings or an improperly seated cartridge [1].
-
RO faucet air-gap side slot — this is a drain/air-gap issue, not a faucet cartridge leak; water here usually means a drain backup or a restricted RO drain tube [1].
A quick, low-tech way to confirm where water originates is the dry-paper-towel test: dry suspect areas, press a dry towel against each joint while the system is pressurized, and watch for dampness to appear where water actually begins.
Step-by-step procedure (numbered)
-
Isolate and prepare: Identify the filtered-water shutoff and place a bucket and rags under the work area.
-
Shut off the feed: Close the dedicated cold-water feed to the filter; if the filter has its own shutoff, use that first.
-
Depressurize the line: Open the filtered faucet and let the line drain. Leave the faucet open while you work under the sink so trapped pressure can escape; verify flow has stopped before disconnecting anything.
-
Dry and test: Use the dry-paper-towel test to isolate the leak point before disassembly.
-
Address the problem type: – Cartridge/spout/handle: Remove and inspect the cartridge for wear, grit, or broken parts; clean or replace as needed [1]. – Faucet base: From under the sink, loosen the mounting nut, access the base O-ring, replace and lightly grease if damaged. – Push-fit tubing: Depress the collar, remove tubing,
trim 1/2″ (13 mm) to a square end and reinsert; replace fitting if damaged. – Threaded joints: Clean threads, inspect gaskets, use PTFE on metal threads only, and avoid overtorquing plastic. – Filter head/cartridge housing: Remove cartridge, clean seat and grooves, replace O-rings and lubricate before reseating.
-
Reassemble carefully: Use the correct torque for plastic vs metal; hand-tight plus a small wrench turn is usually sufficient for mounting nuts and fittings.
-
Repressurize and observe: With the faucet open, restore supply and watch every joint and seal for at least 10–15 minutes. Check again after an hour and the next day to catch slow weeps.
-
Replace nonworking parts: If you see cracked plastic, fractured fittings, or a valve that won’t shut off, stop and replace that component or call for help.
How to find the exact leak source (dry-paper-towel test, expanded)
-
Remove standing moisture with paper towels and allow surfaces to air-dry briefly.
-
Close the faucet and press a dry towel or tissue at each suspect point: under the spout, at the base, around the cartridge bonnet, on push-fit collars, and on threaded joints.
-
Open the faucet and watch where dampness first appears. A towel left against a suspected spot for several minutes will show wicking or a wet patch that identifies the origin.
-
Repeat the test while the system is pressurized if the leak is intermittent or pressure-dependent. If the valve doesn’t shut the system off or water continues when the supply is closed, stop and repair the shutoff first.
Fix: spout or handle leak (cartridge service)
Symptom: Faucet drips from the spout when off or leaks at the handle.
Diagnosis and what to inspect
-
Remove any decorative caps, handle screws, and retainers following the faucet design.
-
Pull the cartridge straight out; look for broken plastic, worn sealing edges, and mineral buildup.
-
Ceramic seats and small plastic cartridges can wear or become clogged and will not seal reliably; manufacturers list cartridge issues as a common cause of spout/handle leaks.
Repair steps
-
With the system depressurized, remove the handle and cartridge.
-
Clean mineral deposits carefully with a soft brush and a mild vinegar solution if needed; rinse thoroughly.
-
Inspect O-rings and seals on the cartridge and inside the housing; replace any that look flattened or nicked.
-
Lightly lubricate O-rings with food-grade silicone grease, reinsert the cartridge squarely, and reassemble per the faucet design.
-
Test under pressure; if the leak persists after cleaning, replace the cartridge with the OEM or a compatible part.
Tip: Keep small parts organized and photograph disassembly so you can reassemble in the same order.
Fix: faucet base or mounting-area leak
Symptom: Water runs down the spout base or pools where the faucet mounts to the sink.
Steps
-
Depressurize and loosen the mounting nut from under the sink.
-
Lift the faucet slightly and inspect the base O-ring, spacer, and any mounting gasket.
-
Replace a flattened or nicked O-ring; apply a light coat of silicone grease to help it seat.
-
Re-seat the faucet, tighten the mounting nut snugly by hand, then give a small additional turn with pliers. Avoid excessive force on plastic nuts.
Note: If water tracks along the shank, a loose nut can be the cause even when internal seals are sound.
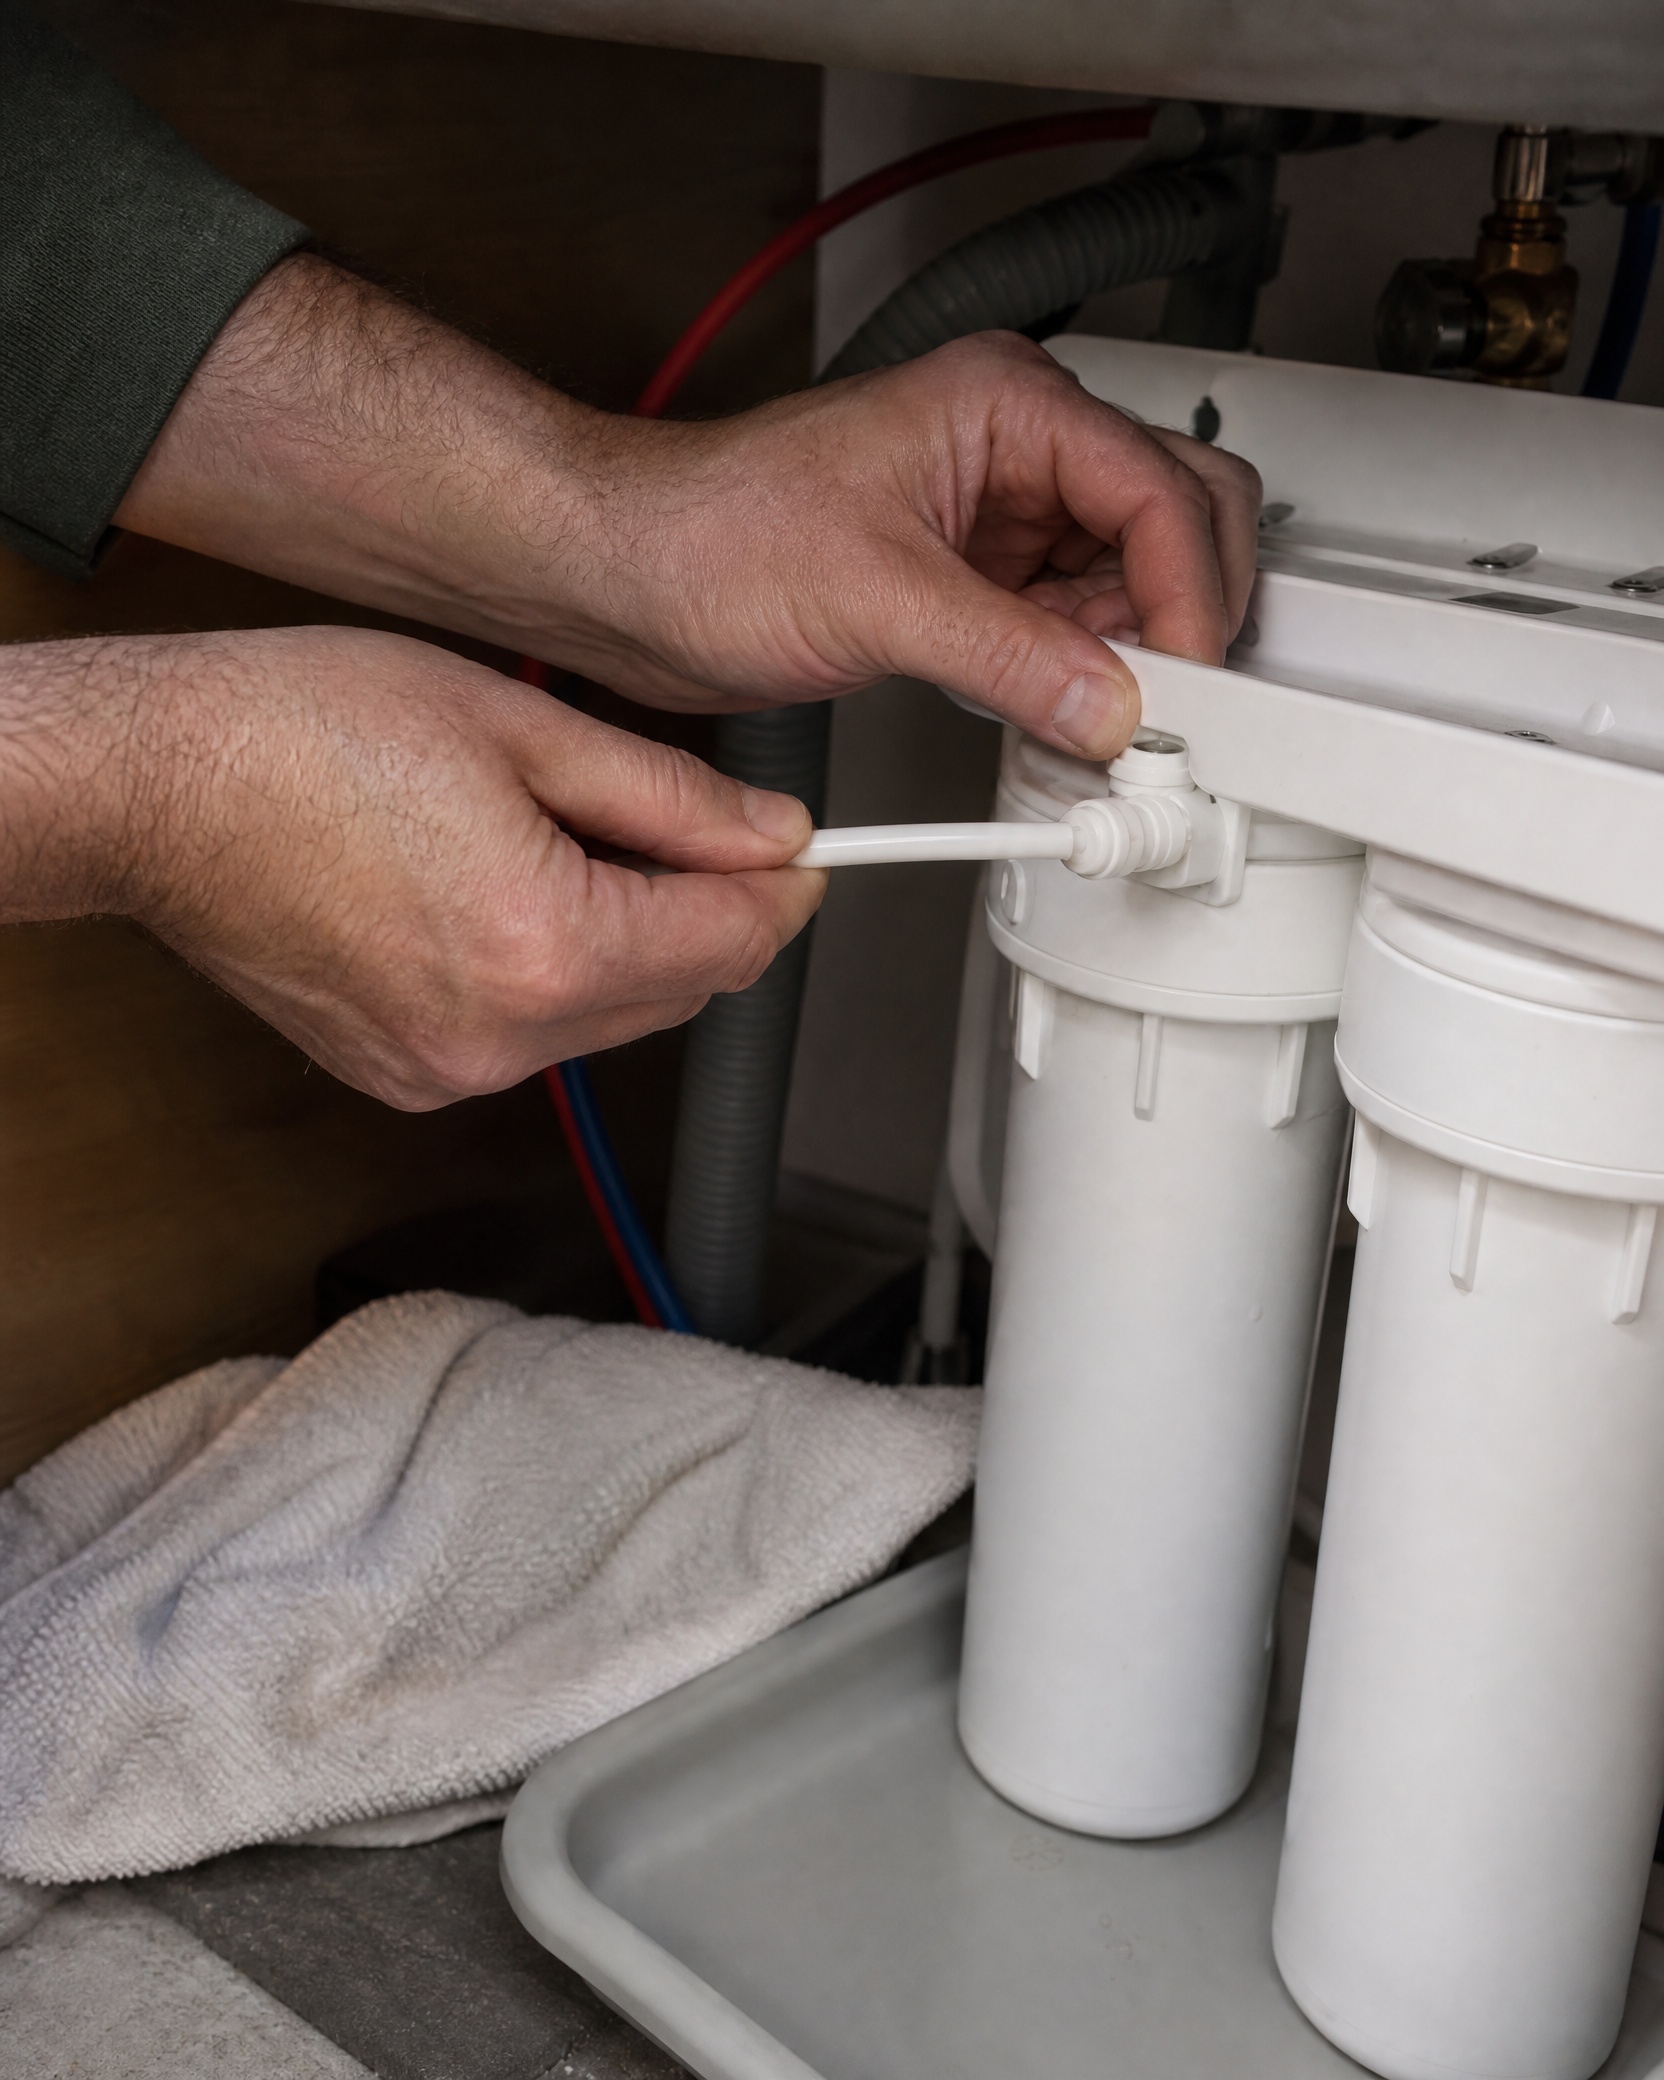
Fix: push-fit (push-to-connect) tubing leaks
Symptom: Water leaks at the collar of a push-fit connection.
Why this happens and how to fix
-
Tubing that is cut at an angle, crushed, or has a burr will not seal; the grab ring inside the fitting needs a square end to bite and seal properly.
-
The solution is to depress the collar, remove the tube, trim off ~1/2″ (13 mm) with a proper cutter to get a square end, and reinsert until it seats fully. Check for debris inside the fitting and clear it.
Detailed steps
-
Depressurize and depress the fitting collar to release the tubing.
-
Inspect the tubing and fitting interior; remove any trapped pieces.
-
Using a tube cutter, squarely trim the tubing end. A knife can work but is more likely to produce a burr.
-
Reinsert the tubing straight into the fitting until it clicks or meets the stop; pull gently to confirm engagement.
-
If the fitting still leaks, replace the fitting. Some push-fit styles are reusable; others are better replaced to ensure a new bite ring and seal.
Fix: threaded joints and pipe fittings
Symptom: Drip or spray from a threaded joint at the filter head or under-sink connection.
What to inspect and correct
-
Loosen the connection slightly and wipe both male and female threads clean. Inspect for damaged threads or a missing gasket.
-
For metal-to-metal threads, apply 2–3 wraps of PTFE tape clockwise around the male thread, then hand-thread and snug with a wrench. For plastic threaded fittings, do not use excessive tape or force; these joints often use a built-in gasket or O-ring that should be replaced rather than relying on tape.
-
Never overtighten plastic fittings—overtorquing cracks plastic and creates worse leaks.
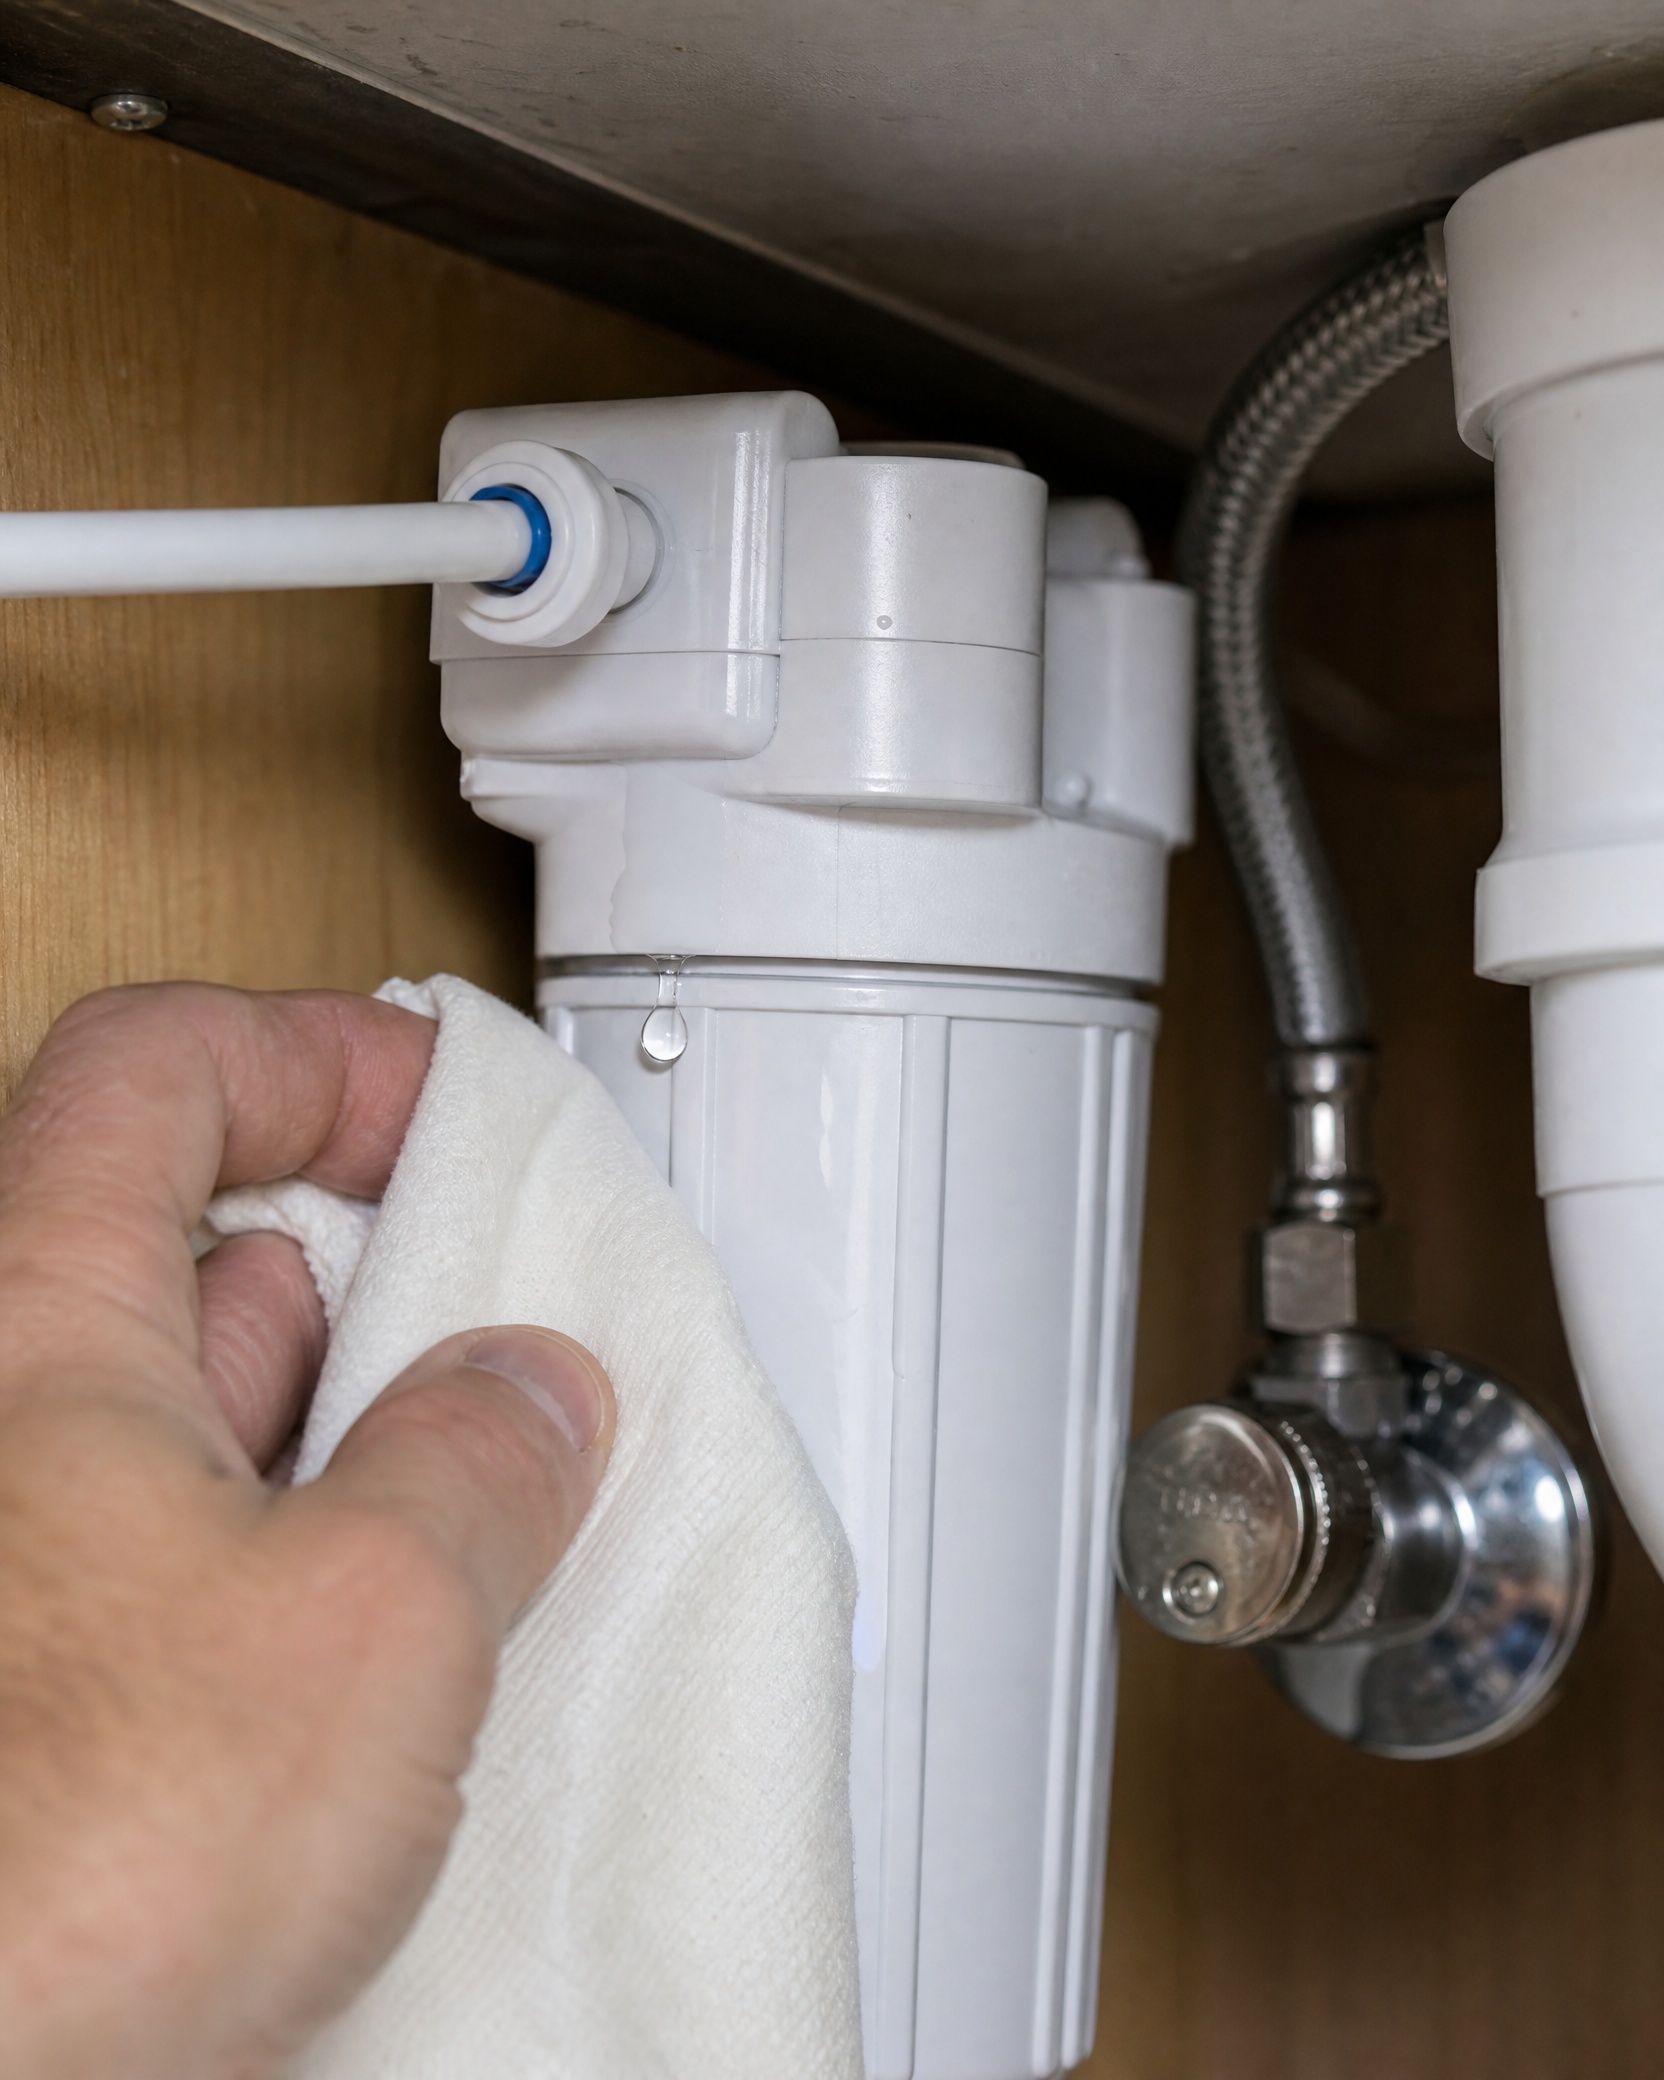
Fix: filter-head or cartridge-housing leak
Symptom: Water sprays or drips around the filter head or where the cartridge seats.
Inspection and repair
-
Depressurize, remove the cartridge, and inspect the O-ring(s) and the cartridge seat.
-
Clean the seat groove and housing with a soft cloth; embedded grit can prevent a seal.
-
Replace any O-ring that appears flattened, nicked, or hardened. Use the correct size and material; OEM parts are often best for fit.
-
Lightly lubricate the new or cleaned O-ring with food-grade silicone grease, then reinsert and seat the cartridge squarely.
-
Reassemble and test. For another appliance water-system maintenance example, see how to keep your coffee maker mold-free and fresh. Routine replacement of seals during cartridge changes helps prevent leaks and is recommended by filter-maintenance guides.
Recognizing an RO faucet air-gap overflow
Symptom: Water appears from a small side slot or outlet near the faucet spout.
What that means
-
Many RO faucets include an air-gap that vents to a small side outlet when the drain is backing up. Water here usually indicates a drain or drain-tube backup rather than a faucet cartridge issue.
-
Inspect the drain saddle for clogs, check the RO drain tube (often blue), and verify the drain path is clear. Do not bypass or remove the air-gap; it’s a sanitary device required by many codes.
Troubleshooting table: common symptoms, likely causes, and next steps
| Symptom | Likely cause | Quick next step |
|---|---|---|
| Drip from spout when off | Worn or damaged faucet cartridge | Remove cartridge, clean or replace. |
| Water tracking at faucet base | Flattened/displaced base O-ring or loose mount | Replace O-ring, lubricate lightly, snug mounting nut. |
| Leak at push-fit collar | Tubing end damaged or not fully seated | Release collar, trim 1/2" (13 mm) square, reinsert; replace fitting if needed. |
| Water from side slot/air-gap | Drain or drain-tube backup | Clear drain saddle and RO drain tube; do not bypass air-gap. |
| Spray at filter head | Dirty/damaged O-ring or mis-seated cartridge | Remove cartridge, replace O-ring, lubricate, reseat. |
| Drip from threaded joint | Loose, cross-threaded, or poorly sealed threads | Clean threads, use PTFE on metal threads only, avoid overtightening plastic. |
Quick self-check
Quick self-check
| Scenario | Likely answer |
|---|---|
| Faucet drips only while water is running through the filter line | Likely a pressure-dependent leak such as a loose threaded joint or fitting; use the dry-paper-towel test with the line pressurized to find it. |
| Water issues from the small slot near the spout | Air-gap overflow; check the drain and RO drain tube for backup, not the faucet cartridge. |
| Tubing pops out near a push-fit fitting during testing | Tubing was not fully seated or the end is damaged; trim 1/2" (13 mm) to a square end and reinsert. |
| Water pools under the filter housing after a cartridge change | Check filter-head O-ring seating and that the cartridge is fully engaged; replace the O-ring if deformed. |
| Hairline crack appears after tightening a plastic threaded fitting | Stop; the fitting is cracked and must be replaced—do not continue to overtighten. |
When to stop and call for help
When to stop and call for help
-
You cannot stop the water: If the dedicated shutoff won’t stop flow or the valve itself leaks, call a plumber instead of attempting temporary fixes.
-
Major cracks or broken components: If the filter head, faucet shank, or any structural parts are cracked, professional replacement or a certified part swap is advisable. For a related small kitchen hardware repair, see how to fix sticking kitchen drawers.
-
Hidden or slow leaks: If you find damp cabinet flooring, swollen wood, mold, or a leak that appears inside a wall, call a professional to locate and repair concealed damage.
-
Persistent RO drain/air-gap problems: If clearing visible clogs doesn’t stop air-gap overflows or you suspect a failed pump or membrane housing, consult a qualified RO technician.
-
Unknown or unsafe materials: If fittings are corroded, of unknown metal, or if you suspect lead, stop work and get an inspection.
Preventive maintenance and practical tips that save time
-
Replace O-rings at every cartridge change. They’re inexpensive and often the source of repeat leaks.
-
Keep a small repair kit under the sink: spare O-rings, a short length of tubing, a couple of spare push-fit fittings, and silicone grease.
-
Use OEM parts for critical seals when possible; aftermarket parts can fit differently and may not seal as reliably.
-
Use a proper tubing cutter for square ends. A knife can work in a pinch but often leaves a bevel that leaks.
-
After any repair, run the system with the faucet open for 10–15 minutes and recheck all connections. Small weeps often show only after pressurization.
Common mistakes to avoid
-
Skipping depressurization: Disconnecting a pressurized line can spray water and damage parts.
-
Overtightening plastic fittings: Plastic cracks easily when overtorqued—use restrained, measured force.
-
Using PTFE tape on the wrong joint: Tape is for metal threads; plastic joints often use gaskets or O-rings.
-
Forcing stuck fittings: Heat and careful persuasion are better than brute force. If a plastic nut refuses to budge, replace it.
Final test and monitoring After any repair, keep the filtered faucet open and inspect every fitting, joint, and the filter head for at least 10–15 minutes. Recheck the next day to catch slow leaks.
If a repair holds under normal use and pressure cycling, the fix is likely complete. If any step feels beyond your comfort level, or if replacement parts aren’t available or compatible, have a professional confirm the repair and parts.
References
-
Moen Solutions, Kitchen Faucets: Reverse Osmosis—Leaking Issues: https://solutions.moen.com/Article_Library/Kitchen_Faucets%3A_Reverse_Osmosis-Leaking_Issues
-
Crystal Quest, Water Filter Troubleshooting: https://crystalquest.com/blogs/filter-maintenance/water-filter-troubleshooting
Leave a Reply