
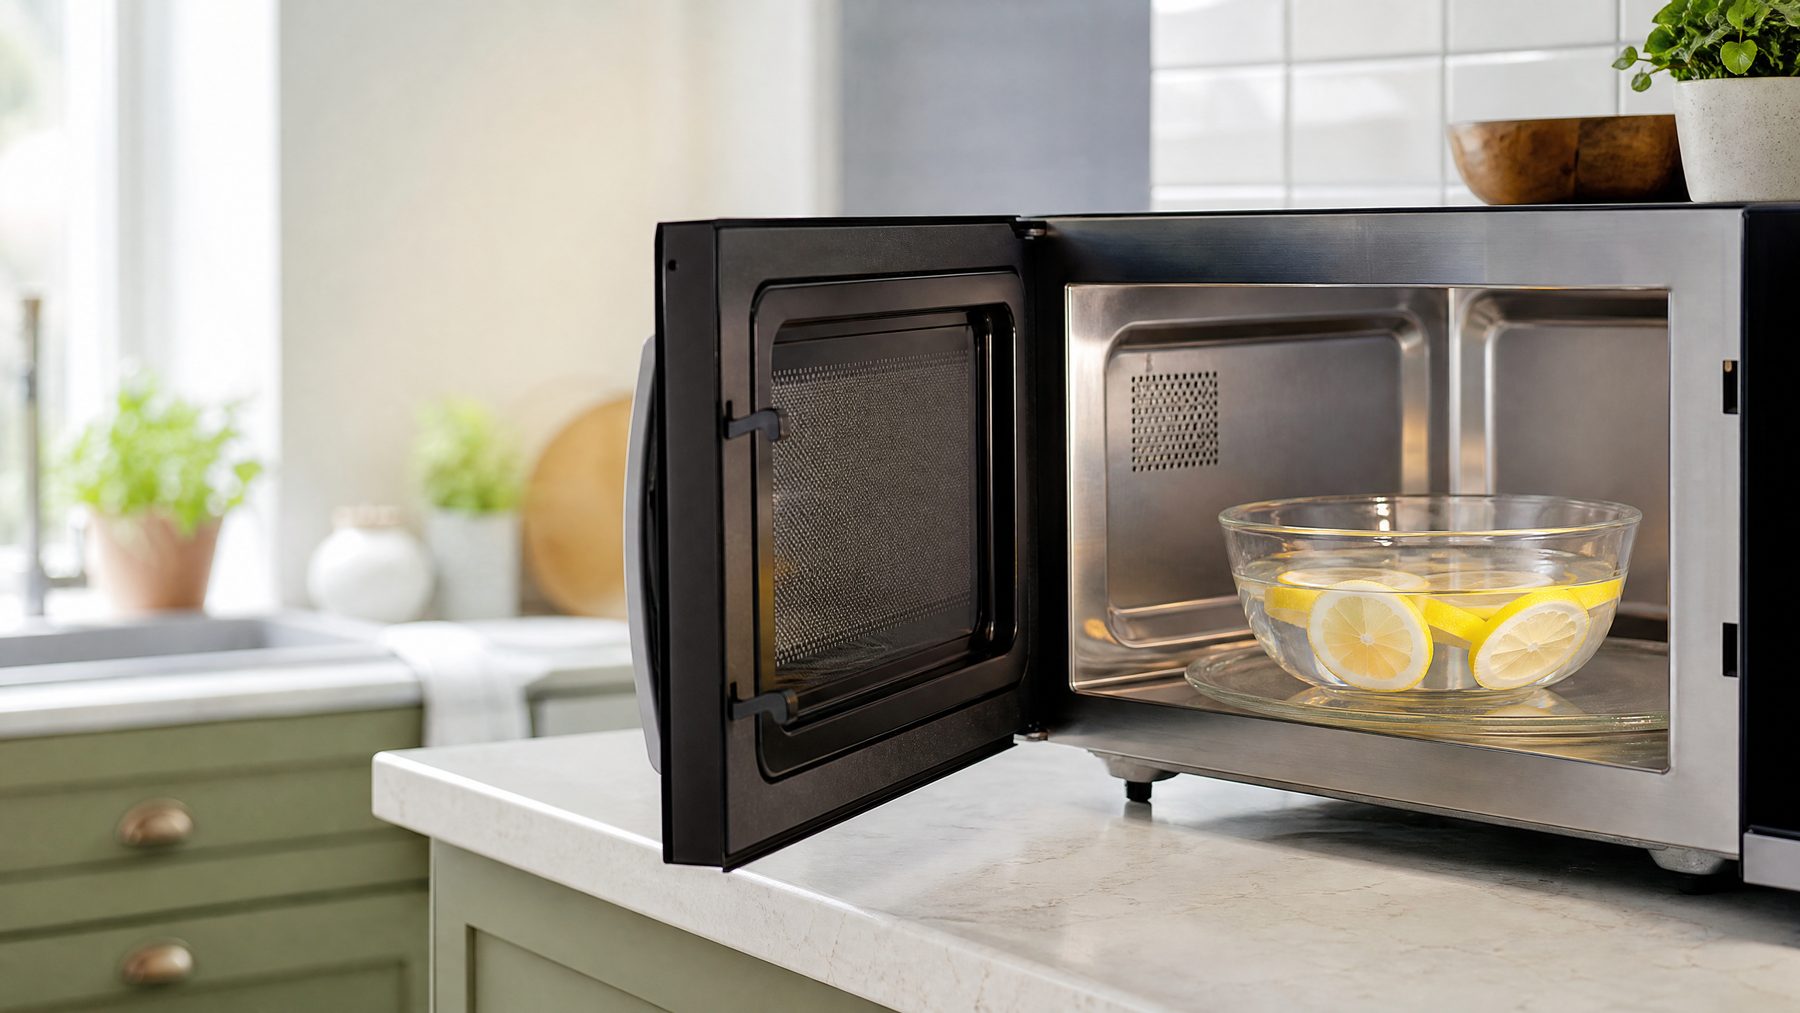
For simple microwave cleaning, I use a few reliable, natural ingredients: water, lemon, white vinegar, baking soda, and salt. Steam does most of the heavy lifting—softening dried food so I can wipe it away with minimal scrubbing. Below are seven practical hacks, troubleshooting help, and guidance on when to stop and call for professional help.
These methods are gentle on the microwave interiors I have worked with, but I still check the manual before using a bowl, rack, or unusual cleaner. I once loosened a baked-on sauce in one steam cycle, then spent longer cleaning the turntable ring because I had ignored the splatter underneath it. For another appliance-cleaning routine, see how to clean your blender effortlessly.
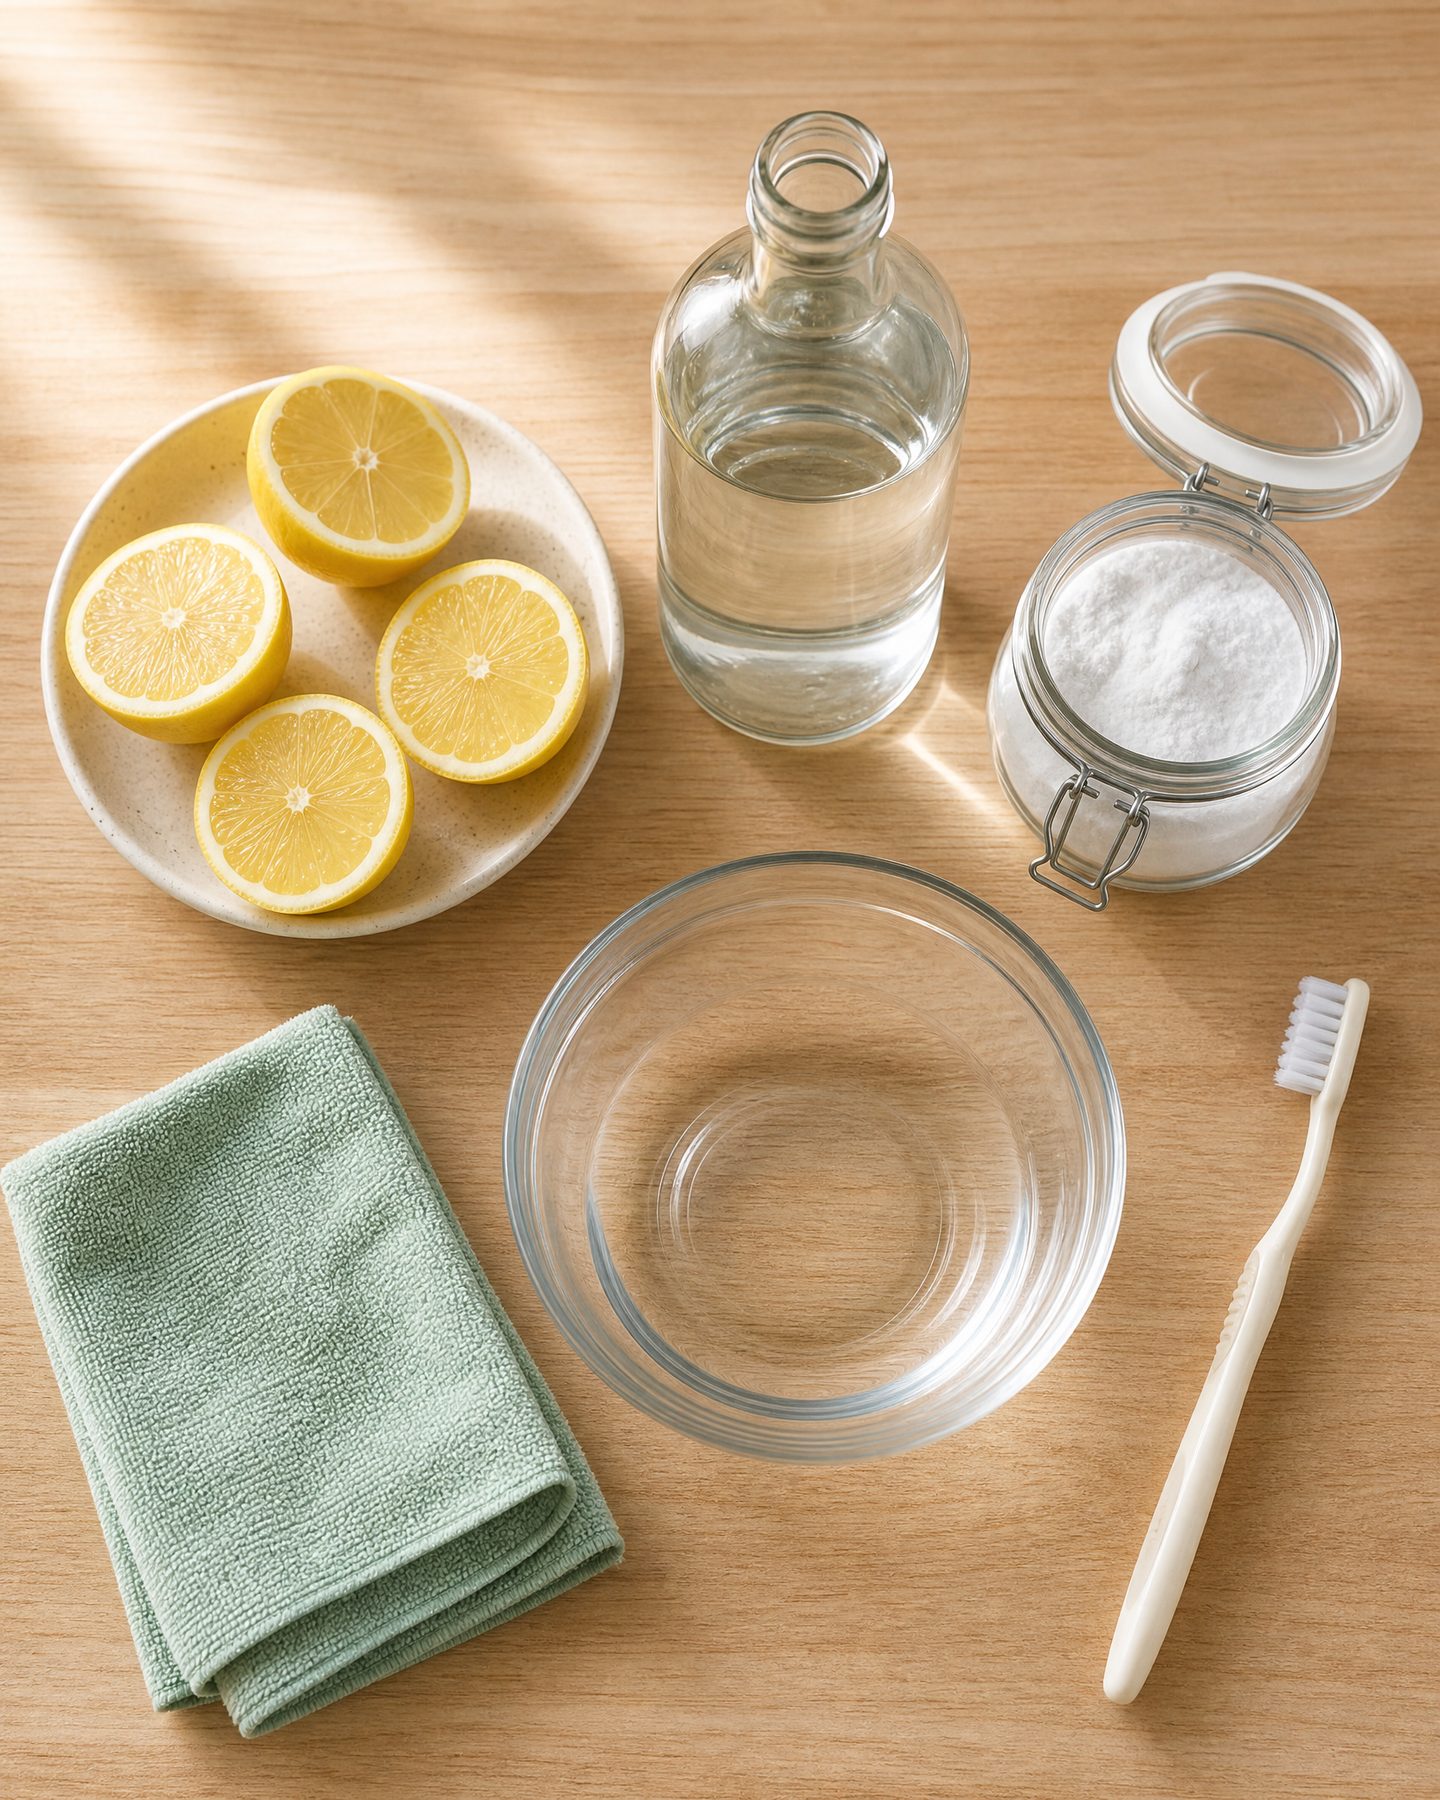
Tools & materials
| Tool / material | Notes |
|---|---|
| Microwave-safe bowl or measuring cup | Glass or ceramic labeled microwave-safe |
| Oven mitt or kitchen towel | For handling hot bowls and steam |
| Microfiber cloth or soft sponge (non-abrasive) | For wiping and polishing |
| Soft toothbrush or small nylon brush | For corners, vents, and crevices |
| Paper towels or lint-free rag | For drying and final buff |
| Lemon or fresh citrus (optional) | For deodorizing and light grease cutting |
| White vinegar | Diluted for steam cleaning |
| Baking soda | For paste and odor absorption |
| Table salt | Fine salt preferred for scrubbing |
| Small dish for baking-soda paste | Nonmetal for mixing |
Safety first:
-
Use only microwave-safe bowls and containers. If a container isn’t labeled microwave-safe, don’t use it for steam cycles.
-
Avoid metal inside the microwave at all times. Never microwave metal objects, foil, or utensils.
-
Steam and hot bowls can burn. Use an oven mitt, open the door slowly, and keep your face and hands away from the opening when removing hot containers.
-
Do not use steel wool, abrasive scouring pads, or stiff metal tools on the interior; they can scratch protective coatings and expose metal beneath the finish [1].
-
If you have any doubts about an acidic treatment (vinegar, lemon) and your microwave’s interior coating, follow the owner manual first; rinse any acid residue thoroughly after cleaning [1].
Why I focus on steam plus a few gentle scrubs: steam hydrates and loosens dried-on food and grease so small amounts of elbow grease remove it without harsh chemicals. Mild acids like vinegar or lemon help with odor and grease; they are also handy when you descale an electric kettle. Baking soda adds gentle abrasion and odor absorption when needed.
The Home Depot describes similar steam methods—1:1 vinegar and water or lemon water for a short heat-and-rest cycle—and I follow the same principle: heat until steamy, let it sit closed, then wipe [1].
Hack 1 — Plain steam (water only)
Why it works: Hot water produces steam that softens food particles without adding scent or acid. This is the gentlest first pass and a good routine for light splatters.
-
Remove the turntable and ring and wash or set aside for separate cleaning [1].
-
Fill a microwave-safe bowl with about 1 cup of water.
-
Place the bowl in the center of the microwave and run on high for 2–4 minutes depending on wattage, until the water boils and the interior is visibly steamy.
-
Leave the door closed for 2–5 minutes so steam continues to soften residue.
-
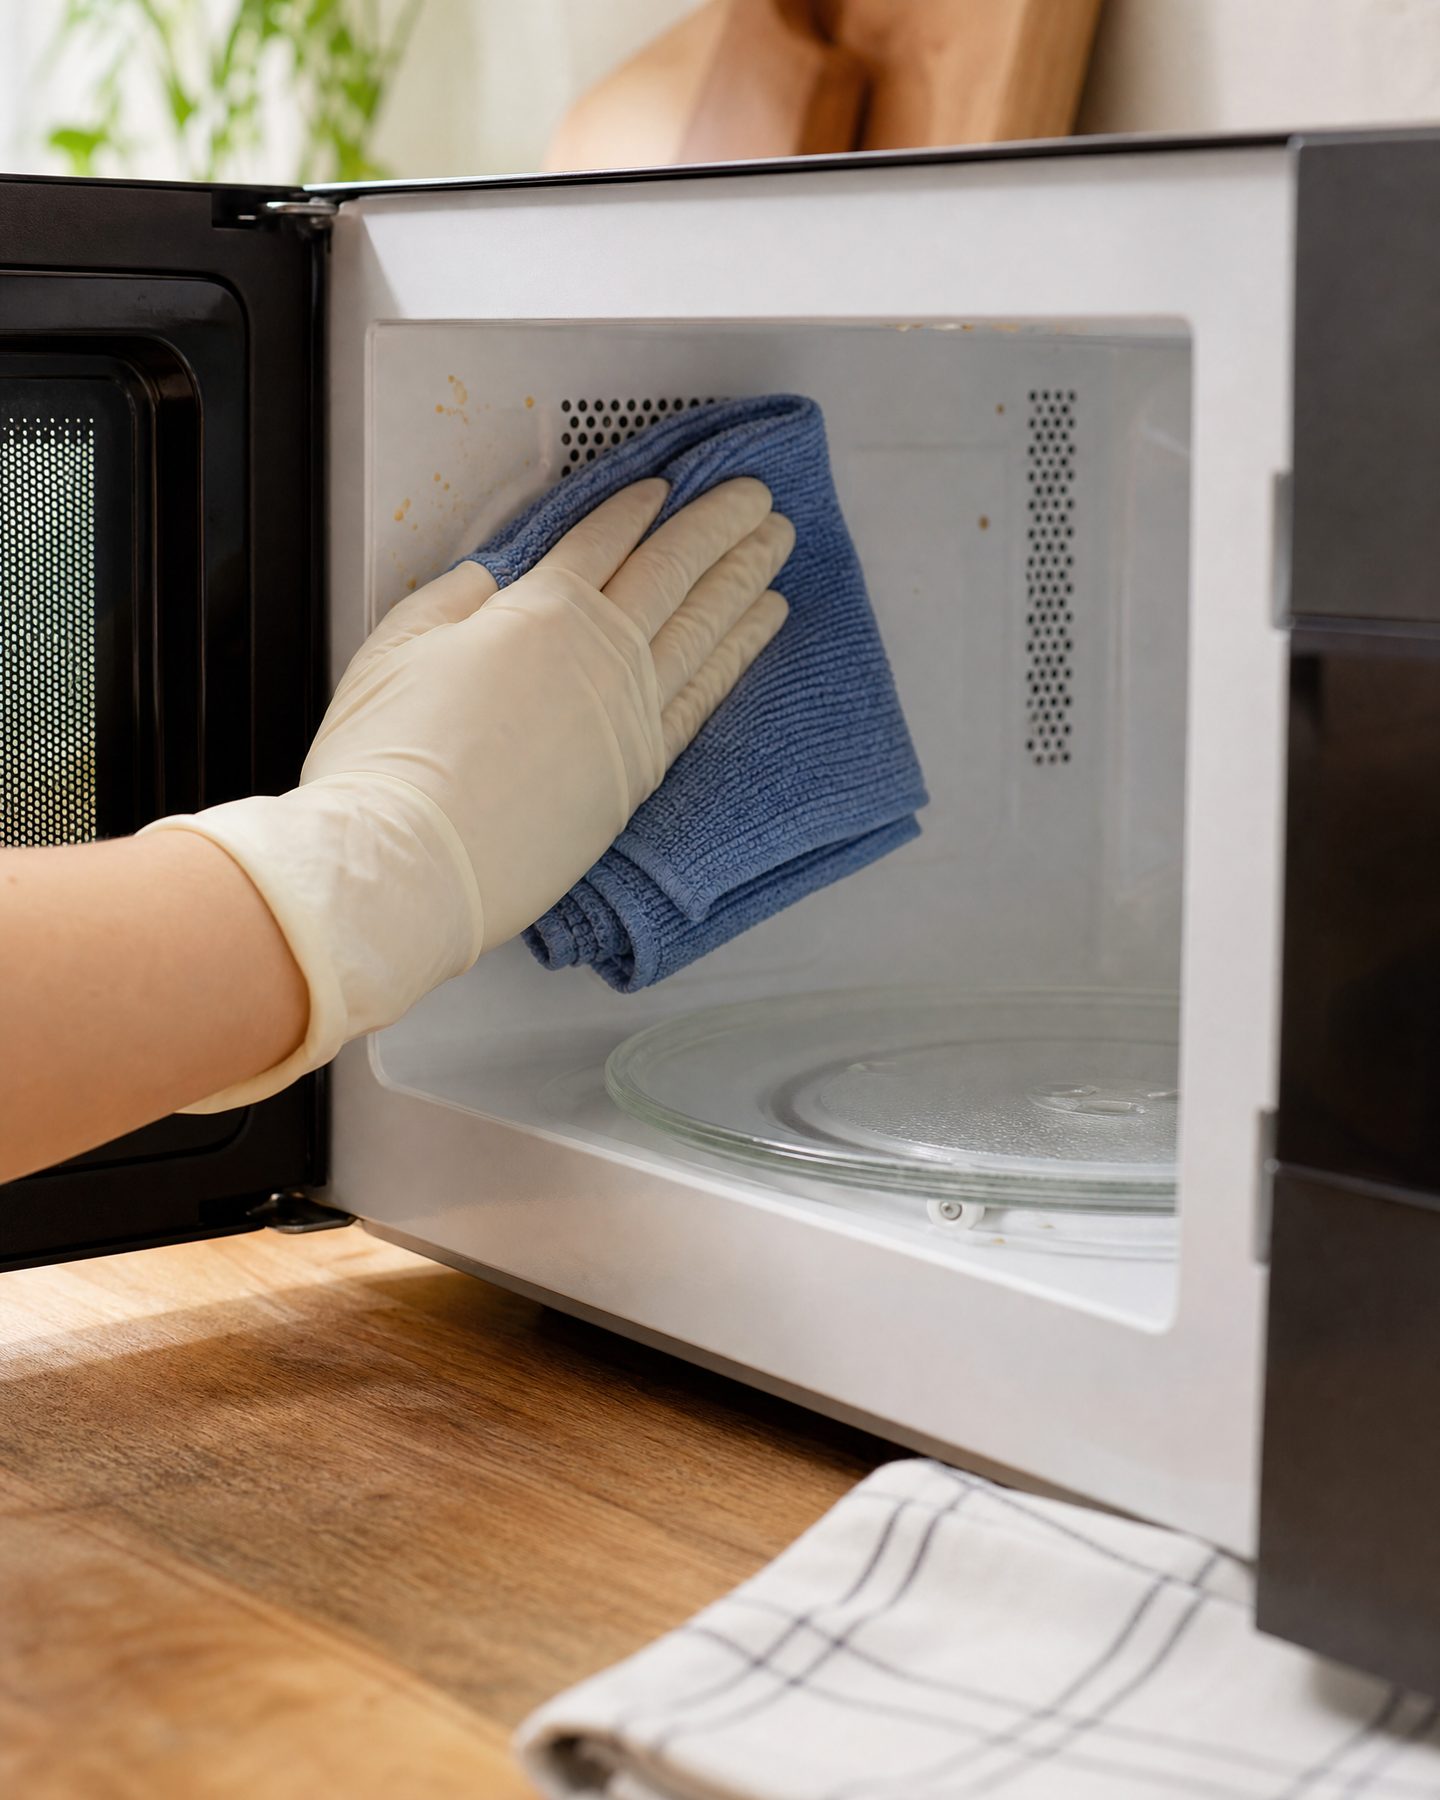
Use an oven mitt to remove the bowl and wipe the interior with a damp microfiber cloth or non-abrasive sponge.
Tips:
- Shorten time on high-wattage models to avoid boiling over; increase time slightly on low-wattage units.
Safety note: Open the microwave slowly to avoid a sudden burst of steam.
Hack 2 — Lemon steam for odor and grease
Why it works: Citrus releases light oils and adds a fresh scent while steam softens stuck-on food and loosens grease.
-
Slice half a lemon and squeeze some juice into a microwave-safe bowl with about 1/2 cup water; drop the squeezed halves into the bowl as well.
-
Heat on high about 3–4 minutes, or until steam fills the cavity.
-
Keep the door closed for 2–5 minutes so the steam works on residues.
-
Remove the bowl with an oven mitt and wipe the interior with a damp microfiber cloth.
-
For stubborn spots, dip a soft toothbrush in the bowl water and gently scrub.
Tips:
- Avoid essential oils in the microwave bowl—they can be flammable and may leave oily residue.
Safety note: Rinse acidic residue with plain water if you’re unsure of your interior coating.
Hack 3 — Vinegar steam for loosening dried-on food
Why it works: White vinegar’s mild acidity helps break down dried food and neutralize odors when combined with steam. I follow a method similar to one recommended by Home Depot: a 1:1 vinegar-to-water mix heated until it steams, then left to sit briefly before wiping.
-
Combine equal parts white vinegar and water in a microwave-safe bowl (about 1/2 to 1 cup of each).
-
Place the bowl in the microwave and run on high for about five minutes, or until the mixture boils and the interior is full of steam.
-
Keep the door closed for another 3–5 minutes to maximize steam penetration.
-
Use an oven mitt to remove the bowl and wipe the interior with a microfiber cloth; use a soft toothbrush on stubborn spots.
Tips:
- For very baked-on carbonized bits, follow this steam with a baking-soda paste (Hack 4).
Safety note: Vinegar fumes can be strong—ventilate if you’re sensitive to smells.
Hack 4 — Baking soda paste for baked-on spots
Why it works: Baking soda is mildly abrasive and alkaline, which helps lift stubborn, dry-baked residue without aggressive scrubbing.
-
Mix 2–3 tablespoons of baking soda with a few teaspoons of water in a small nonmetal dish until you have a spreadable paste.
-
Apply the paste to stubborn spots using a soft toothbrush or cloth.
-
Let the paste sit for 5–10 minutes to soften the residue.
-
Wipe away with a damp microfiber cloth, rinsing the cloth frequently.
-
Repeat if needed or use after a short steam cycle to reduce scrubbing.
Tips:
-
Combine a vinegar steam first for severe residues: steam softens and the paste lifts remaining debris.
-
Make sure to remove all gritty residue by rinsing thoroughly; leftover baking soda can feel abrasive.
Safety note: Don’t use baking-soda paste on metal components or damaged coatings. Rinse thoroughly.
Hack 5 — Salt and lemon scrub for grease spots
Why it works: Salt provides gentle abrasive action while lemon adds grease-cutting acidity and fragrance.
-
Sprinkle a small amount of fine table salt on a damp microfiber cloth or on a cut lemon half.
-
Gently rub the greasy spot in circular motions, using light pressure.
-
Let the lemon juice sit for 1–2 minutes, then wipe clean with a damp cloth.
-
Rinse the area with a water-dampened cloth to remove salt granules.
Tips:
-
Use fine salt to reduce the risk of scratching.
-
Avoid using this on painted or specialty coatings unless your manual allows; test a small hidden area first.
Safety note: Use gentle pressure and rinse completely after cleaning.
Hack 6 — Baking soda deodorizer (no heating)
Why it works: Baking soda absorbs odors without adding moisture or heat—good for intermittent odor control.
-
Place a small open bowl of baking soda on the turntable.
-
Leave it overnight or for several days to absorb lingering smells.
-
Replace the baking soda every 2–4 weeks as needed.
Tips:
-
For a light scent while still absorbing odors, add a few lemon peels on top of the baking soda, but replace peels often to prevent mold.
-
If you prefer a contained option, use a shallow sealed container with holes or a tea infuser cup.
Safety note: Keep baking soda dry to avoid a gritty mess.
Hack 7 — Wipe-and-polish routine with steam assist
Why it works: A short steam cycle followed by a microfiber wipe and dry buff prevents buildup and keeps the microwave presentable with minimal effort.
-
Run a quick 2-minute plain water steam cycle (see Hack 1).
-
Remove the bowl and wipe the interior with a damp microfiber cloth.
-
Dry and polish surfaces with a lint-free rag to remove streaks.
-
Wash the turntable and ring separately in warm, soapy water and dry before replacing.
Tips:
-
Keep a small cleaning kit near the microwave so touch-ups are quick.
-
For stainless-steel exteriors, use a soft cloth and a manufacturer-approved cleaner or a few drops of olive oil if the manual permits.
Safety note: Don’t operate the microwave without the turntable if your manual requires it for safe operation.
Step-by-step procedure (steady-clean routine)
These numbered steps form a repeatable routine I use to keep a microwave maintained between deeper cleanings.
-
Remove and wash the glass turntable and support ring in warm, soapy water or load them in the dishwasher if the manual allows. Dry them completely.
-
Choose a steam method: plain water for light cleaning, lemon for freshening, or vinegar for tougher residues. Place the bowl centrally.
-
Heat until the bowl boils and steam fills the cavity; typical time ranges 2–5 minutes depending on power. Close the door and let sit 2–5 minutes after heating to let steam work.
-
Carefully remove the bowl with an oven mitt and wipe the interior with a damp microfiber cloth, using a soft brush on corners and crevices.
-
Apply a baking-soda paste only to stubborn spots; let sit briefly, then wipe clean and rinse any acidic residue with plain water.
-
Dry the interior completely with a lint-free cloth, replace the dry turntable, and close the door.
Caveat: Follow any model-specific instructions in your microwave manual. Some models advise against certain treatments or require specific cleaning methods.
Cleaning the turntable and support ring
-
Remove both pieces before steam cleaning so water doesn’t pool beneath them.
-
Wash in warm, soapy water or in the dishwasher if the manual allows.
-
Dry thoroughly and inspect the drive socket and support ring for debris; a stuck crumb can prevent rotation. Wipe the socket and use a soft brush to clear trapped crumbs.
-
Replace cracked or chipped turntables with manufacturer-recommended parts to avoid drive damage.
What to wipe with and what not to use
-
Use a soft microfiber cloth or non-abrasive sponge. Soft nylon brushes or a toothbrush work for seams and vents.
-
Never use steel wool or abrasive scouring pads inside; they can damage protective coatings.
-
For control panels, never spray liquids directly onto buttons or displays—lightly dampen a cloth instead.
-
Avoid bleach or harsh chemical sprays unless your model’s manual explicitly permits them.
-
After acidic treatments, give the interior a final damp wipe with plain water to remove acid residue.
Quick self-check with its scenario table
| Scenario | Quick answer |
|---|---|
| I used vinegar steam but dried-on splatters remain | Re-run the steam for the full time (about five minutes), keep the door closed a few extra minutes, then use a soft toothbrush and baking-soda paste on the spot. |
| Burnt popcorn smell lingers | Try lemon steam (Hack 2) or an open bowl of baking soda overnight; repeat if needed. |
| Can I run the microwave with the turntable removed? | Check the owner manual—some models require the turntable for proper operation; remove only if the manufacturer allows. |
| Is vinegar or lemon safe for my interior paint? | Brief, rinsed applications are usually fine, but consult the manual for any restrictions; rinse thoroughly after using acids. |
| How often should I steam-clean? | For light daily use, weekly steam-and-wipe is common; heavier use may require twice-weekly attention. |
| I see a white film after baking-soda cleaning | That’s likely baking soda residue. Wipe with a damp cloth and then a dry cloth; repeat with warm water if needed. |
| Sparks or arcing during use—what now? | Stop immediately, unplug, and inspect for metal inside or damage. If nothing obvious, seek manufacturer or technician help before using again. |
Troubleshooting
| Scenario | Likely cause | Quick fix |
|---|---|---|
| Frequent fog on door after cleaning | Condensed steam from recent cleaning | Wipe door dry and leave the door ajar for 10–15 minutes to dry |
| Stubborn burnt-on brown spots | Food was heated until carbonized | Apply vinegar steam (Hack 3), then use baking-soda paste (Hack 4); repeat gently |
| Lingering vinegar smell | Fumes not fully aired out | Wipe interior with plain water, then run a short lemon-water cycle and air out |
| Scratches on interior surface | Used abrasive pad or scouring tool | Stop abrasive tools; switch to steam and soft brushes; avoid further use until coating is assessed |
| Turntable not rotating after cleaning | Support ring misaligned or debris under it | Remove turntable; clean the support ring and drive socket; dry and re-seat correctly |
When to stop and call for help
-
You see arcing or sparks during operation—stop, unplug, and inspect. This could indicate metal left inside or damage to the interior.
-
The door latch or seal is bent, cracked, or does not close firmly. A compromised door is a safety hazard—do not use the microwave until a qualified technician or the manufacturer advises.
-
You detect a persistent burning-electrical smell while operating. Turn off and unplug the unit and get professional service.
-
The control panel is unresponsive after cleaning and drying. If issues persist, contact the manufacturer or an authorized repair service.
-
You’re unsure whether a cleaning method is safe for your specific model. Consult the owner manual or the manufacturer before proceeding.
Practical maintenance tips I use
-
Use lids or vented microwave covers to reduce splatter during cooking.
-
Keep a small cleaning kit near the microwave (microfiber cloth, soft brush, and a small bowl) to make quick touch-ups easy.
-
After steam cleaning, make sure the interior is fully dry to avoid moisture lingering in seams, which could encourage mold.
-
Periodically check and gently dust exterior vents—blocked vents can affect performance and longevity.
These seven hacks let me handle most microwave messes with simple household items. I still follow my owner manual and avoid abrasive tools or chemicals that could damage the interior.
Leave a Reply