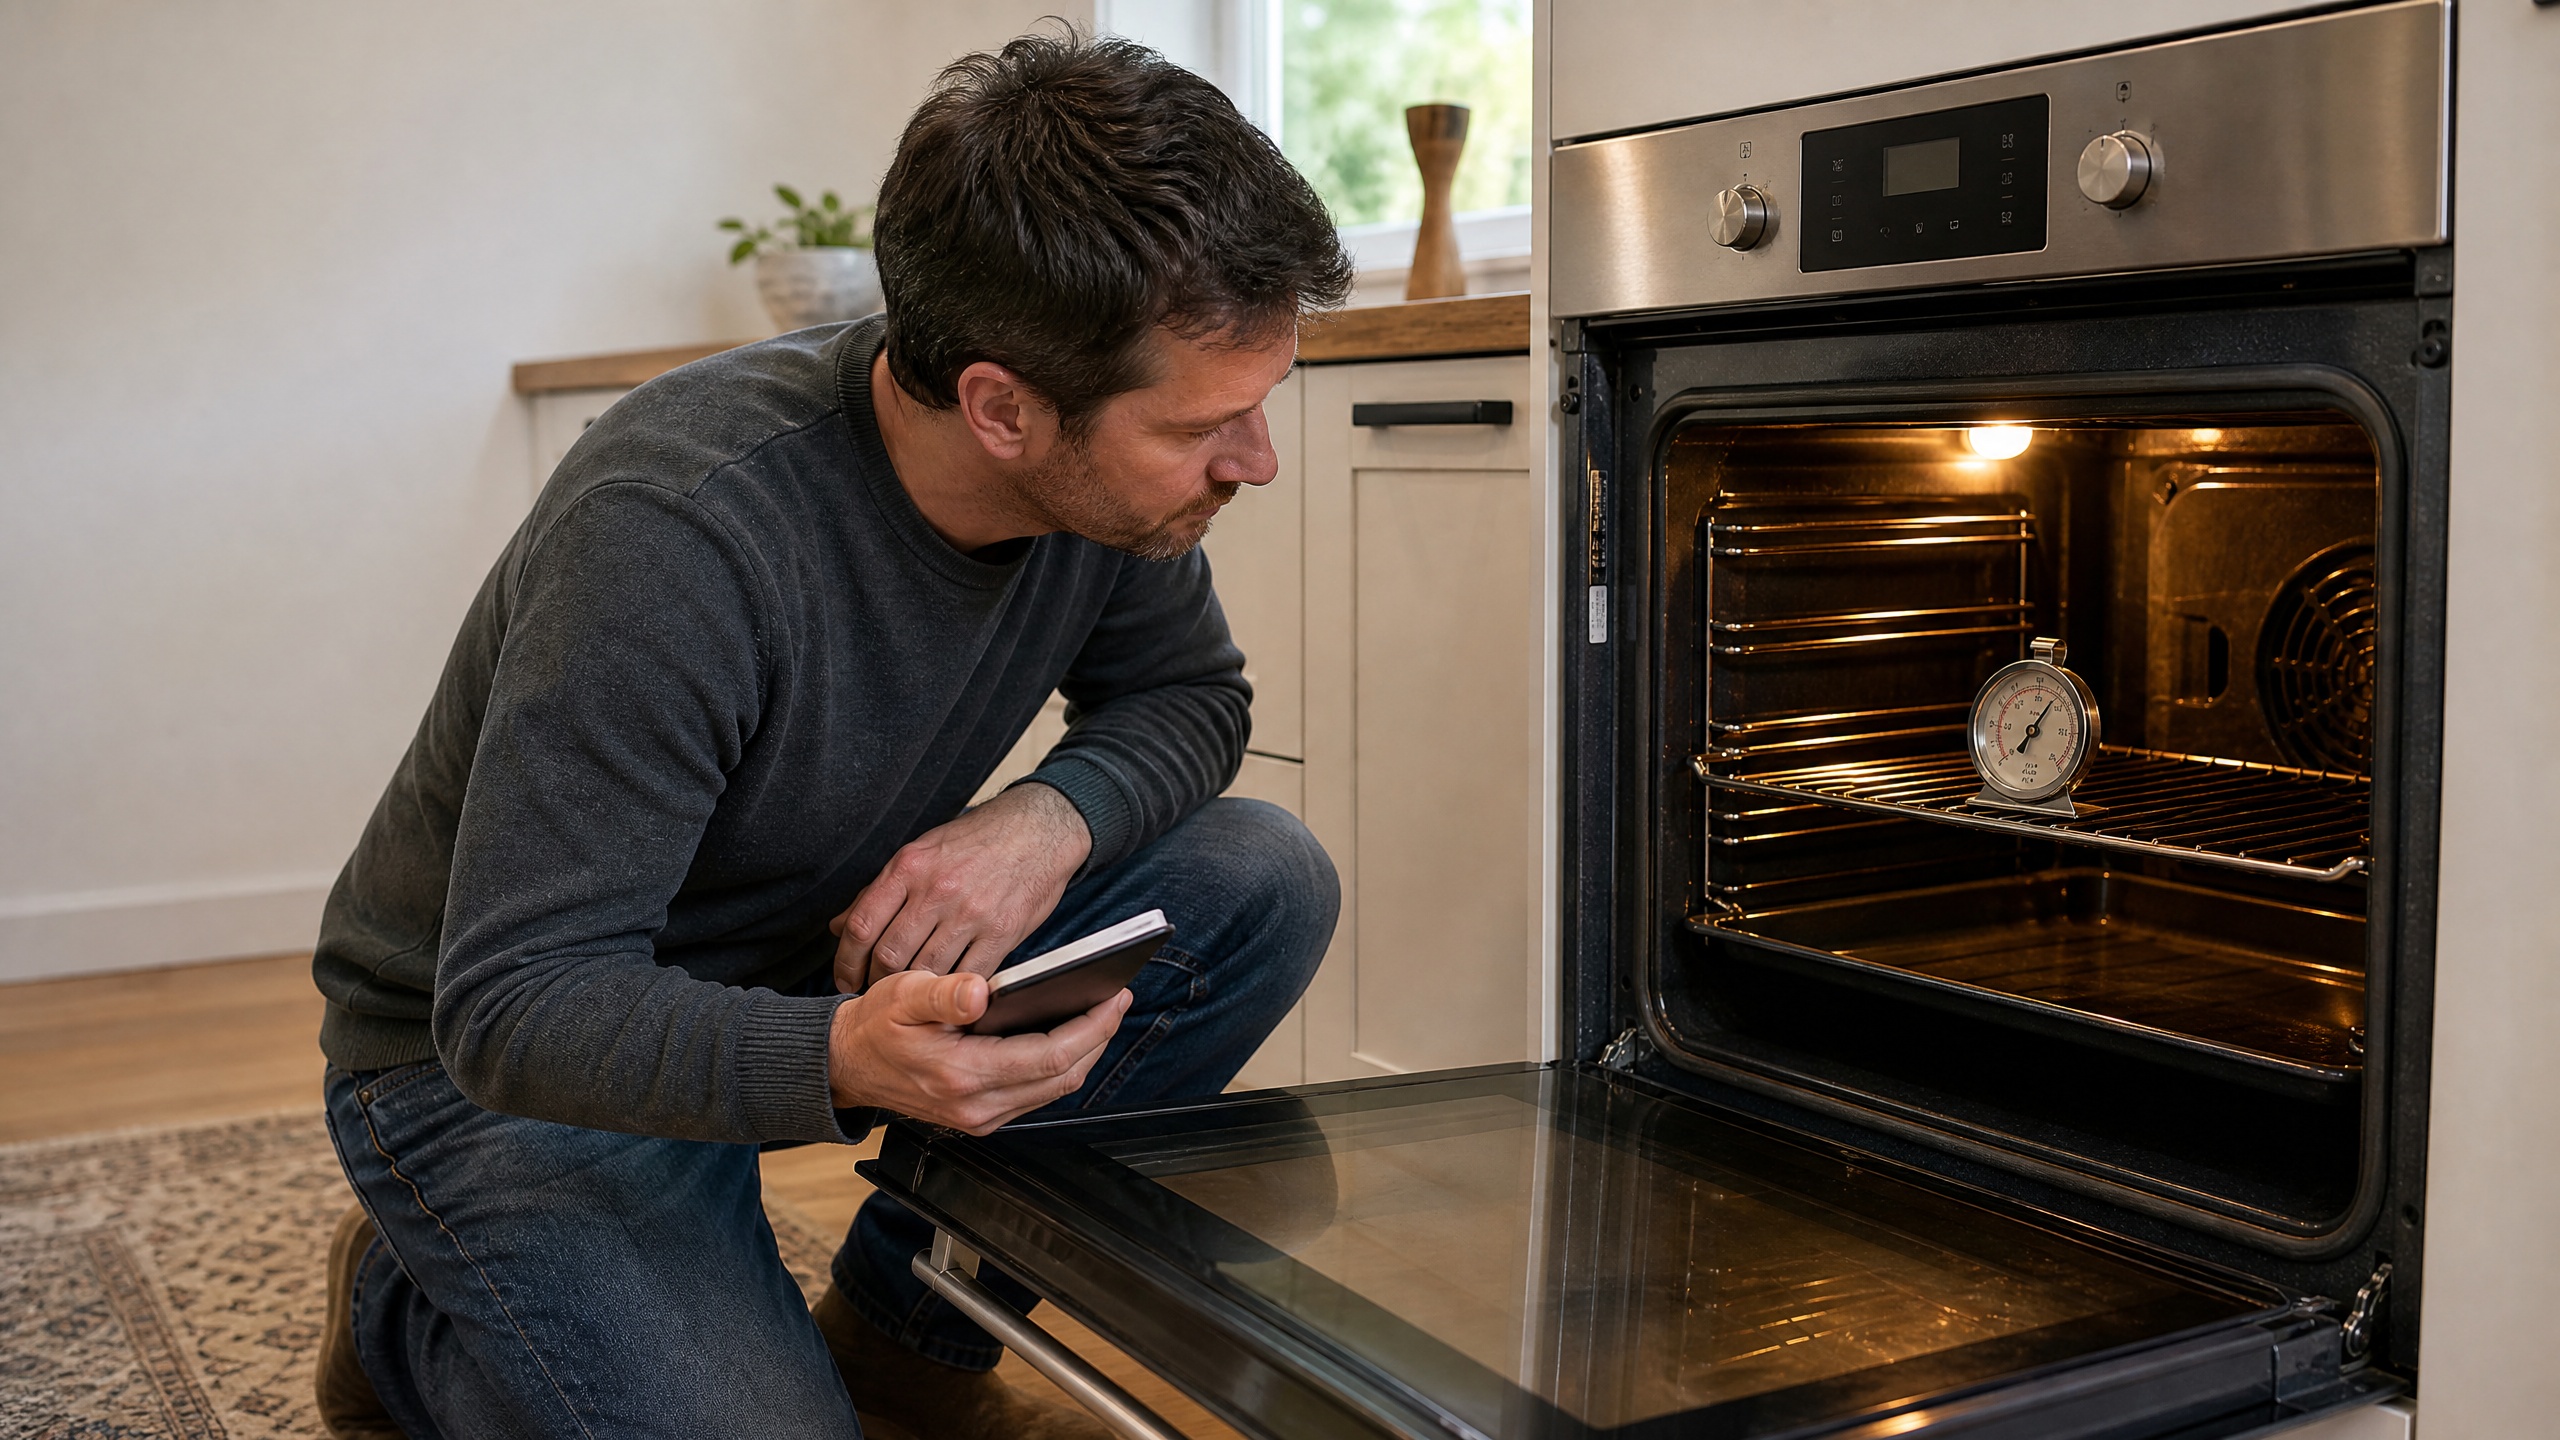
The first time I checked an oven with a separate thermometer, the display said 350°F while the cavity averaged about 365°F. That explained why cookies browned early. I now take several readings before changing a setting, because one hot or cool cycle is not enough evidence.
Calibration only corrects a consistent display offset. I learned that after trying to compensate for an oven that heated unevenly from one bake to the next; the setting did not solve the failing part. If readings jump around, I stop calibrating and arrange service. For another countertop heating warning, see how to stop an air fryer from smoking.
When I say “follow your manual,” I mean it literally. One oven I worked on entered calibration by holding two buttons, while another used a settings menu; guessing would have changed the wrong function. I use generic steps only to understand the process, then follow the model-specific limits.
Tools and materials
| Item | Why you need it |
|---|---|
| Reliable oven thermometer or thermocouple probe | Measure cavity temperature at the center of the rack; digital or probe models give steadier readings |
| Notepad or notes app | Record readings and timestamps so your average is reproducible |
| Kitchen timer or phone timer | Keep consistent intervals between readings |
| Oven user manual or model number | Identify the calibration menu, allowed adjustment increments, and limits (model-specific) [1][2] |
| Small screwdriver (optional) | Only if instructed by a qualified technician; don’t open sealed parts yourself |
A quick primer on how ovens behave
Ovens heat to the setpoint and then cycle the element or burners on and off to maintain an average temperature. That cycling produces normal short-term swings. Because the control reacts to a sensor reading and cycles heating, an instant temperature can be misleading. Aim for the average temperature over a sampling window, not a single moment.
Where to measure
-
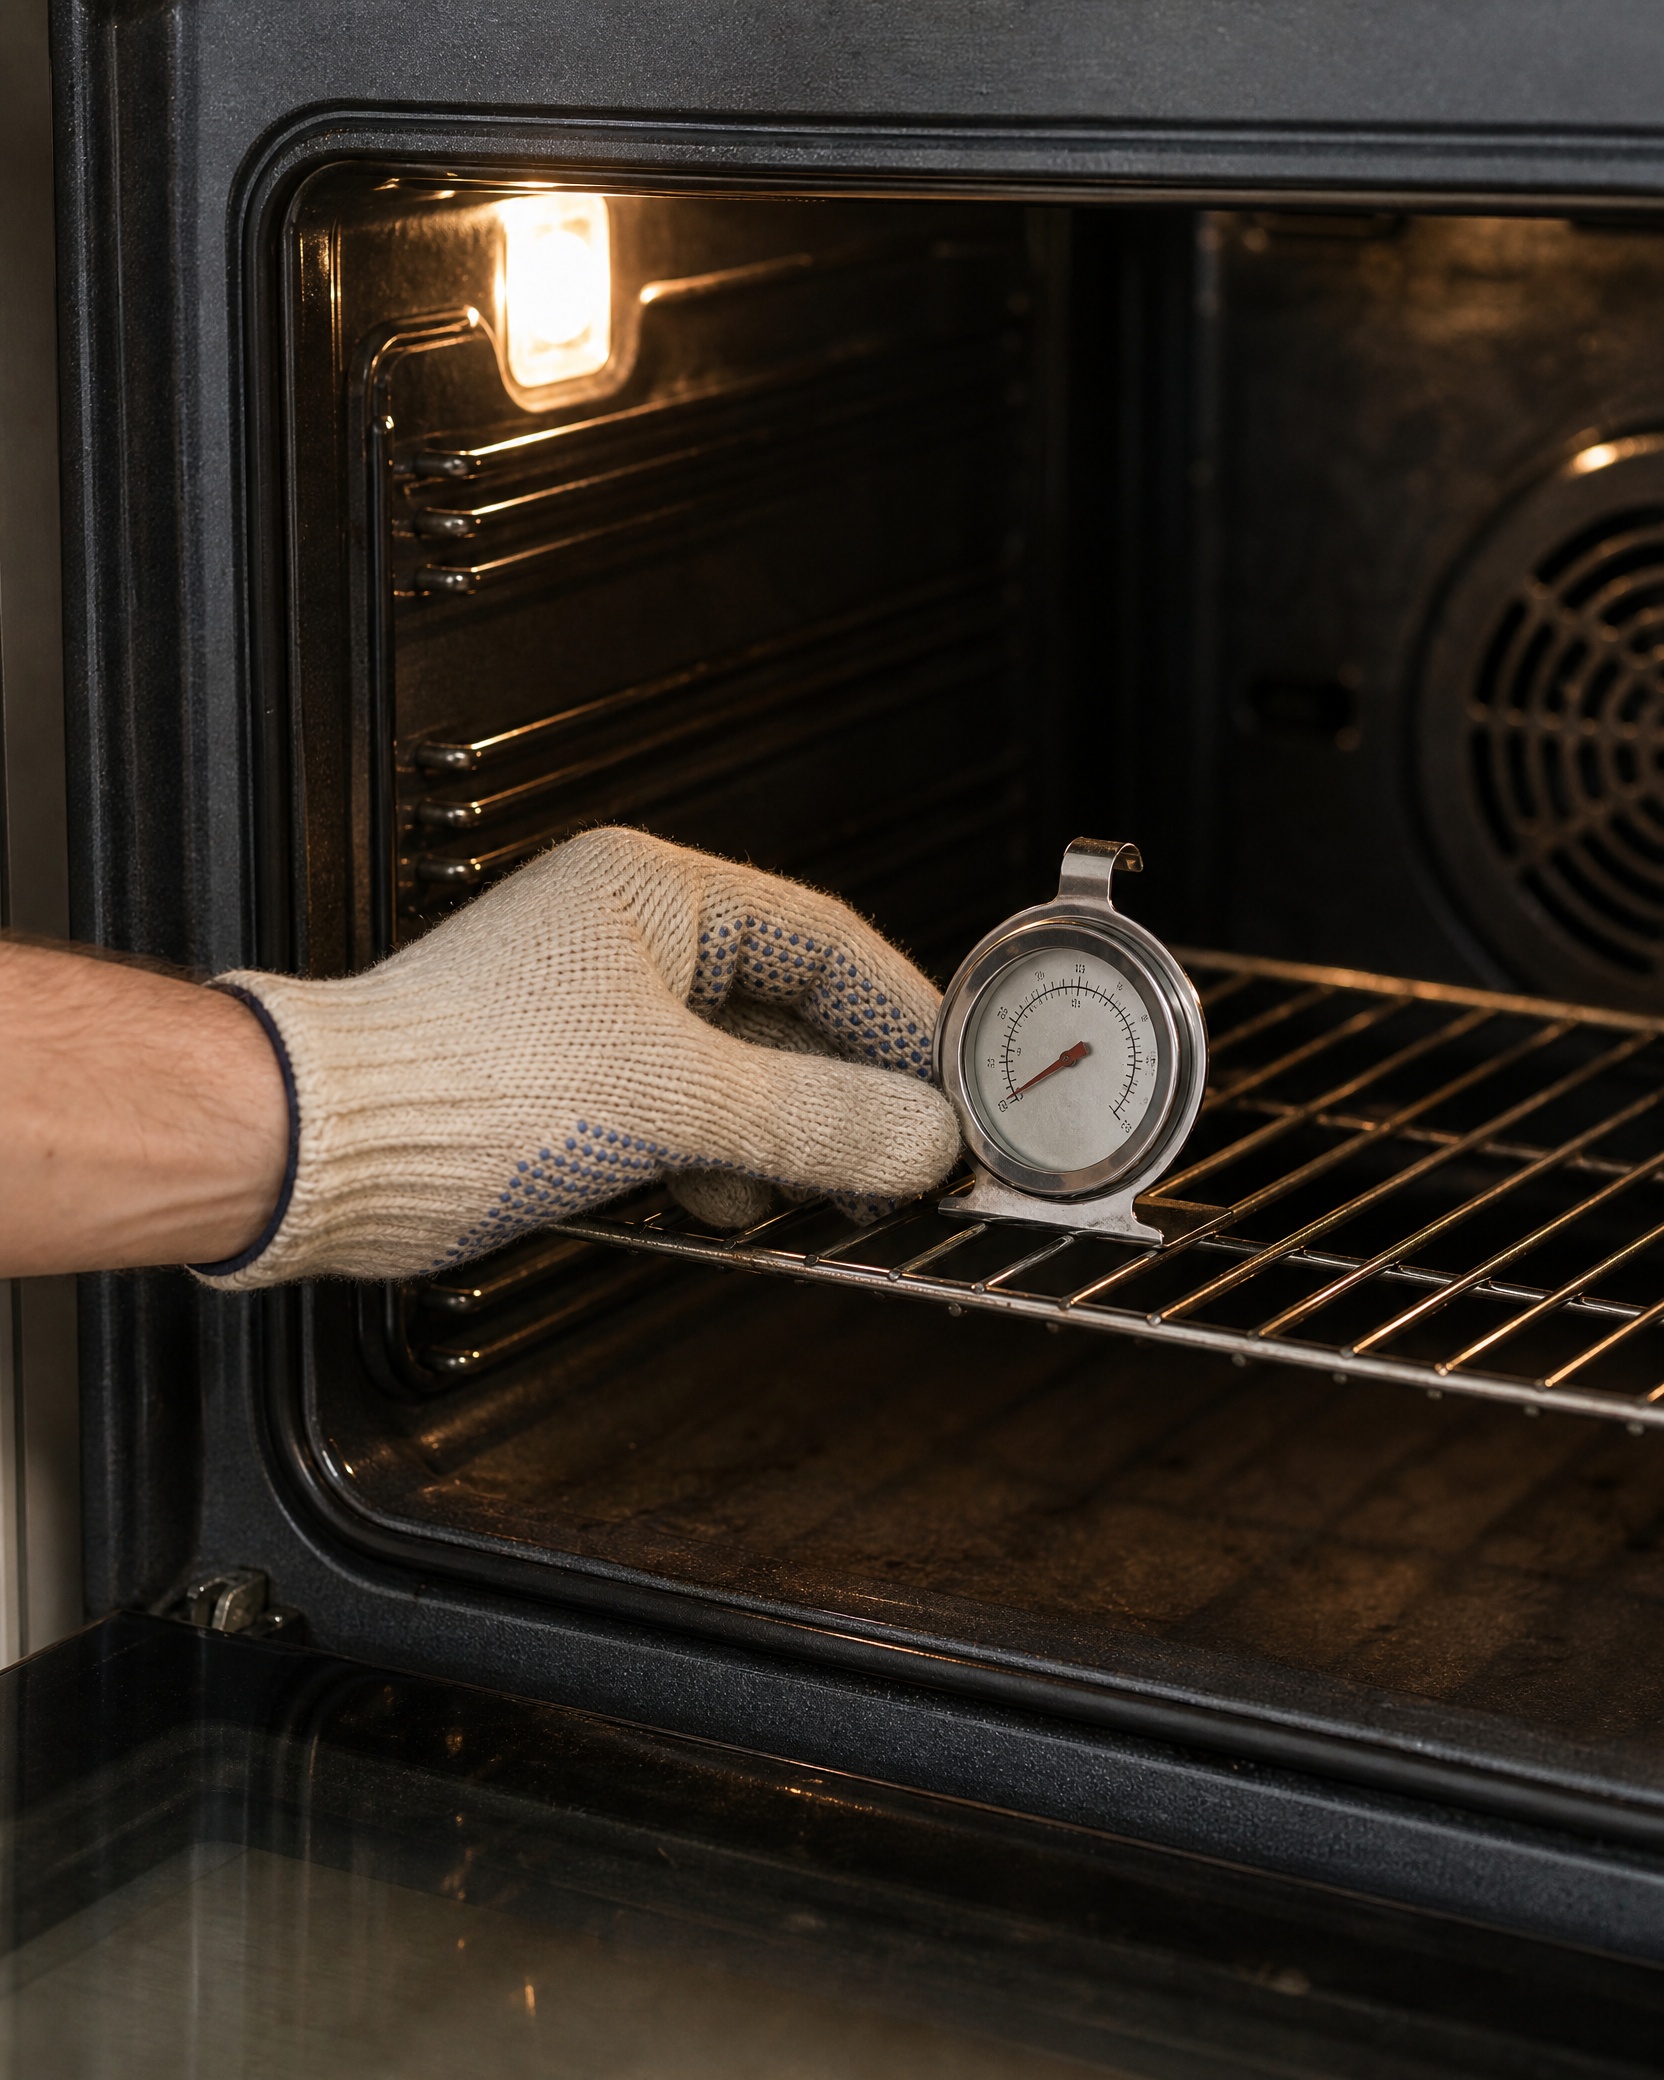
Put the thermometer on the center of the middle rack. That position represents typical bake conditions better than the door, floor, or back wall.
-
If you use a probe that plugs into the control, place the tip in the cavity center on a rack and make sure it’s not touching metal or the oven walls.
-
Keep the thermometer visible through the window, or open the door briefly to read. Be consistent about door openings because each one lets heat escape.
Safety first:
-
Ovens get very hot. Use oven mitts and avoid leaning over an open oven.
-
Don’t touch heating elements, gas ports, or exposed metal inside the oven while it’s hot.
-
If you smell gas, see flames where they shouldn’t be, or observe electrical sparking, shut off the appliance and contact a professional.
-
Do not open service panels, disconnect sensors, or work on electrical components unless you are qualified and the appliance is powered off. Calibration through the control panel is safe; internal repairs are not.
Numbered step-by-step procedure: how to test and measure an oven offset
These steps produce a repeatable average and usually take 90–120 minutes for a solid result. Repeat the test if readings are ambiguous.
-
Read the manual or confirm your model online. – Look up model-specific calibration instructions and limits. Manufacturers document different entry sequences and step sizes; follow the manual rather than guessing [1][2].
-
Prepare your tools and place the thermometer. – Put the thermometer at the center of the middle rack. Ensure the probe is not touching metal surfaces.
-
Start a cold-start test. – Begin with the oven cold to reduce leftover heat effects. Close the door and start the oven at a common bake temperature you use often, such as 350°F (177°C).
-
Let the oven preheat and stabilize. – Wait until the oven indicates preheat, then add at least 15–20 minutes to allow average temperature cycling to settle. Preheat indicator lights or beeps are a start, not a guarantee of stability.
-
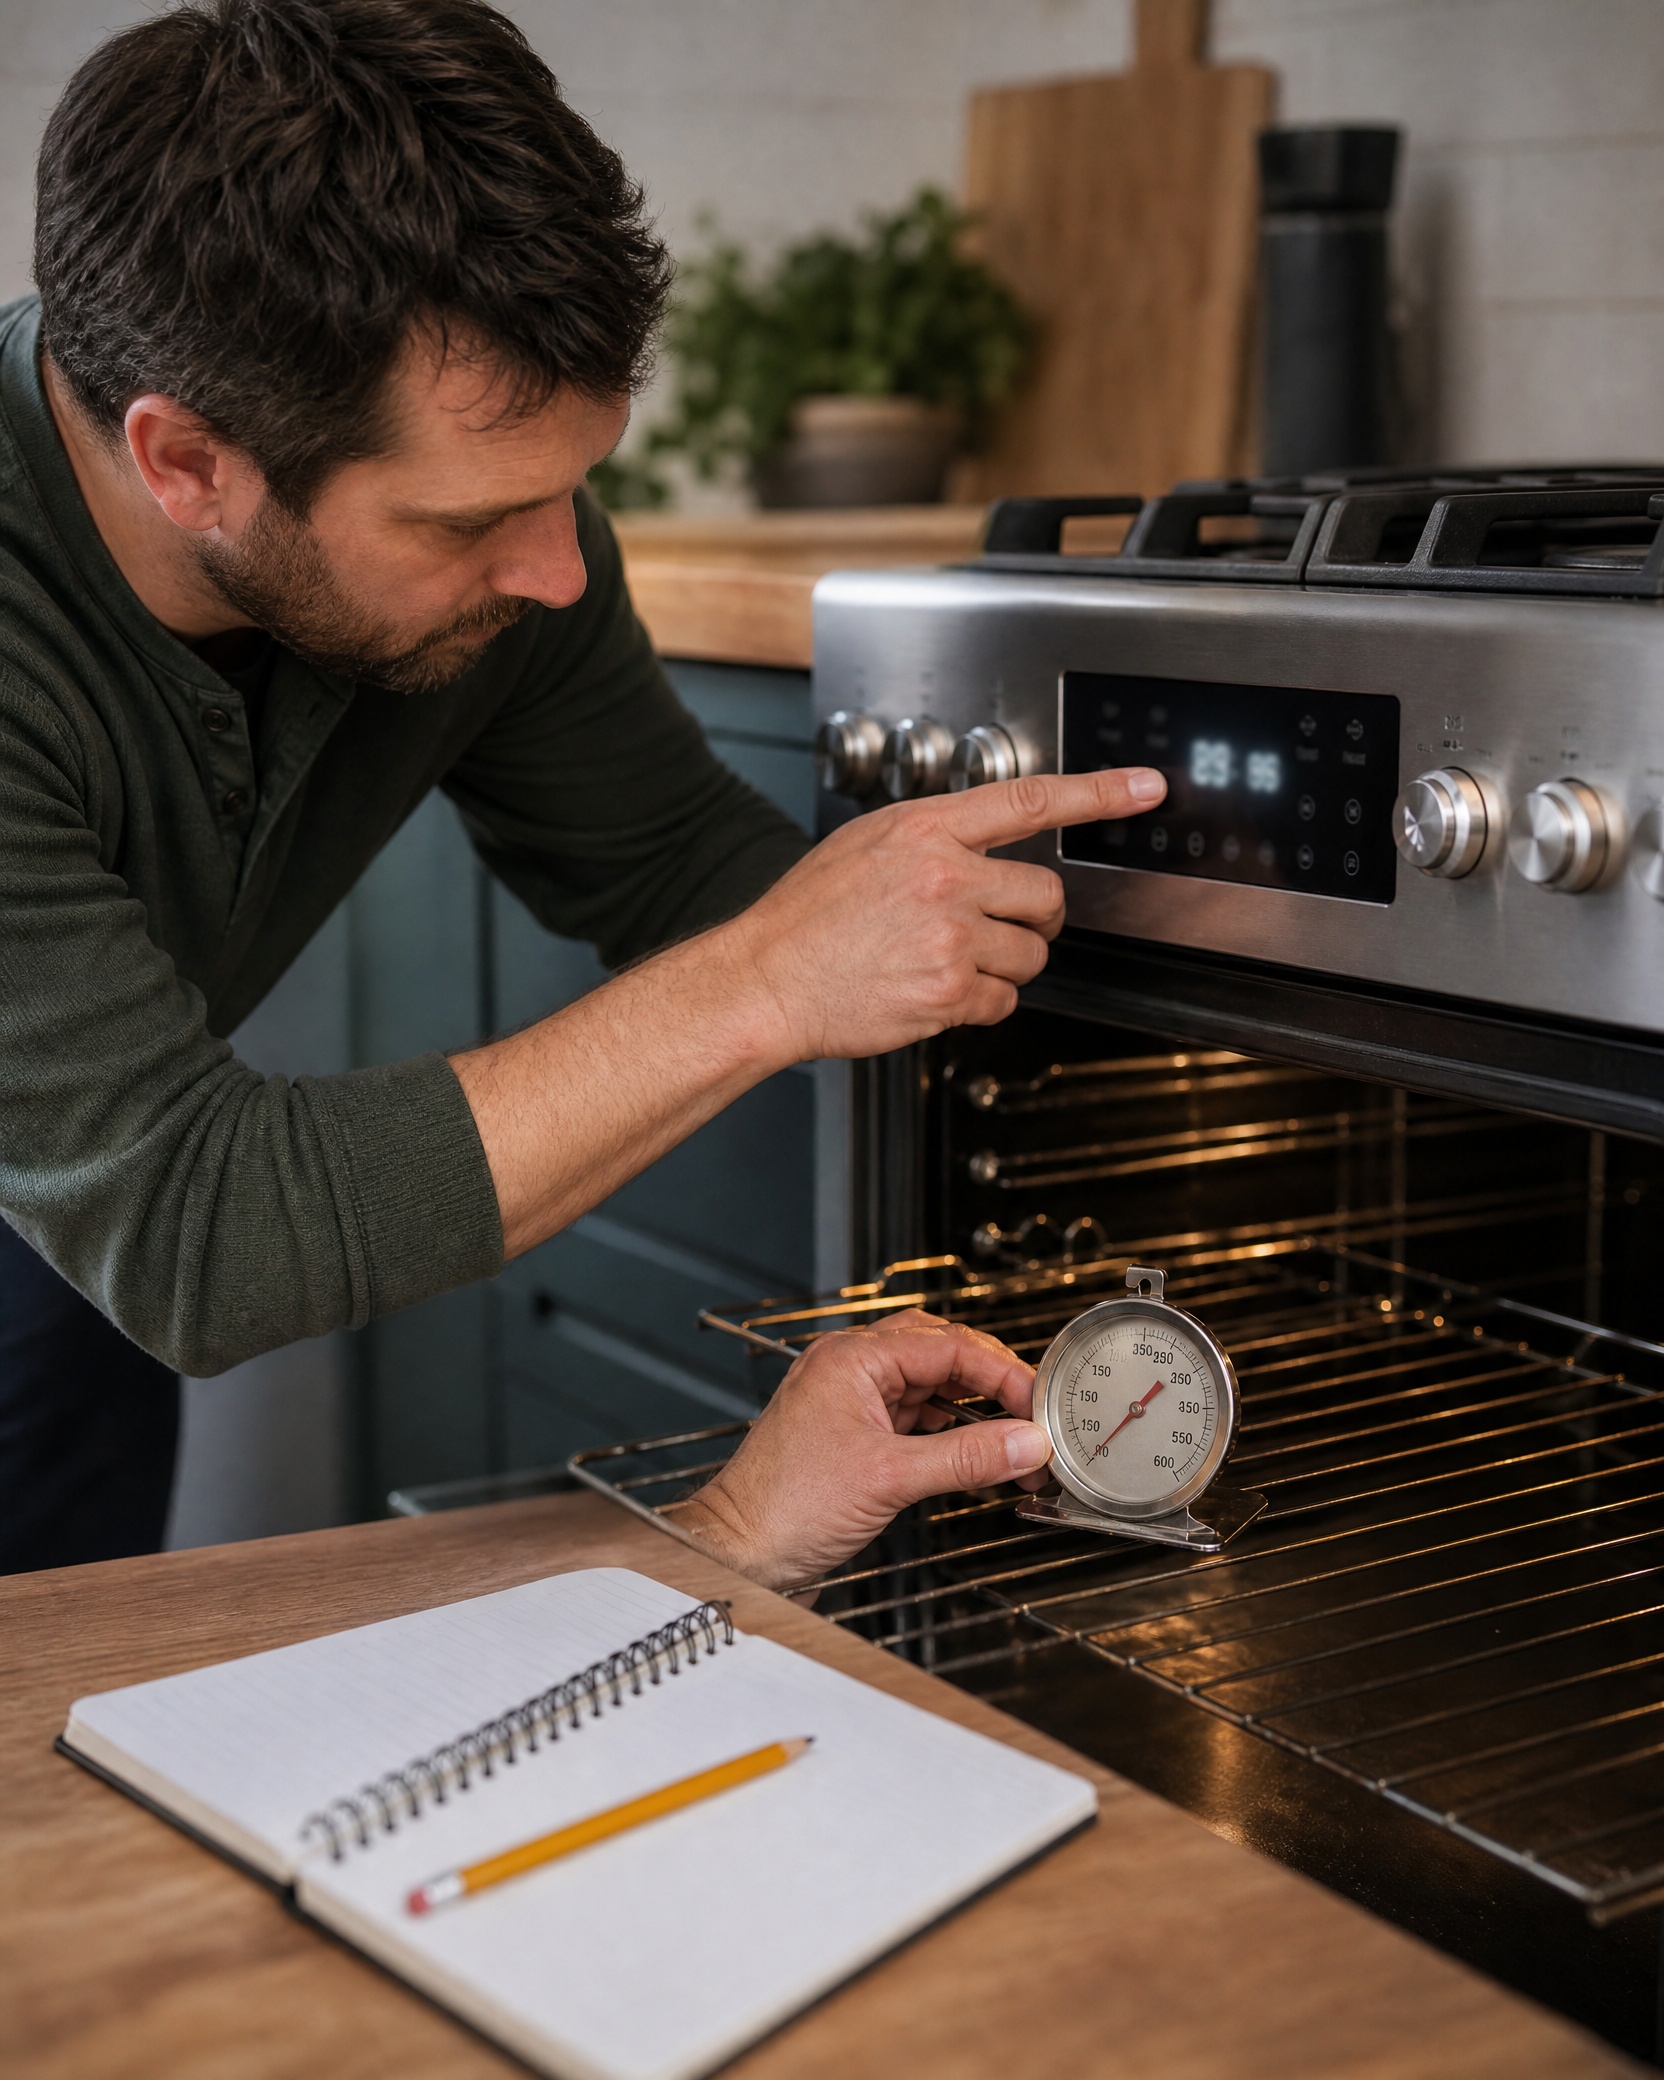
Record readings across a 15–30 minute window. – Take the thermometer reading every 3–5 minutes for about 15–30 minutes. Note the time and reading for each sample. If you must open the door to read, do it quickly and consistently.
-
Calculate the average and determine the offset. – Compute the arithmetic mean of your samples, then subtract the set temperature. For example, if the average is 340°F when set to 350°F, your offset is -10°F (the oven is 10°F cool). – Round the offset to the nearest allowed adjustment step (many ovens use 5°F or 10°F steps).
-
Repeat at a second temperature (optional but useful). – Test at another common temperature like 400°F to check linearity. If offsets are close at both temps, calibration can correct a consistent bias. If offsets differ widely, the sensor or control may be nonlinear and need service.
-
Enter the oven’s calibration menu per the manual and apply a small change. – Make the smallest available adjustment toward the measured offset (5°F if available; otherwise 10°F). Save the change and retest with the same thermometer placement and timing.
-
Verify and iterate. – If the average is still off, apply another small adjustment and retest. Aim for within ±5°F for practical home baking.
Why multiple readings matter
Normal cycling can hide the true average if you rely on a single instant reading. A 15–30 minute sample catches the on/off pattern and gives you a reproducible mean. Discard clear outliers caused by a door opening or thermometer bump, then repeat the test if needed.
How to access and change the oven’s calibration setting Menu steps and allowed increments vary by brand and model: some ovens place calibration in an Options or Settings menu, others require holding specific buttons like Temp/Time Down or Bake to enter calibration mode.
Controls often limit adjustments to 5°F or 10°F steps and will cap the total range (commonly around ±30°F). Follow your oven’s user guide when you change calibration; if you can’t find that guide, search the manufacturer support site with your model number.
A general calibration adjustment routine
-
Confirm your measured offset from a stable average.
-
Enter the calibration feature following your manual.
-
Change the displayed temperature in the smallest step toward the measured offset.
-
Save and let the oven preheat fully again.
-
Retest using the same sampling method and iterate as necessary.
Testing after calibration: how to verify and save the result
After an adjustment, repeat the same cold-start test with identical placement and timing. If the average is within about 5°F of the setpoint, stop changing the calibration. Bake a familiar item to confirm that browning and rise match expectations.
If the oven still behaves oddly despite calibration, that suggests a hardware issue rather than a display offset.
Common calibration limits and steps Manufacturers limit calibration changes to prevent masking real faults. Typical step sizes are 5°F or 10°F and total allowed changes commonly sit near ±30°F, but exact values are model-specific.
If your model uses Celsius, adjust rounding carefully (10°F ≈ 5.6°C). When steps are coarse, plan to make the smallest change and retest; choose the allowed setting that best preserves the most important baking outcomes.
When calibration is the wrong move
Do not use calibration to hide or “fix” these situations:
-
Large, erratic swings between tests.
-
One mode works while another fails (for example, bake vs broil).
-
Persistent error codes or failure to reach set temperatures.
-
Gas smell, flame irregularities, or ignition problems.
If you see any of the above, stop calibrating and arrange service so a technician can identify and repair the underlying issue.
Troubleshooting table
| Symptom | Likely cause | What to try |
|---|---|---|
| Oven reads ~25°F low consistently | Small offset or sensor rounding | Measure carefully and adjust calibration in small steps; retest |
| Readings swing widely (±30°F) | Faulty sensor or control cycling | Do not calibrate; schedule service |
| Oven reaches temp but top browns too fast | Hot spots, rack position, or baking vessel | Change rack, rotate pan, use convection if appropriate |
| One mode (broil/convection) works, bake is cool | Mode-specific element or control issue | Avoid masking with calibration; consult service |
| Error codes on display | Electrical or control fault | Record the code, check the manual, and contact service |
When to stop and call for help
-
Repeated error codes appear while heating.
-
Temperatures vary widely between tests.
-
One heating mode works and another is consistently off.
-
The oven won’t reach set temperatures even after sensible calibration changes.
-
You smell gas, see unexpected flames, or experience sparking.
If any of these occur, have a qualified technician inspect the oven. Calibration can hide symptoms of failing sensors, control boards, or gas valves; a service call identifies and fixes root causes rather than masking them.
Quick self-check
| Scenario | Symptom | What to do |
|---|---|---|
| Set 350°F, thermometer steady 360°F average | Consistent +10°F offset | Enter calibration and reduce displayed temperature by 10°F (smallest step), then retest |
| Readings jump between 320°F and 380°F over 10 minutes | Erratic cycling beyond normal | Don’t calibrate; note details and call for service |
| After calibration, broiling still over-browns while baking is okay | Broil uses different heating element/power | Don’t change calibration for broil; check rack position and consult service if needed |
| Oven shows occasional error code and runs slightly cool | Possible control or sensor issue | Stop calibrating, record the code, and contact a technician |
| Average is 5°F off after adjustment | Minor remaining offset | Acceptable for most home baking; if needed, adjust recipes slightly rather than recalibrating |
Keeping records and small practical habits
After calibration, write down:
-
Date of calibration.
-
Measured offsets at one or two temperatures.
-
Number of adjustment steps you made.
-
Notes on any follow-up baking tests.
Store this note with the oven manual or in a kitchen binder. If baking results shift later, you’ll have baseline data to decide whether to retest or call service.
A few practical tips
-
Use the oven’s center rack for predictable results.
-
If you use a probe that plugs into the control, check whether the control displays probe temp or cavity temp — some models show probe readings separately.
-
Avoid large, immediate corrections. If you measure a very large offset (for example, >20°F), consider stopping and arranging service rather than making a major display change.
-
Older analog ovens without menu calibration can still be compensated for by adjusting setpoints manually, but that’s less convenient and more error-prone.
-
When testing, avoid cooking other dishes that add heat or steam to the cavity.
Understanding different oven types and how that affects calibration Electric baking ovens typically use a single temperature sensor readable by the control board; the control cycles elements to maintain the average temperature. Gas ovens often have different combustion dynamics and may show slightly different cycling behavior, particularly around ignition.
Convection ovens use a fan that changes heat transfer; the circulating air often reduces hotspots and can make achieved temperatures closer to the setpoint for the same displayed number. Probe thermometers that plug into a control are designed to read food temperature rather than cavity temperature; confirm exactly what the control is reporting before relying on a probe reading to calibrate the oven; use a reliable instant-read thermometer for food temperature checks.
Sensors, wiring, and nonlinearity Most oven sensors are simple NTCR or RTD devices whose resistance varies predictably with temperature. A failing sensor can shift readings or behave nonlinearly so that calibration at one temperature does not correct readings at another.
That nonlinearity is why repeating tests at two widely spaced setpoints (for example 350°F and 400°F) helps reveal whether the bias is roughly constant or whether the control/sensor pair is acting unpredictably. If one test shows +5°F and another shows -10°F, the problem is not a single offset and should be diagnosed by a technician.
Small calibration scenarios and examples
-
Example 1: You set 350°F, and the average over 20 minutes is 342°F. The offset is -8°F. If the control allows 5°F steps, change by -5°F, retest, and expect a residual -3°F bias. Decide whether that is acceptable or if another -5°F step is warranted after retesting.
-
Example 2: You set 400°F, and the average is 420°F (+20°F). At 325°F the average is +8°F. Those different offsets suggest nonlinearity. Do not try to reconcile this by setting different offsets; call service.
Avoiding common mistakes
-
Don’t take only a single reading right after the preheat indicator goes off; that can be far from the stable average.
-
Avoid placing the thermometer touching the bake element, back wall, or a metal pan — it will read local conduction instead of air temperature.
-
Don’t rely on the oven window temperature unless you know your thermometer measures cavity air through the glass — most window readings are not calibrated.
-
If you change racks or bake large, dense items immediately after calibration, the performance may differ from the empty-cavity test. Use a baked-item test to confirm real-world performance.
If you prefer a professional check
If you’re uncomfortable changing control settings or you encounter inconsistent behavior, a technician can perform diagnostic tests. Professionals can check sensor resistance, control board outputs, gas valves, and element performance and make safe repairs. Use calibration only for consistent, small offsets — not as a band-aid for intermittent or dramatic faults.
Final practical checklist before you start
-
Read your oven manual or locate model-specific instructions online.
-
Choose a steady thermometer and place it at the middle rack center.
-
Run a cold-start test, sample for 15–30 minutes, and compute the average.
-
Make small calibration changes and retest until the average is within a few degrees.
-
Keep notes and test a familiar recipe to confirm real-world performance.
Calibration is a useful, practical tool when your oven shows a consistent bias. With steady measurements, small adjustments, and sensible follow-up, you can improve the match between the set temperature and the cavity temperature for more predictable baking. If behavior is erratic or error codes appear, call a qualified technician rather than masking the issue.
References
-
[1] Whirlpool Product Help, How to Calibrate the Oven: https://producthelp.whirlpool.com/Cooking/Wall_Ovens_and_Ranges/Product_Info/Oven_Product_Assistance/How_to_Calibrate_the_Oven
-
[2] GE Appliances, Range & Wall Oven—Oven Calibration: https://products.geappliances.com/appliance/gea-support-search-content?contentId=19109
Leave a Reply