
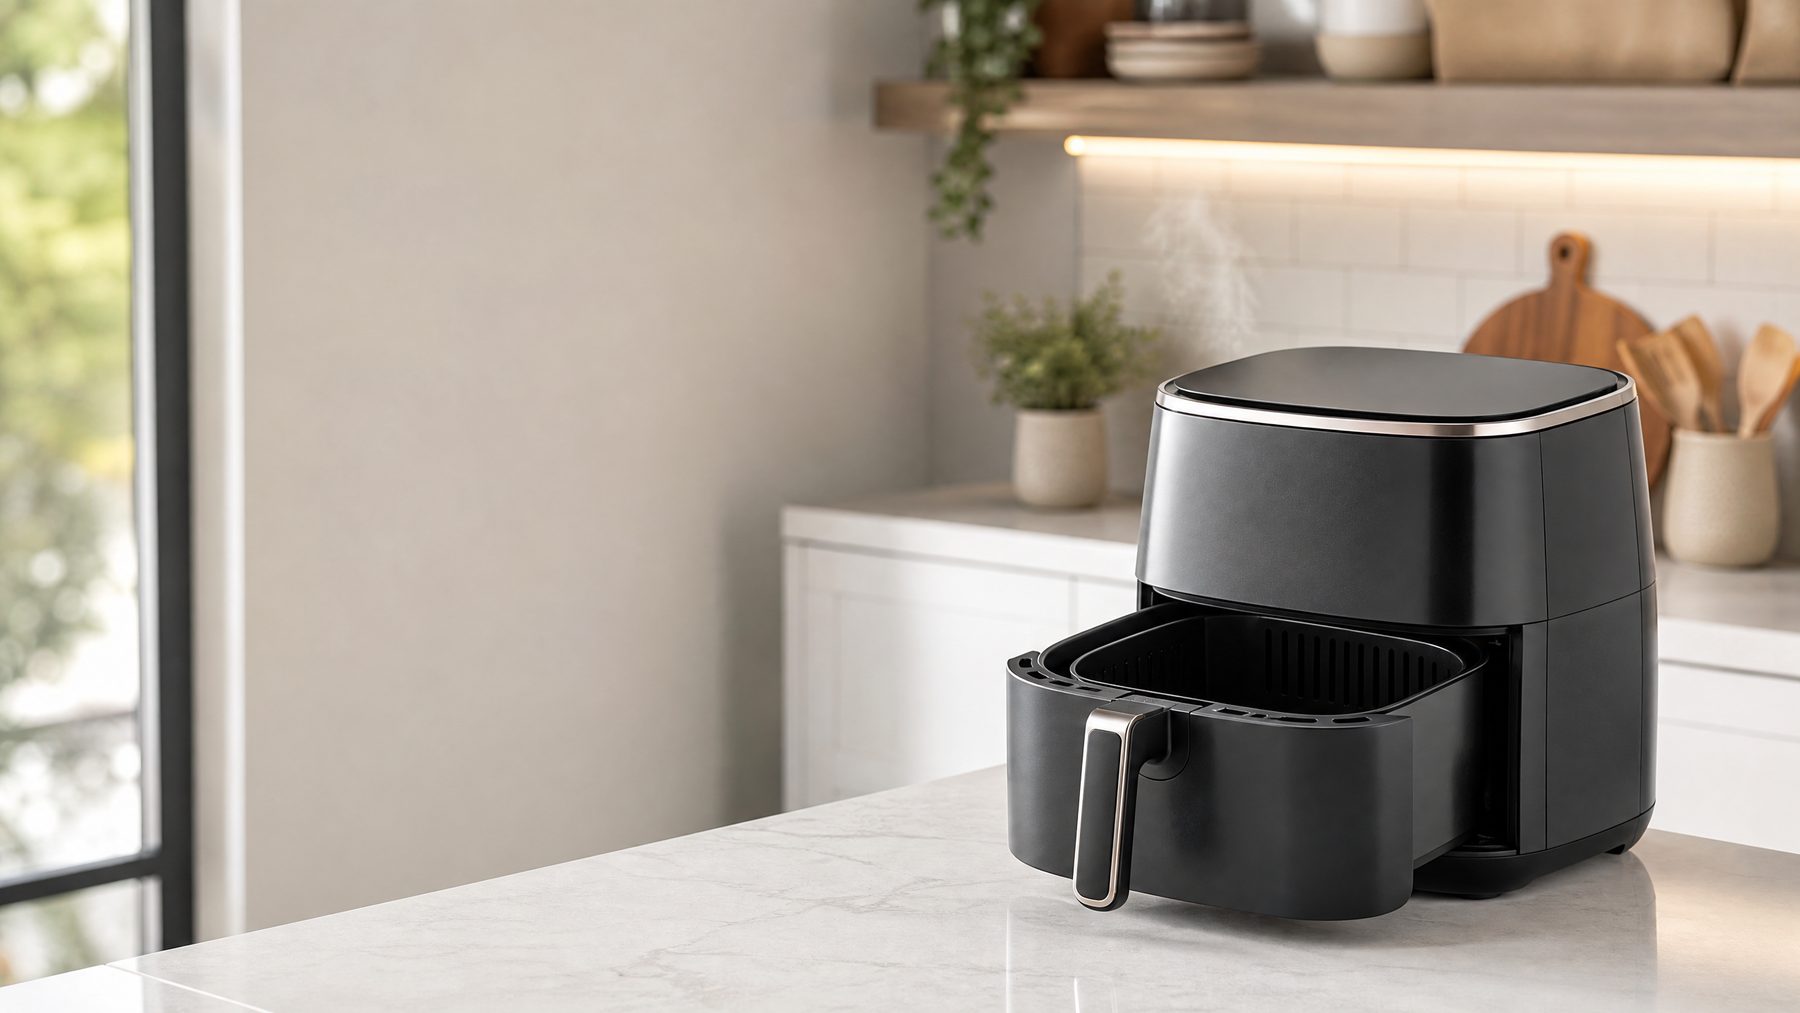
The first time my air fryer smoked, I assumed the heating element had failed. The real culprit was a thin layer of grease under the basket and a few crumbs sitting close to the hot area. I’ll show you how I check the smoke source, stop the appliance safely, clean it, and decide when it needs service. For a quick explanation of the airflow behind the appliance, see how air fryers work. If an oven seems to run hot or cool, compare that issue with our guide to calibrating oven temperature.
How smoking happens
-
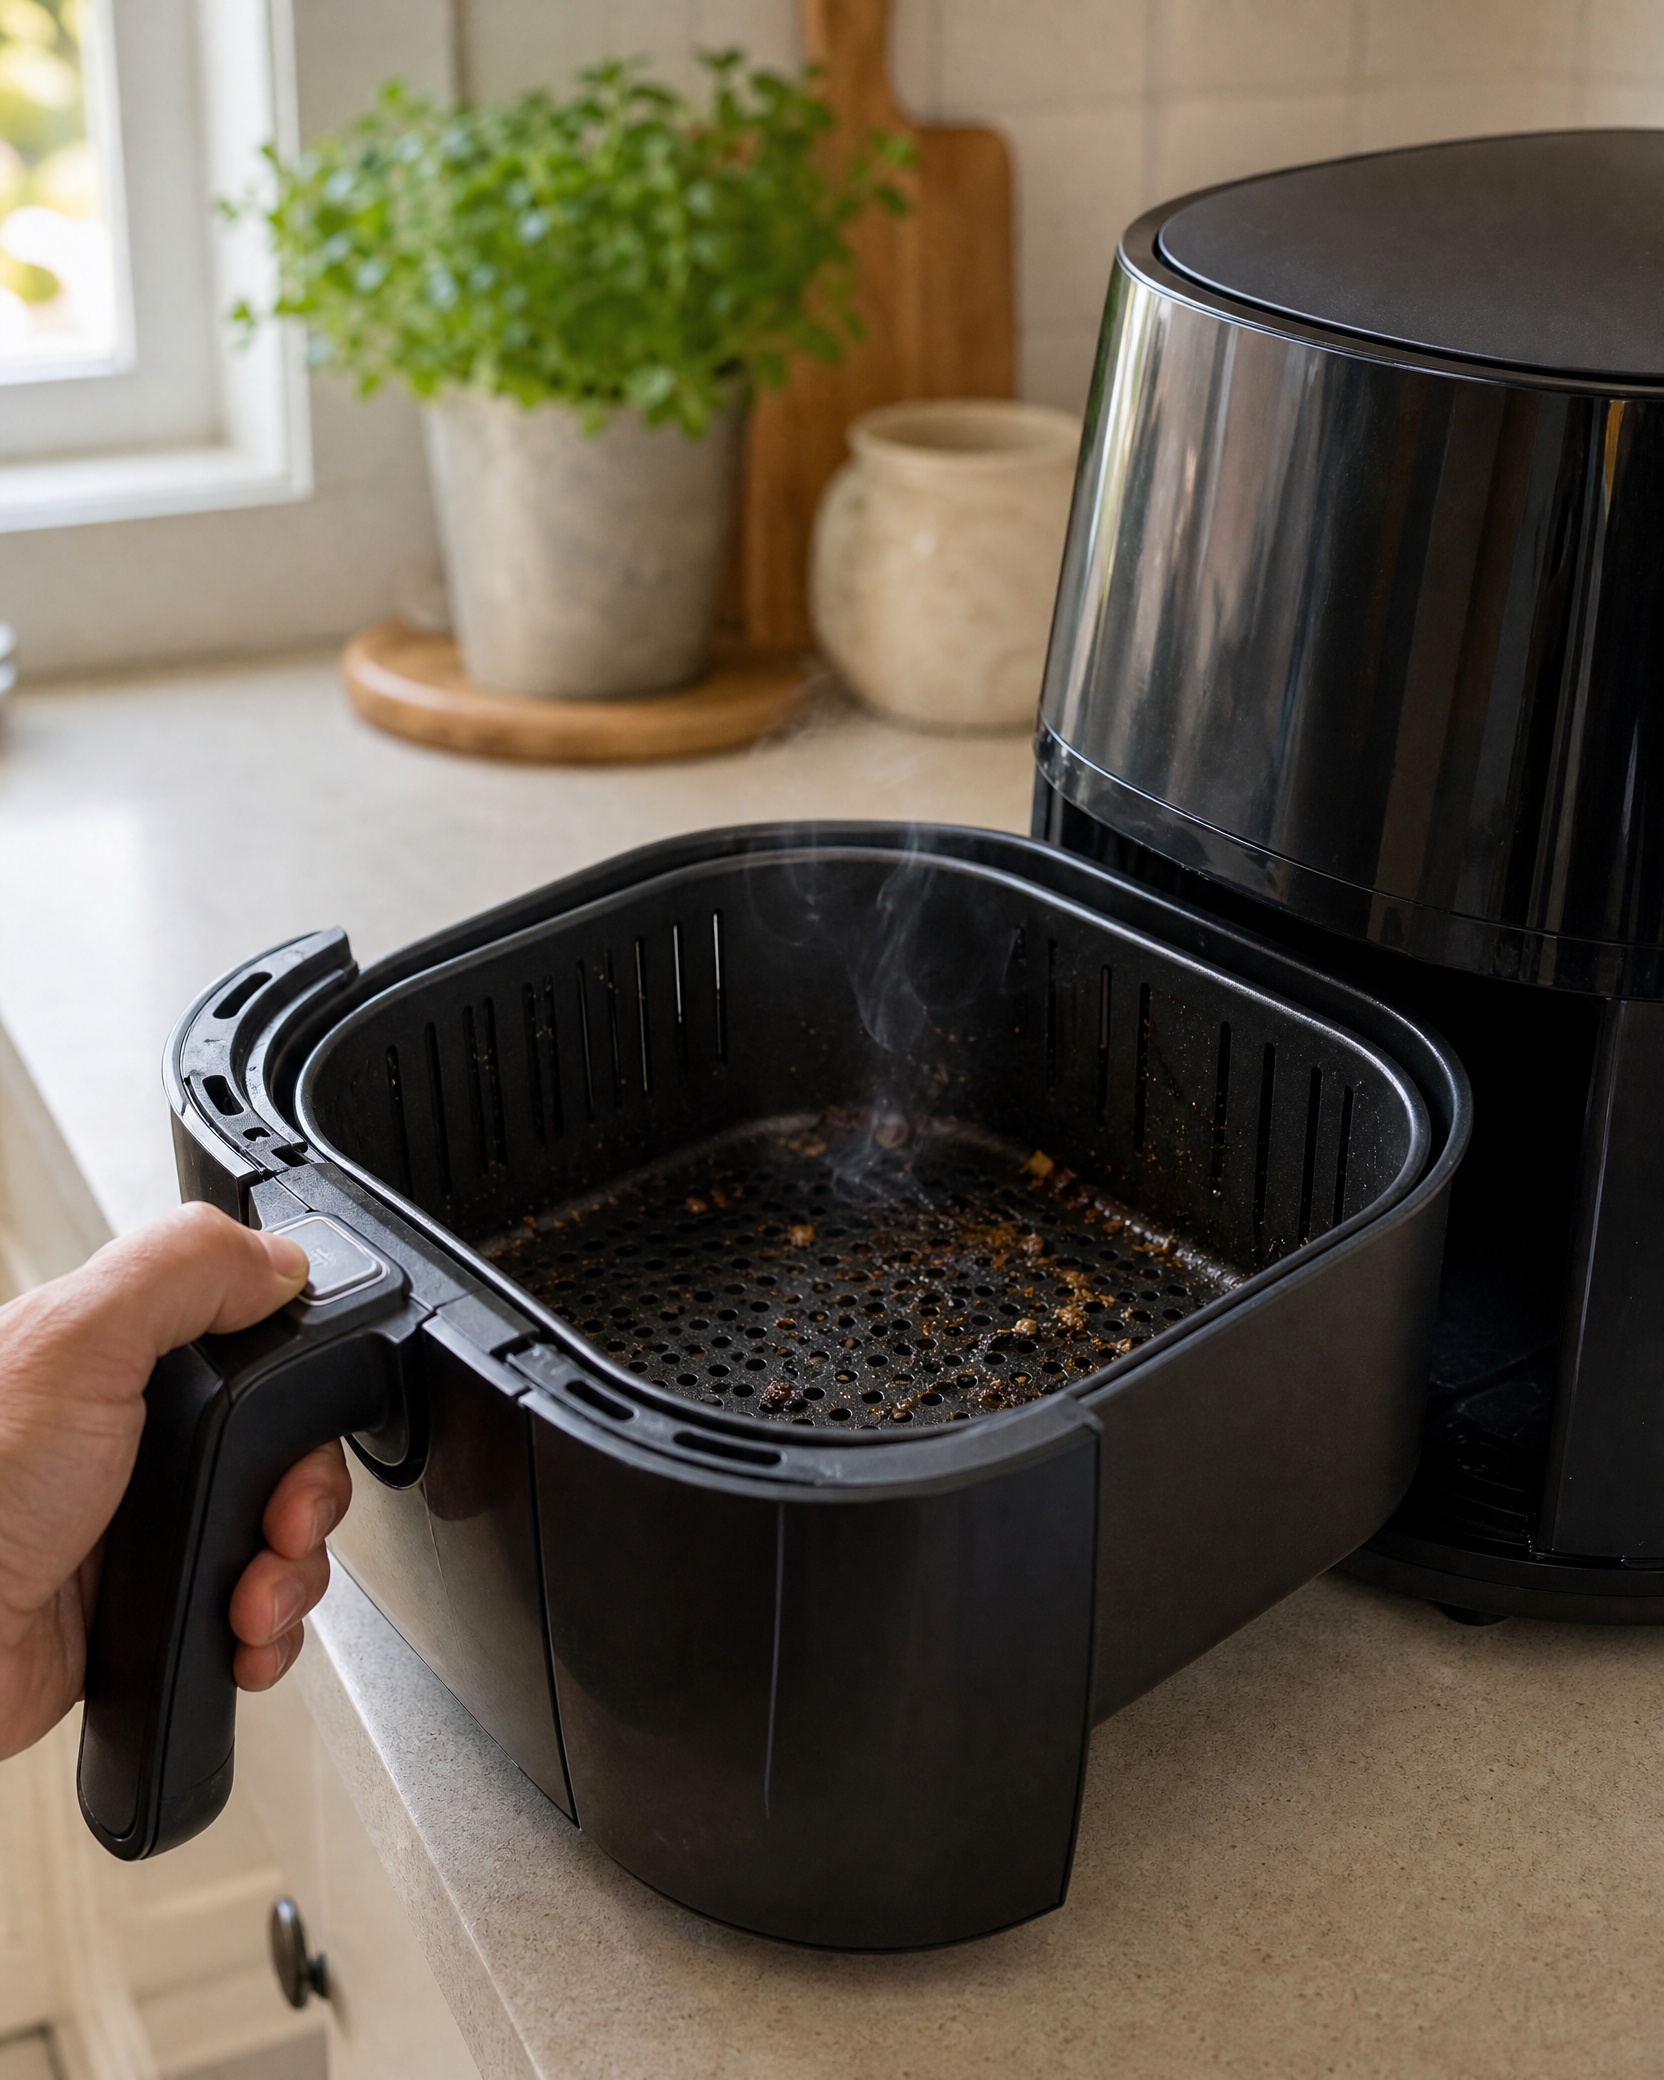
Fat and oil that collect on the drip pan, basket, or interior surfaces can heat past their smoke point and produce thin white or gray smoke.
-
Loose crumbs, batter, or breading that fall through the basket can burn on the pan or heating element.
-
High cooking temperatures combined with fatty foods increase the chance of smoke; some models include fat-capture parts or trays that reduce this, and missing or misaligned parts can let oil pool and smoke [1].
-
If you see black smoke, flames, melted plastic, sparking, or detect a strong electrical smell, those signs point beyond routine cleaning and you should stop using the appliance immediately.
Quick stop steps (what to do right now)
-
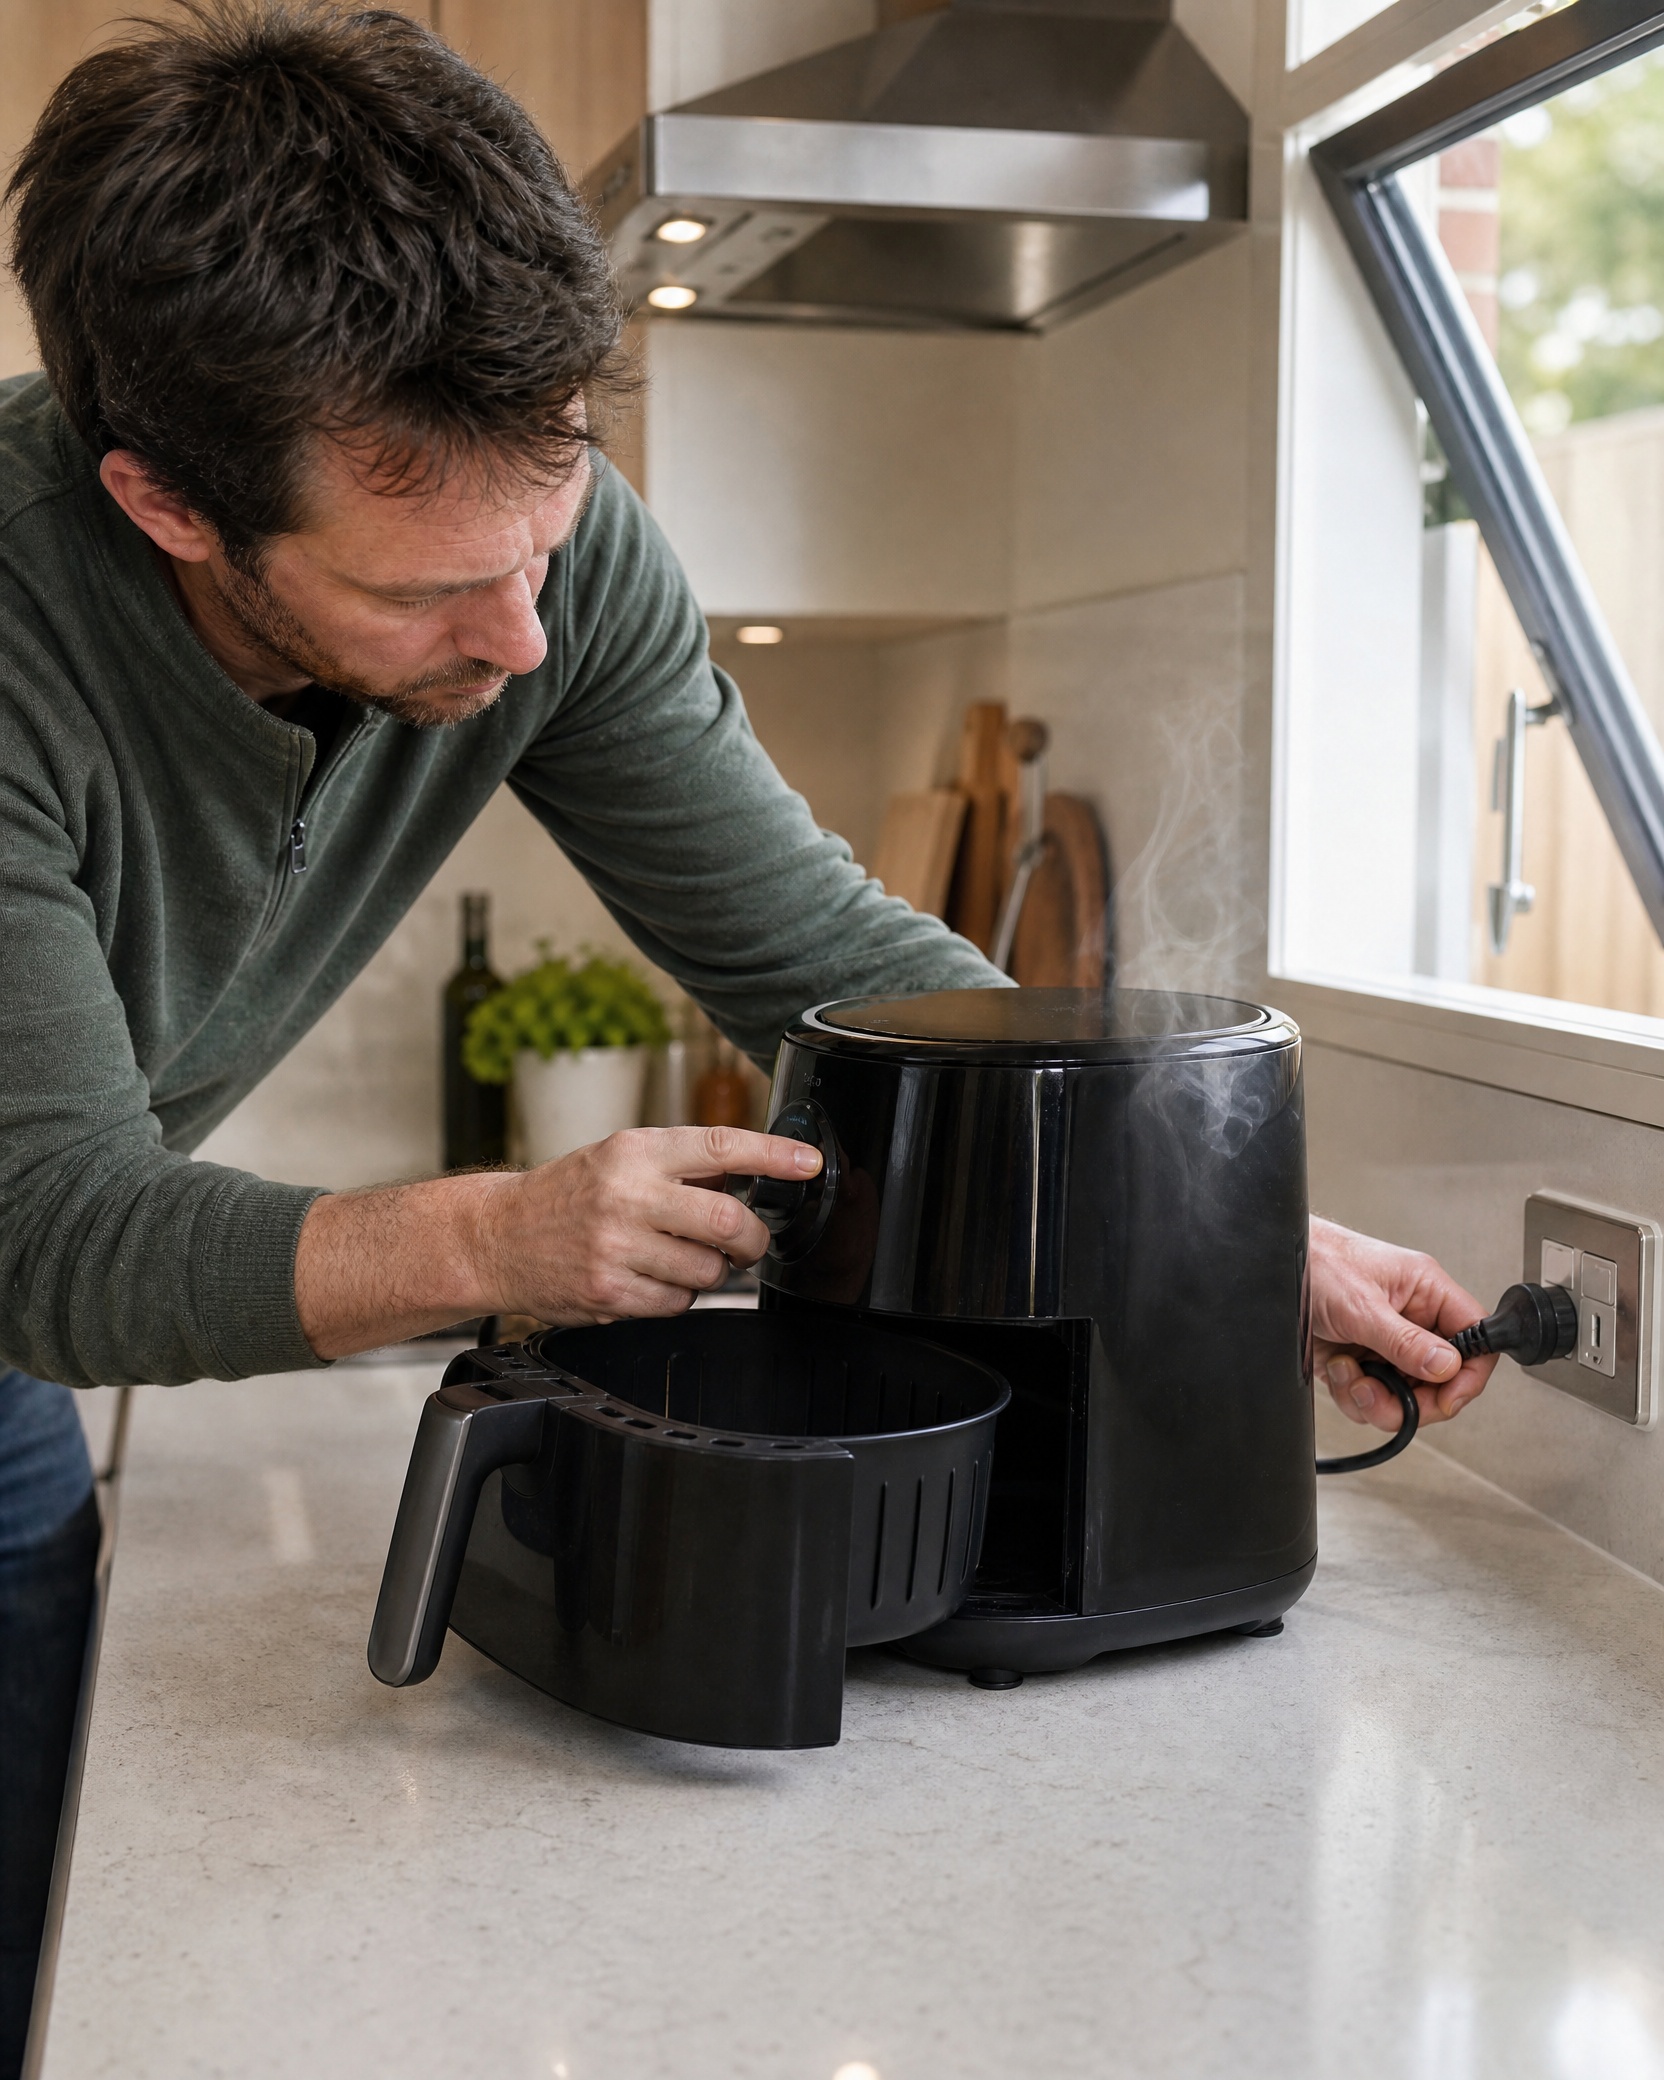
Press Stop, Cancel, or the power button on the fryer. If the controls don’t respond, switch the unit off at the mains or unplug it if you can reach the plug safely.
-
Safety first: Unplug the air fryer when you can reach the plug without touching hot surfaces. If the cord or plug is hot, sparking, or damaged, do not touch it — call for help.
-
Let the unit cool. Don’t open the drawer or reach inside while it’s hot; steam and hot metal can cause burns.
-
After cooling, remove the basket and drip pan. Empty any pooled oil into a heatproof container, then use paper towels to blot excess grease before washing.
-
Wash the removable parts according to the owner’s manual. Once dry and reassembled, run a short empty cycle at a lower temperature to confirm the smoke is gone.
Safety first:
-
Never pour water on a hot appliance or grease fire. Water on hot oil can cause flare-ups and severe steam burns.
-
If flames appear and you can safely reach the appliance, turn it off and smother the fire with a metal lid or baking sheet. If the fire is out of control, evacuate and call emergency services.
-
Do not attempt internal repairs or dismantling beyond what the manual allows; that can create electrical hazards or void warranties.
Tools and materials quick list
| Tool / Material | Why you need it |
|---|---|
| Soft sponge or cloth | For wiping grease and crumbs |
| Nylon or soft-bristled brush | To reach corners of the basket and tray |
| Mild dish soap | For degreasing washable parts |
| Paper towels | To blot excess grease before washing |
| Long kitchen tongs or silicone spatula | To safely remove large debris once cooled |
| Sink or basin | For soaking greasy parts |
| Owner’s manual | To confirm dishwasher safety and model-specific guidance |
Step-by-step: stopping the smoke safely
-
Stop the cooking cycle and turn off the air fryer using the control panel or power switch.
-
Safety first: unplug the appliance if the plug is reachable and cool. If there are signs of electrical failure (sparking, melting), do not touch — call the manufacturer or an appliance technician.
-
Allow the unit to cool for at least 20–30 minutes before opening. Hot elements and trapped steam cause burns.
-
Open the drawer or lid only after it’s cool. Remove the basket, tray, and any inserts carefully; these parts trap drips and crumbs that cause smoke.
-
Empty the drip pan into a heatproof container and blot remaining grease with paper towels to minimize the mess.
-
Wash removable parts with warm, soapy water. Soak heavily soiled parts 15–30 minutes before scrubbing with a soft brush. Rinse and dry completely.
-
Wipe the interior accessible surfaces with a damp cloth if your manual permits. Avoid spraying water into vents or onto the heating element.
-
Reassemble the dry parts, plug the unit back in, and run an empty cycle at a low temperature for 5–10 minutes to remove lingering smells and confirm the smoke is gone.
-
If smoke returns, unplug and stop using the fryer and move to troubleshooting and possible service.
Cleaning notes tied to manuals
-
Manufacturers recommend cleaning basket and pan when white smoke appears; Philips specifically lists high-fat foods, missing fat-reducer parts, and greasy residue as common causes of white smoke [1].
-
Confirm whether parts are dishwasher-safe before loading them. If the manual advises hand washing, follow that guidance to avoid damaging coatings or seals.
-
Never access the heating element beyond what the manual allows. Internal repairs or deep access should be handled by the manufacturer or a qualified technician.
-
If your model includes a fat-collection insert or grease tray, make sure it’s installed and correctly positioned. A missing or misaligned tray can let oil pool and overheat [1].
Common causes and how to fix them
-
Grease buildup from prior cooking – Cause: Fat and oil collect in the bottom or on surfaces and smoke when heated. – Fix: Clean the drip pan, basket, and interior per the manual. Soak parts in hot, soapy water and use a soft nylon brush for crevices. Repeat if necessary.
-
High-fat foods or fatty marinades – Cause: Excess oil drips into the pan and reaches a hot surface. – Fix: Trim visible fat from meat, pat foods dry to remove excess oil, use lower temperatures or shorter cook times, and install any fat-collection parts your model provides. If the manual allows, place a small oven-safe dish under the basket to collect drips.
-
Loose batter, breading, or crumbs – Cause: Coatings fall through the basket and burn on the pan or near the element. – Fix: Shake off excess breading before cooking, arrange food in a single layer, and consider a perforated air-fryer parchment if approved by your manual.
-
Foods placed too close to the heating element – Cause: Light or tall items can pull toward the hot element, increasing burn risk and smoke. – Fix: Lay tall items flat, cook smaller batches, and keep a gap between food and the heating element.
-
Residue from aerosol sprays – Cause: Cooking sprays can leave a sticky residue that smokes when reheated. – Fix: Use a pump sprayer or brush oil onto food if your manual discourages aerosol sprays. Clean surfaces thoroughly if you used sprays.
Do not try quick “hacks” unless your manual endorses them
- Some tips you’ll see online — like adding water to the pan, placing bread in the basket to soak up smoke, or using unusual household cleaners on the element — aren’t universal solutions. Design and materials differ across models, so those tricks can be ineffective or dangerous. Follow the manual.
Troubleshooting table
| Symptom | Likely cause | What to try |
|---|---|---|
| Thin white or gray smoke during high-fat cooks | Hot grease or residue burning | Stop, unplug if safe, cool, clean basket/pan per manual; use lower temp next time |
| Smoke with acrid, chemical smell | Plastic coating or shipping materials melting | Stop, unplug if safe, do not use until inspected; contact manufacturer if plastic appears melted |
| Black smoke or flames | Burning food or oil fire | Evacuate if needed, turn off power if safe; after cooling do not reuse until inspected |
| Persistent smoke after cleaning | Hidden residue or internal issue | Check accessible areas per manual; run empty low-temp cycle; contact manufacturer if persistent |
| Smoke only with certain foods | Food choice or prep | Reduce oil, pat food dry, cook in single layer, use lower temp |
| Smoke after long storage or first use | Dust or manufacturing residues | Follow break-in instructions in manual; run a short empty cycle if recommended, ventilate kitchen |
Quick self-check
| Scenario | What to do |
|---|---|
| Thin white smoke while cooking bacon at high temp | Stop, unplug if reachable, cool, then clean drip pan and basket — bacon fat commonly causes white smoke. Try lower temp and use the fat-collection tray if your model has one. |
| Dark smoke and a chemical/plastic smell on first use | Stop immediately and unplug if safe. Check for shipping materials or protective films; if plastic appears melted, contact the manufacturer. |
| Smoke appears only when using aerosol cooking spray | Avoid aerosol sprays unless the manual explicitly allows them. Clean as recommended and switch to a pump sprayer or brush oil on food. |
| Smoke returns after cleaning | Inspect areas the manual allows you to access for crumbs or residue; run a short low-temp test. If unresolved, contact manufacturer support. |
| Smoke stops after a few minutes | That can be leftover oil burning off. Stop and clean, then run an empty low-temp cycle to verify. Repeated occurrences need deeper cleaning or service. |
When to stop and call for help
-
Flames coming from the unit. Turn it off and unplug if safe; if not safe, cut power at the breaker and evacuate.
-
Strong electrical burning odor, melted plastic, or visible melting on internal parts. Stop using the fryer and contact the manufacturer or an appliance technician.
-
Sparks, a smoking or overheated cord, or a plug that’s unusually warm to the touch. Stop using and get professional help.
-
Black smoke that doesn’t clear after a thorough cleaning and a low-temp test run.
-
Repeated smoking even with clean parts and low-fat foods — that suggests an internal fault that needs inspection.
Preventive habits that cut smoke risk
-
Empty and clean the drip pan after every fatty cook to prevent grease buildup.
-
Trim excess fat from meats and blot oily marinades before cooking.
-
Avoid overcrowding the basket so oil drains and heat circulates properly.
-
Use oil sparingly and follow the manual’s advice about application methods.
-
Check for small bits of food stuck in crevices after each use and remove them.
-
Occasionally run a short, low-temperature empty cycle to clear residual odors only if your manual allows.
-
Keep the area around the fryer free of flammable items and do not block vents.
-
Store and use the unit per the manufacturer’s guidance; some manuals specifically warn against nonstick sprays that can damage coatings over time.
Dealing with stubborn grease or sticky residue
-
Soak basket and pan in hot, soapy water for 15–30 minutes, then scrub gently with a soft brush.
-
For baked-on spots, a paste of baking soda and water can help: apply, let sit 10–15 minutes, then scrub gently and rinse.
-
Avoid steel wool or metal scouring pads, which can damage nonstick coatings.
-
If odors persist after cleaning, run an empty low-temp cycle (only if the manual permits) and ventilate the kitchen.
-
Clean the heating element only as the manual allows — usually with a gentle wipe after unplugging and cooling. Never use abrasive cleaners on the element.
Maintenance checklist (after heavy use and periodically)
-
After every heavy fatty cook: Empty drip pan, wash the basket, and wipe accessible surfaces.
-
Monthly: Inspect cord, plug, and vents for debris; confirm the drawer/basket slides smoothly. Clean vent openings gently.
-
Every three months: Perform a deeper clean per the manual; check seals and gaskets; replace any worn or cracked manufacturer-supplied parts.
-
If you notice persistent odors, performance loss, or frequent smoke despite clean parts, contact manufacturer support.
What the USDA says about air-fryer food safety The USDA advises treating air fryers like other cooking equipment: cook foods to safe internal temperatures, prevent cross-contamination, and practice safe food handling.
Smoking or overheating can indicate excess fat or burning residue, so cleaning and safe preparation also support broader food-safety recommendations. Use an instant-read thermometer to verify poultry reaches 165°F (74°C) and follow published safe temperatures for other meats.
If troubleshooting fails
-
Confirm you cleaned everywhere the manual allows. Small debris under the basket or in corners is often the culprit.
-
Test with a low-fat item — for example, a few plain potato slices — at low temperature to see whether smoke returns.
-
Note the color and smell of the smoke. White or light gray smoke often indicates grease burning; black smoke or a chemical smell suggests melting materials or electrical issues.
-
Contact the manufacturer with your model and serial number, a description of the incident, and what cleaning steps you tried. Photos are helpful if taken safely after cooling.
-
If the manufacturer asks you to return the unit or have it serviced, follow their instructions. Do not attempt internal repairs yourself.
If you call support, be ready to share:
-
Model and serial number.
-
What was cooking when it happened and cooking temperature.
-
Smoke color and odor, and whether flames were present.
-
What cleaning steps you performed and whether the smoke persisted.
-
Photos of any visible damage after the unit cooled.
Final practical notes
-
A calm stop-and-check routine — stop, unplug if safe, cool, remove and clean basket/drip tray — resolves most smoke problems.
-
Small habits like wiping the tray after each use and patting fatty foods dry dramatically reduce recurring smoke.
-
Keep your manual handy and follow model-specific advice. Manufacturers such as Philips include model-relevant causes and fixes for white smoke and recommend proper placement of fat-control parts.
-
If you lend or rent your fryer, include the owner’s manual or a quick note on cleaning and safe-use basics so others don’t unintentionally cause smoke problems.
References
[1] Philips Support, White Smoke Comes Out of My Philips Airfryer: https://www.usa.philips.com/c-t/XC000012902/white-smoke-comes-out-of-my-philips-airfryer
[2] USDA FSIS, Air Fryers and Food Safety: https://www.fsis.usda.gov/food-safety/safe-food-handling-and-preparation/food-safety-basics/air-fryers-and-food-safety
Leave a Reply