You didn’t get a robot vacuum to keep running after it. Most navigation challenges can be solved with simple maintenance and tweak. To get your robot unstuck and working efficiently, here are 12 useful tips.
1. Get rid of Obvious Floor Clutter
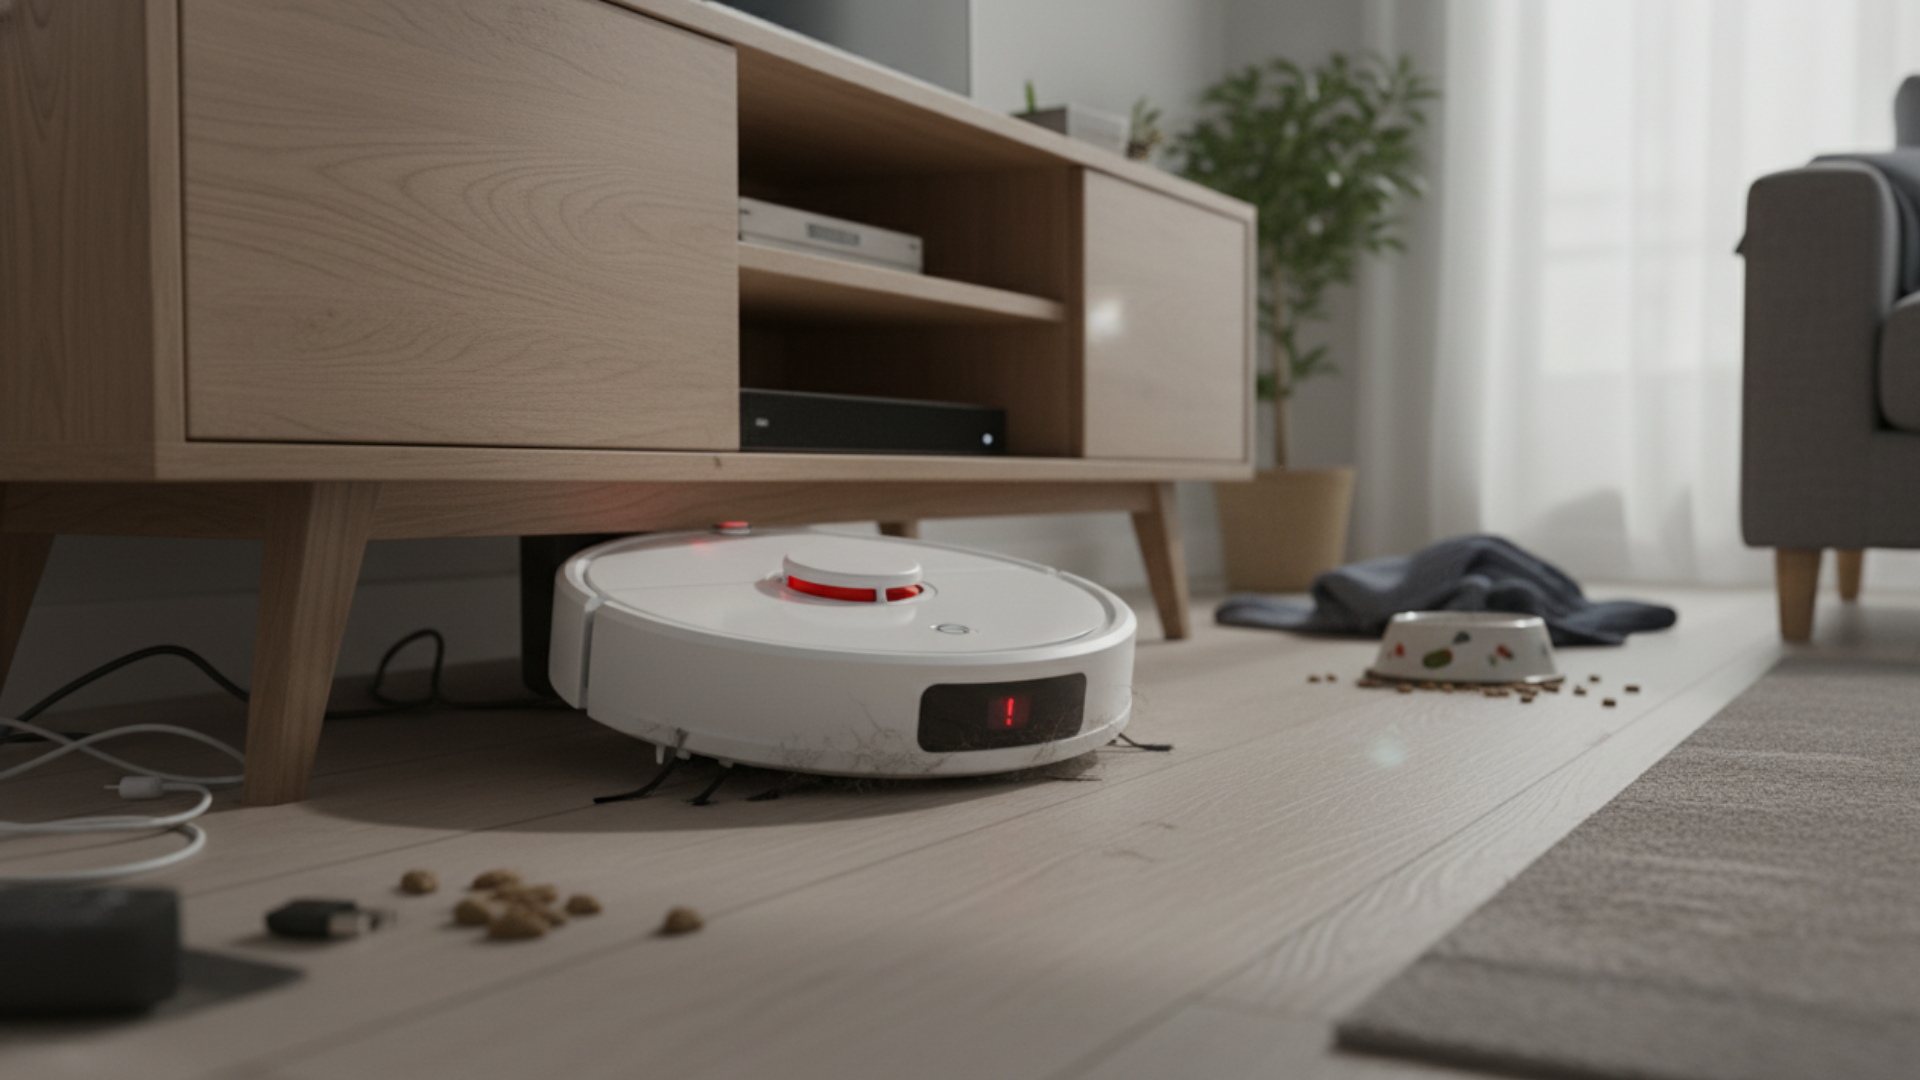
This is by far the biggest culprit for robot vacuums getting stuck. Chargers, shoes, pet toys, and clothes are all traps for these machines.
- Pre-Clean: You know what to do — sweep the floor quick before vacuuming.
- Manage Cords: Hide cables behind furniture or use cable clips to keep them off the floor.
- Beware of Strings: Products with cords, strings or tassels, notably fringe on area rugs must be taped down or blocked off since they will wrap around the brushes and stop the machine.
2. Adjust Table and Chair Legs
Furniture legs, especially dining chairs and bar stools, pose perplexing obstacle courses. The vacuum gets underneath and then it can’t seem to find an exit, so it’s stuck.
- Push In Chairs: Push in dining chairs all the way before cleaning cycle. Turning light furniture into the table is a bit extreme but very effective.
- For constantly problematic pieces of furniture, install thin no-go barriers or magnetic strips to block off the space.
3. Check and Clean Your Sensors
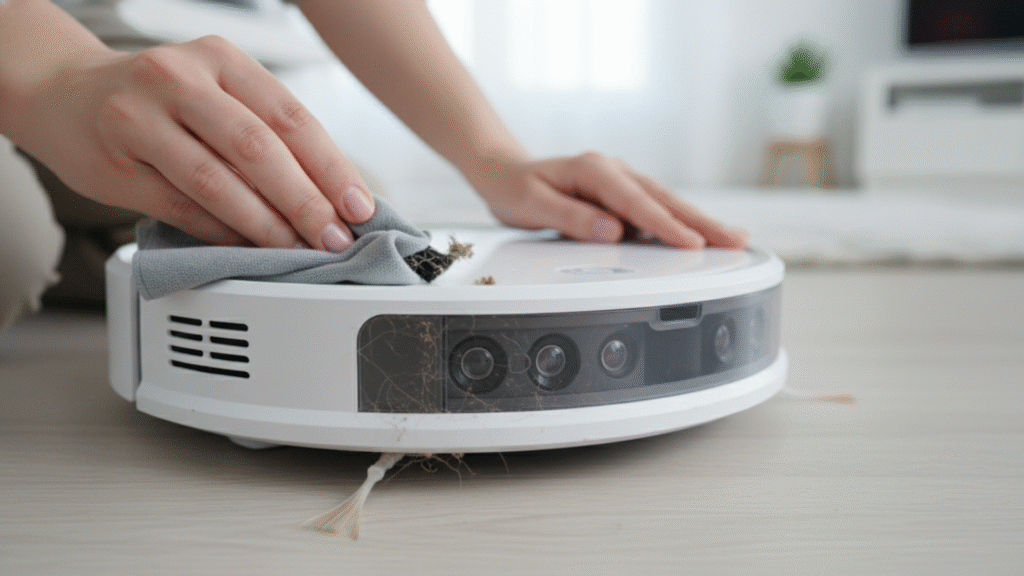
Dirty sensors make your vacuum “blind and confused.” Dust, pet hair and smudges on sensors (cliff sensors, bumps sensors, camera/LiDAR sensors) lead to chaos in navigation, causing the vacuum to either not detect obstacles or to be fooled by false cliffs.
- Find & Clean: Check your manual to locate all sensors (bottom, front bumper, and top, typically). Wipe them down carefully with a microfiber cloth.
- How Often: You should do this weekly in a household with pets or monthly if you don’t have pets. Cleaning sensors greatly enhances the navigation.
4. Fix Lighting Problems
You need good lighting for camera-based models to map and navigate.
- Provide Light: Use your vacuum in the daytime, or with the lights on in the room. It results in tripping and stumbling when you try to do it in near-darkness.
- Steer Clear of Extremes: On the other hand, extremely bright light, such as sunlight shining off shiny floors can also interfere with the sensors by causing false signals.
5. Solve Threshold and Transition Problems
Differences in floor levels — from transitioning between rooms to going over carpet transitions — robot vacuums will often get stuck.
- Apply Ramps: For small thresholds (less than half an inch), pick up a few threshold ramps that make it easier to get over.
- Raise Power: If your vacuum has difficulty climbing onto area rugs, try running it in the “max” or “high power” setting to allow for greater torque of the wheels.
- Darkness: Dark transitions can fool cliff sensors into thinking they are drop offs. A piece of light color tape could also help sensors tell the difference.
6. Untangle and Maintain Brushes and Wheels

Debris such as hair, string, and dust bunnies wrapped around the brushes and wheels axels greatly degrades the mobility and causes error warnings.
- Spot-Check and Remove Debris: Turn over the vacuum and make sure to check out the main brush roller, side brushes and wheels. Cut away the hair and debris using scissors.
- Clean the Wheels: Carefully pull the wheels out completely, and clean underneath and around the axel to make sure they spin smoothly. This upkeep is critical for mobility.
7. Set Up Proper No-Go Zones
Take advantage of either app-based virtual boundaries or physical magnetic strips in your vacuum for the most problematic spots.
- Get Strategic: Create no-go zones for your vacuum in places where it constantly gets stuck (e.g., under a particular cabinet, near a plant stand).
- Efficiency: You can vacuum the hard-to-clean area on your own and save the constant rescue work for your robot.
8. Upgrade Your Robot’s Software
They frequently provide navigation algorithm enhancements and cause issue fixes via software updates.
- Check App: Make sure you have the most current firmware for the vacuum since updates can greatly enhance mapping and obstacle avoidance.
- Remap: If you’ve done quite a lot of furniture moving, trash the old map and start a new one.
9. Adjust Carpet Settings and Suction Power
Vacuum lifters can be trapped in deep-pile carpets when traction is reduced or when the resistance is misread by the sensors.
- Enable Carpet Boost: Turn on the carpet boost/carpet mode option to apply more suction and wheel power on carpets when necessary.
- Dark Carpet Fix: Should your vacuum refuse to cross black or really dark rugs (confusing them for cliffs) see if your model lets you change the sensitivity of the cliff sensors or put light colored tape on the sides.
10. Fix Wheel and Suspension Problems
If a vacuum is having a sudden hard time in places, it has always done well, mechanical trouble might be the culprit.
- Check Wheels: Give each wheel a spin. They need to be able to rotate freely and pop back when you push on them. Stuck or wobbly wheels may be replaced.
- Test for Level: Make sure the vacuum is on a level surface. Worn suspension parts may cause tilting, which causes the machine to scrape and become hung up on small obstructions.
11. Make the Cleaning Area Smaller

If your robot never finishes cleaning the entire house in a single run, break the work up into smaller, more manageable zones.
- Divide and Conquer: Use doors or virtual boundaries to segment your home. One zone at a time, per day.
- Advantages: Cleaning smaller spaces also implies that there are less navigation challenges to face, less battery is used and the cleaning results should be (generally) better and more focused. Consider the Floor Surface Trouble
There are even times when it’s the floor itself that’s to blame — overly slick tiles, wide spaces between floorboards or floorboards that bow.
- Traction: On slick floors, max power mode may offer better traction.
- Weirdness: In the case of a particular warped board or transition strip being your constant problem, make a tiny, focused no-go zone around just that spot.
How to Make It Work
Robot vacuums need prep work, ongoing maintenance and periodic tweaking. When you routinely deal with clutter, clean sensors, map strategically, and monitor for mechanical problems, you can take your robot from a maddening plaything to an actually useful cleaning ally.
Leave a Reply