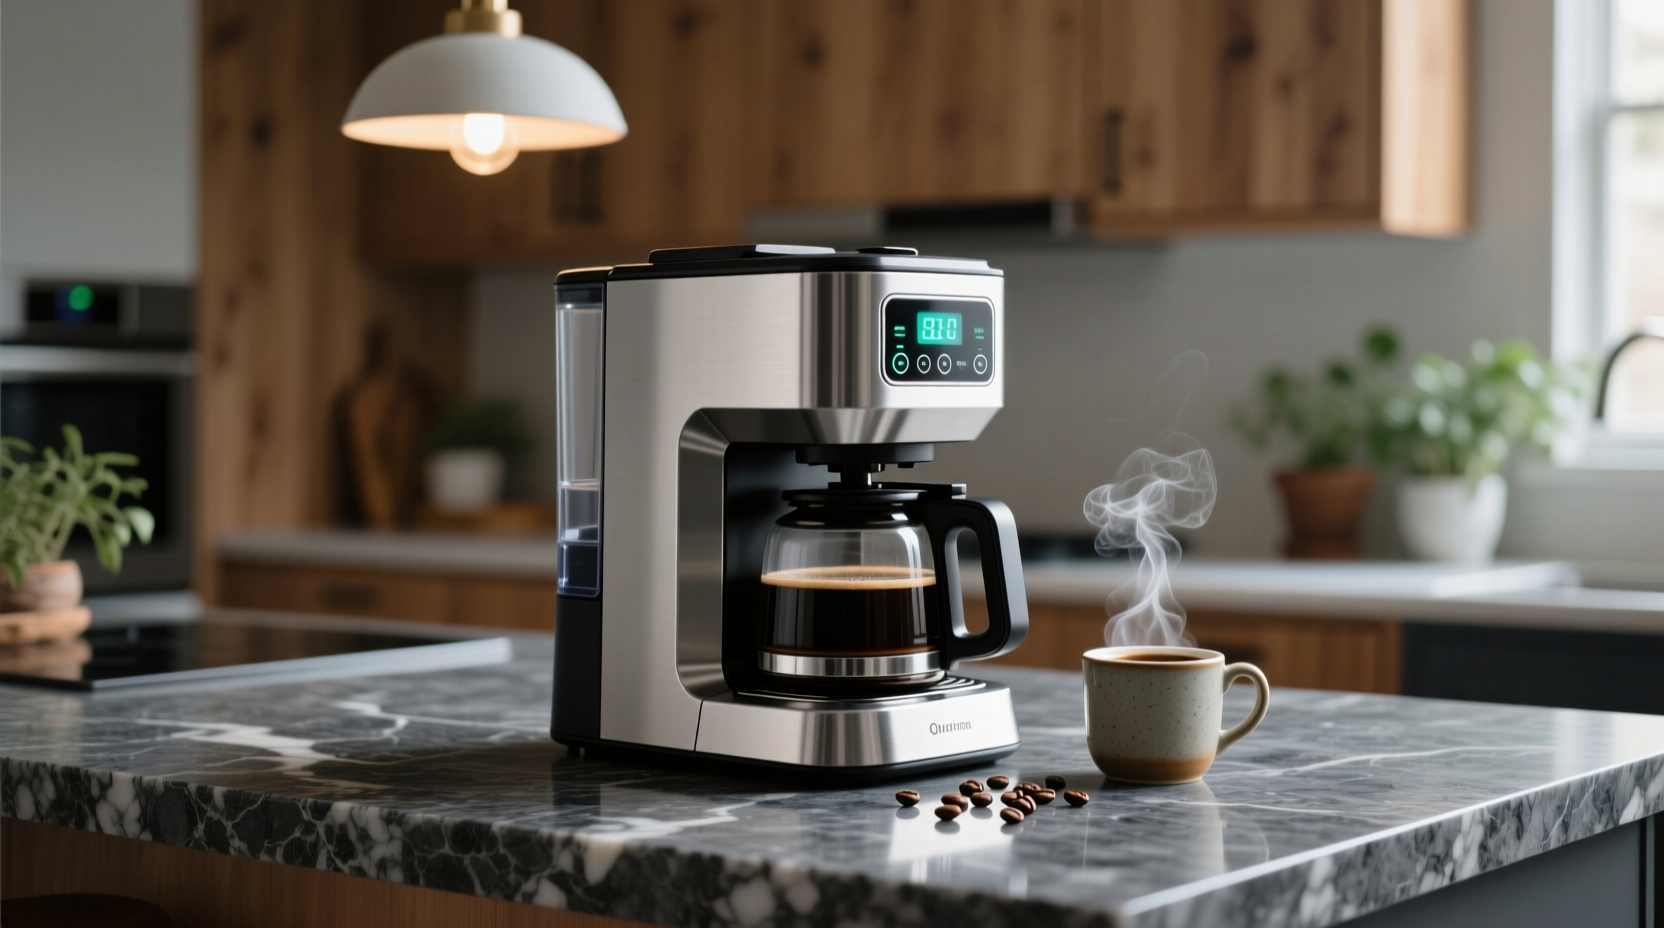
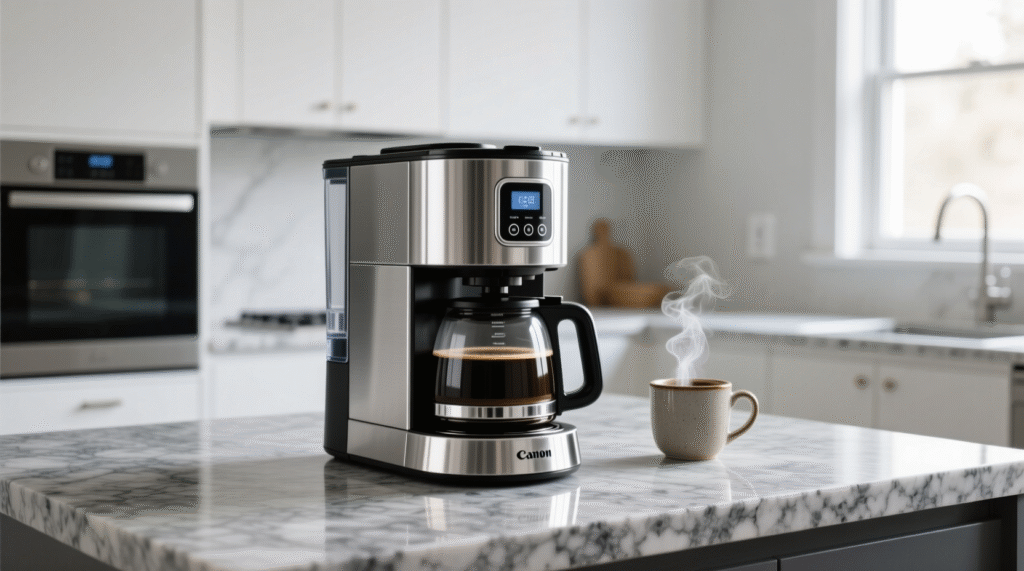
There is simply no substitute for that first cup of coffee in the morning. But here’s something that may make you reconsider your brewing habits: your coffee machine may be filled with mold, bacteria and limescale that compromises not only the taste of your coffee but also your health. If your coffee has tasted a little off recently or you can’t recall the last time you gave your machine a clean, this is the guide for you.
Let’s discuss how to maintain your coffee maker clean and free of mold so it continues to make great coffee day after day.
Why Your Coffee Maker Is a Mold Magnet
Before we begin, you should understand why coffee makers become mold and bacteria magnets. Your coffee maker has the ideal conditions for mold growth: moisture, warmth, and darkness. The water reservoir, in particular, is like a luxury hotel for germs.
Small amounts of water cling to the inside of the coffee machine each time you brew, staying in several places throughout the machine. The coffee residue and oily residue are sources of nutrients for bacteria and mold. And since the majority of us don’t routinely check inside our coffee machines, these unwelcome visitors can run rampant for weeks or even months at a time.
A study released by NSF International revealed that coffee reservoirs are one of the germiest things in your home, with more than half of tested machines harboring yeast and mold. That’s certainly not the taste you want in your morning cup.
How Often Should You Really Clean Your Coffee Maker?
This is the million-dollar question, and the answer may surprise you. You should rinse the detachable elements after each use for daily cleaning. But for a deep clean, if you use your coffee maker daily and go for once a month. If you are an avid coffee drinker (multiple pots a day), clean it at least every two weeks.
But there are a few warning signals that your coffee maker needs to be cleaned now. If you detect a musty odor, see mold, experience longer brew times, or your coffee taste bitter or stale, it’s time to clean right away.
Habits That Can Prevent Mold from Growing Every Day
The best way to get rid of mold is to prevent it in the first place. These are easy to do on a daily basis and really help your coffee maker stay fresh.
Pour out and rinse the carafe right away. Don’t leave stale coffee sitting around all day. Those coffee oils are going to go rancid, and that’s a great place for bacteria.
Take out and rinse the filter basket. If you have a paper filter or a reusable one, the filter basket requires cleaning. Coffee grounds trapped in the basket can mold quite quickly, particularly if you live in a humid climate.
Clean the outside and the warming plate. They do explode and they can hold bacteria. A quick wipe down is just enough to keep everything clean.
Keep the reservoir lid open when not using it after brewing. This could be the one daily routine that matters most. That said, enabling air flow can then allow for the interior to dry out thoroughly, which makes it a lot more difficult for mold to take hold.
The Deep Clean: Step-by-Step Guide
Now let me show you how to clean it seriously. You will need: white vinegar (the cleaning superhero), water and about 1 hour of your time.
Step 1: Take it apart as much as possible. Remove carafe and lid, the basket, and any other detachable pieces of the coffee maker. Wash them in warm, soapy water. Concentrate on cleaning those hard-to-reach crannies where coffee oils tend to build up.
Step 2. Make the vinegar solution. Combine equal parts water and white vinegar. For a regular 12-cup coffee maker, you will need about 4 cups of vinegar and 4 cups of water. Vinegar’s acetic acid is very effective at breaking down mineral deposits and at killing mold and bacteria.
Step 3: Begin the vinegar process. Add the vinegar mixture to the coffeemaker’s water reservoir and run a brew cycle with no coffee. Turn off the machine and let the mixture sit for 30 to 60 minutes. This allows the vinegar to loosen and dissolve any buildup within the machine.
Step 4: Complete the cycle. Turn the machine back on and let it finish brewing. Discard the solution of vinegar.
Step 5: Rinse well. This is important, because vinegar-flavored coffee isn’t anybody’s favorite drink. Run 2-3 cycles, water only. Some still get a vinegar taste after the second rinse cycle, so if you can, don’t stop at the second rinse.
Step 6: Clean off the outside. Using a cloth moistened with the vinegar solution, clean the exterior of the appliance. Also clean the cover plate over the pot-warming plate where dried coffee drips can be caramelized by heat.
Special Attention: The Water Reservoir
The water tank should be given special consideration because it is the most typical location for mold to proliferate. Monthly, if your reservoir is detachable, remove it and rinse it with warm soapy water. Use a bottle brush to clean bottom and sides.
For non-removable reservoirs, you’ll have to get creative. Place it with the vinegar solution and allow the solution to work for a few hours or overnight. Then, before you run your cleaning cycles, use a long-handled brush made for cleaning water bottles to scrub the inside.
Also check the water intake valve at the base of the reservoir. This tiny hole can also be blocked by mineral deposits and mold can press itself in there too. A cotton swab or small brush can also be used to clean the area.
Descaling: The Neglected Step
Descaling is just as necessary as sanitizing if you live in an area with hard water. Hard water mineral buildup may accumulate within your coffee brewer, limiting the flow of water and heating it excessively. These deposits also roughen surfaces, making them easier for mold to attach.
Vinegar is good for light descaling, but if you reside in an area with extremely hard water you may wish to treat with a commercial descaler solution once in a while. These are specially designed to dissolve deposits of minerals much more effectively than vinegar.
Don’t Forget These Often-Missed Spots
The spray head: This is the hole from which water sprays over the coffee grinds. It can be blocked by mineral deposits. Use a paperclip or toothpick to open holes that are clogged.
Carafe lid: If your carafe has a lid with more than one piece, disassemble it completely when you clean it. Mold loves to hide in the nooks and crannies of this lid.
Below the machine: Coffee and water may drip under your coffee machine. Raise it from time to time and clean the surface beneath it.
The heating plate edge: There is a lip around the perimeter of the plate that gets esterified coffee drips.
Alternative Cleaning Method
While vinegar is the easiest go-to, if you don’t like the odor or just want something different, there are options.
- Baking soda: Combine baking soda and water with 2/1 (ratio) and run the mixture in your machine. It’s milder than vinegar but a good option for regular cleaning.
- Lemon juice: The citric acid in lemon juice acts very much like vinegar. Use the same amounts and method. Your kitchen is going to smell far better as you clean!
- Commercial coffee maker descalers: These solutions are tailor-made for coffee pots and can be quite useful. Carefully follow the manufacturer’s instructions.
Single-Serve Machine Care
If you own a pod coffee maker, cleaning is a bit different but just as vital. These devices are just as well known for pooling mold in the needles that puncture the pods and the pod holder.
Take off the pod holder and clean it under the tap after each use. Once a week, use a paper clip to clean out the needle that punctures the top of the pod. This needle can get clogged with coffee grounds and residue, and it’s also a common location for mold to grow.
Run the descaling cycle your manufacturer recommends every three months, or more frequently if you have hard water. Most pod machines come with a descaling mode that is pre-programmed.
Water Quality Matters
The taste and cleanliness of the coffee and coffee maker can be affected by the type of water used for brewing. If you have heavily chlorinated or very hard tap water, you may want to use filtered water. This can prevent mineral deposits and mold by eliminating some nutrients that serve as food for microorganisms.
However, do not make a habit of using distilled water. The absence of minerals prevents limescale build-up, but that same absence can also cause certain coffee machine parts to corrode over time. Filtered water strikes the right balance.
Signs You Need to Replace Your Coffee Maker
Even with the best care, a coffee maker will eventually need to be replaced. If you’re seeing mold that just won’t quit coming back even after cleaning very well, it’s time to replace it. Also, you should never use a cracked water reservoir or carafe – bacteria can collect in cracks in which you can’t clean.
Weird sounds, electrical problems, or plastic components that are melted or have turned a yellowish color are all indications that your device is no longer usable. Most coffee makers last 5-10 years under normal use.
The Bottom Line
Preventing mold in your coffee maker is not difficult, but it does take some diligence. Those couple of minutes of daily work, in addition to the deeper monthly cleaning, will ensure every cup you brew tastes as good as it can, and that you aren’t inadvertently consuming anything you don’t want along with your caffeine.
Think of it this way: you wouldn’t cook in a dirty pan, so why brew coffee in a dirty machine? Your morning ritual deserves better, and so does your health. Set a reminder on your phone for that monthly deep clean, make those daily rinses a habit, and enjoy fresh, delicious coffee every single day.
Leave a Reply