You know that feeling when you step into your kitchen and get hit with an unexpected stank to your face, only to realize it’s radiating from the drain? That’s because your garbage disposal is screaming for your attention. Even with all the use these tireless kitchen assistants get - they are known to pulverize food waste on a daily basis - they are frequently overlooked when it comes to maintenance. The result? A breeding ground for bacteria and bad odor.
This is the thing with the garbage disposal: cleaning it isn’t just about removing odors. It’s about having a kitchen that’s as sanitary as possible and making sure you get the most out of your disposal. Okay — I’ll let you in on everything you need to know about making your garbage disposal fresh, clean and odor-free.
Why Does Your Garbage Disposal Smell in the First Place?
Now, before we get into the cleaning methods, it’s helpful to know what’s making that smell. There are lots of places in your garbage disposal where bits of food get trapped. Small pieces of meat, vegetables, and other organic materials are lodged in the grinding chamber, on the blades, and under the rubber splash guard. The bacteria party Stinks! happens when these particles rest in a dark and damp place, and bacteria begin to multiply like they are throwing a party, and that party stinks. They add to the problems of grease and oil. When you drain fat (which is something you’re not supposed to do), it solidifies and forms a sticky layer that captures more food grime. Over time, the accumulation turns into a smelly mess that normal water flow can’t remove.
The Quick Daily Refresh Method
You can keep your garbage disposal smelling fresh with a quick rinse after every use, says Zahn. It’s about 30 seconds worth of work and it keeps you from having to deal with bigger odor issues later on.
After running your garbage disposal, let the cold water continue to run for a minimum of 15 seconds. This pushes the food particles along the pipes instead of leaving them to collect. Cold water is important here — it solidifies the fats and oils so they can be chopped up and washed down the drain instead of melting and coating the inside of your disposal.
Once or twice a week, you can also add a few citrus peels. Lemon, orange or lime peels are ideal. The natural oils cut through grease and leave a fresh smell. Simply toss a handful of pieces in, run cold water and turn on the disposal for several seconds.
The Ice and Salt Deep-Clean Trick
When your disposal demands more than a quick rinse, the ice and salt routine is a wonder. This process scrubs the grinding parts of your disposal and will work to loosen the gunk that is stuck.
Step 1: Add two cups of ice cubes to your disposal. Add coarse salt (rock salt or sea salt is best) to the half-cup line. Run the cold water and then turn on the disposer. The combination of the ice and salt is abrasive; the result is like sandpaper that smooths the walls of the disposal and the grinding blades.
It sounds brutal—like you’re smashing stuff, which you are, but you’re not breaking anything. The ice will break down as it cleans everything along the way.
Step 2: Run your disposal for 1 minute and then run cold water for 30 more seconds to clear it out. Your disposal will sound different after that — cleaner, if that’s the right way to say it. The acid in vinegar removes the buildup that causes odors and can also help to sharpen the blades.
Baking Soda and Vinegar: The Dynamic Duo

This may take you right back to your elementary school days making volcanoes out of baking soda and vinegar, but it actually works to neutralize the odor in your garbage disposal. If you know the smell but not the cause, baking soda is a natural neutralizer while the acidity of vinegar dissolves dirt and kills bacteria.
Scoop half a cup of baking soda into the disposal. Don’t turn it on yet. Allow the baking soda to rest for 30 minutes. It allows the odors to be absorbed and the organic matter to break down.
After a while, add 1 cup white vinegar. You can watch it fizz and bubble — That’s the chemical reaction at work. Soak for an additional 10 minutes in this solution. The fizzing process helps to clean soil out of seams and crevices; including hard-to-reach places.
Clean the soap holder by running hot water and turning on the disposal, at last. The heat flushes the loosened stuff down the drain and leaves your disposal smelling a little fresher. Some people like to add a few citrus peels on top of that for a nice little burst of freshness.
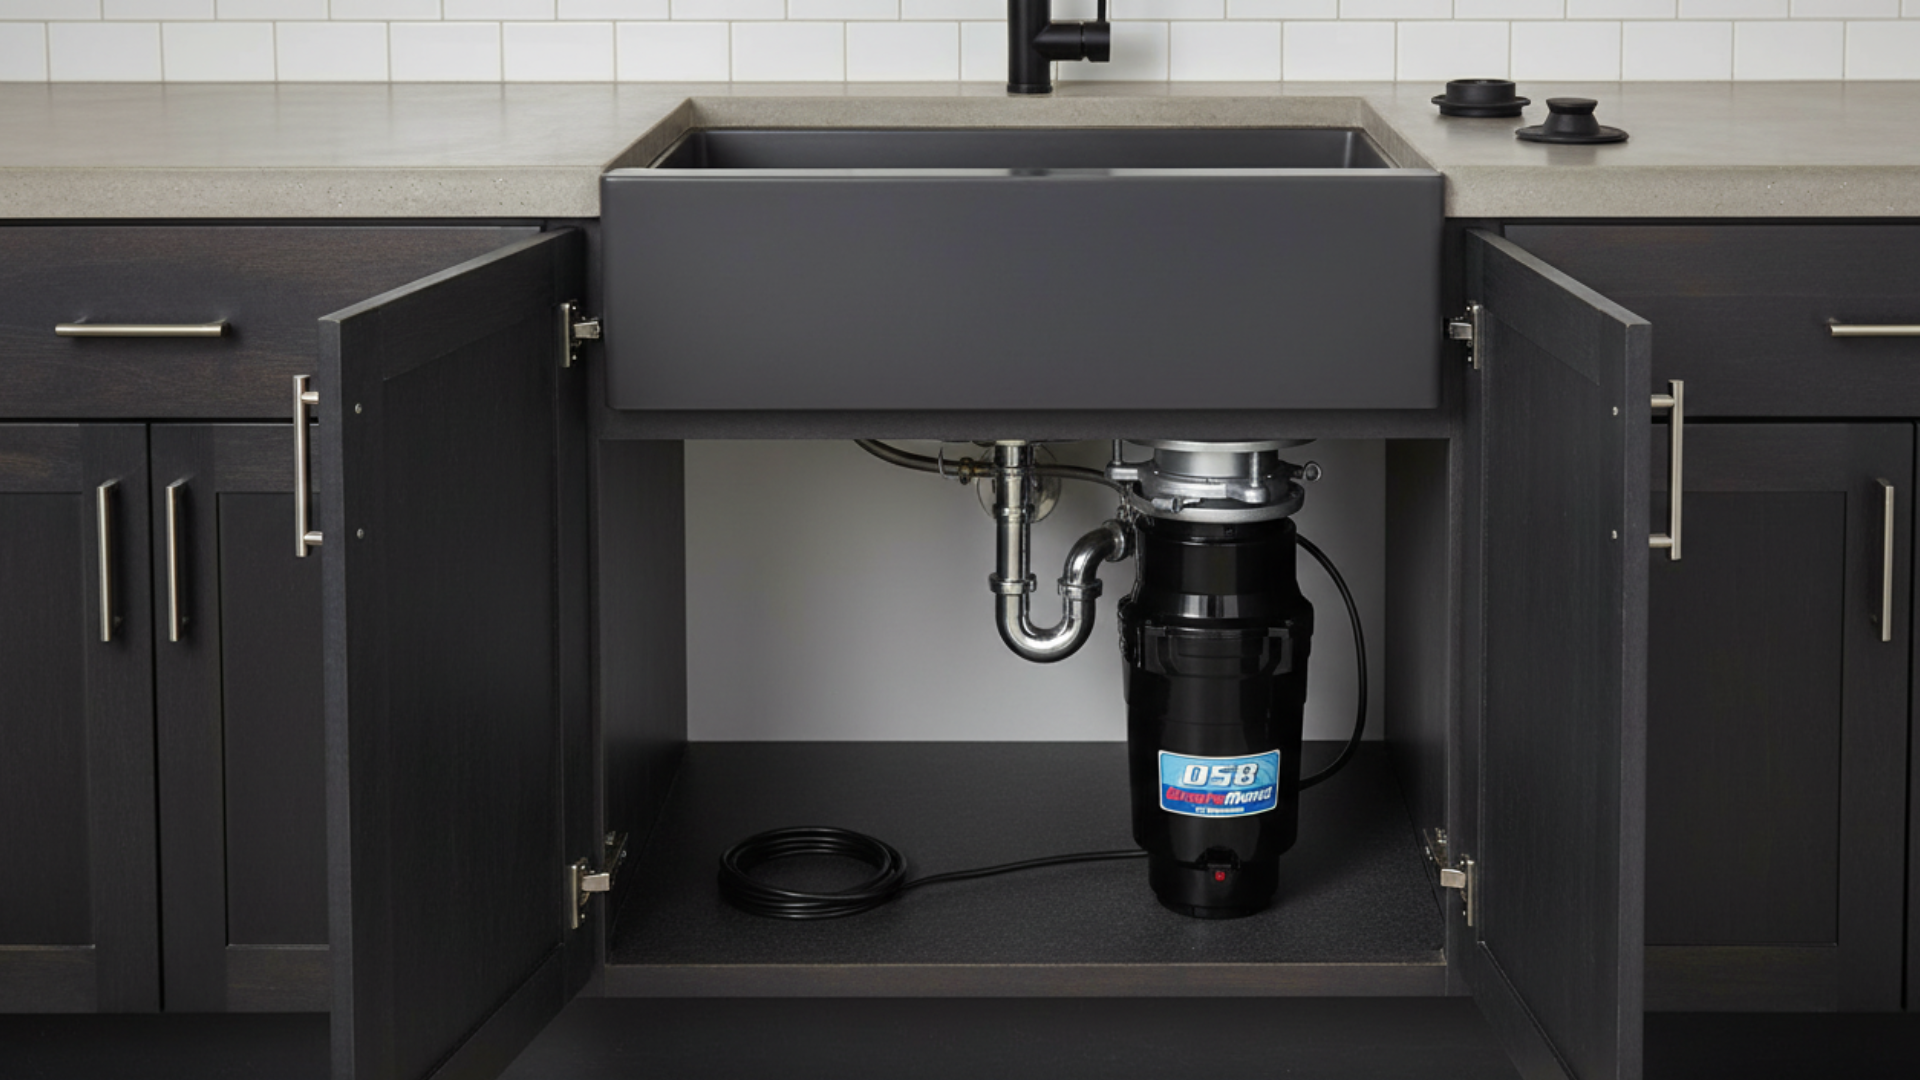
Cleaning the Rubber Splash Guard
There’s one element people just shrug off: that rubber splash guard at the top of your disposal. This thing gets absolutely disgusting because it’s always being hit with food particles and dirty water. Lift the flaps and peek—I’m waiting while you go get some gloves. Pretty gross, right?
The bottom side of the splash guard is where the nastiest odors often come from. To clean it, remove it completely (if your model allows), or clean it while still in place. For cleaning in place, dip an old toothbrush in dish soap and scrub under each flap. Really get in there. You’ll be surprised at what comes off.
For a deeper clean, mix baking soda with a little water to form a paste, dip the brush in the paste, then scrub. If the splash guard is removable, remove it and wash it thoroughly in hot soapy water.
Soak it for a couple of minutes if it’s really messed up. Some people even run it through the dishwasher. Once your disposal is clean, you’ll notice an immediate improvement in how your disposal smells.
The Dish Soap and Hot Water Flush
Sometimes the answer is plain and simple. This technique is effective for routine cleaning and minor odor problems.
Cover the drain of your sink and fill it with 3-4 inches of hot water. Add a big squirt of dish detergent and stir it in. Unplug the drain and turn the disposal on immediately afterwards. The sudden gush of soapy water generates a great flushing action that runs through the entire disposal and down line pipes.
Dish soap – This helps to dissolve any greasy deposits and the amount of water you pour in helps to move everything down the pipe. Do that once a week, and you’ll avoid a lot of stinking-up-the-house problems in the first place.
When to Buy Household Cleaners
There are lots of products designed to clean the garbage disposal, and a few of them work quite well. These generally are offered as foaming packets or pods that you put into the disposal. They’re convenient and can be effective for routine maintenance.
But you don’t need those. The natural methods I suggested are just as effective and don’t cost as much. If you are going to use a commercial cleaner, please read the instructions on the bottle carefully and never use it in conjunction with any other products. Ventilation is important: chemical reactions can produce toxic fumes, or cause your disposal to corrode.
Don’t use any harsh chemicals like bleach or drain cleaner in your garbage disposal. These can rust the metal parts and weaken seals too. Also, they’re bad for your pipes and the planet.
What Not to Put Down Your Disposal
Prevention is the best defense for odors and clogs. Some things should never be put in a garbage disposal, even if you think it can handle them.
- Grease, oil and fat are at the top of the list. They coat everything and end up trapping all kinds of food particles in that sticky mess.
- Celery, asparagus, corn husks and other fibrous vegetables can get wrapped up in the blades.
- Coffee grounds appear harmless but build up like sludge.
- Eggshells don’t sharpen blades as some think, and they form a sandy substance that clogs pipes.
- Pasta, rice and bread expand as they absorb water, and they can turn into a paste that clogs your disposal.
- The grinding mechanism can be damaged by bones, fruit pits, and other hard objects.
In other words: if you have any doubts about whether something can be put into a disposal, the answer is probably no.
Creating a Maintenance Schedule
Consistency is better than intensity for garbage disposal maintenance. Establish a simple regimen to keep everything fresh that doesn’t take a lot of work.
- Daily: Run cold water before, during and after (for 15 seconds) using the disposal.
- Weekly: Use the ice and salt method or the baking soda and vinegar treatment.
- Monthly: Clean the splash guard thoroughly and inspect. Just a couple of minutes each week can save you hours of nightmare clean-up on a really disgusting disposal.
You use your garbage disposal daily to grind up food scraps, so it has a tough job. When a garbage disposal is not maintained correctly, bacteria grow and multiply without any limit which causes odors, and in some cases could make you ill. All these cleaning solutions are easy and simple, yet effective. And the best part, you most likely have all the ingredients in your kitchen.
Leave a Reply