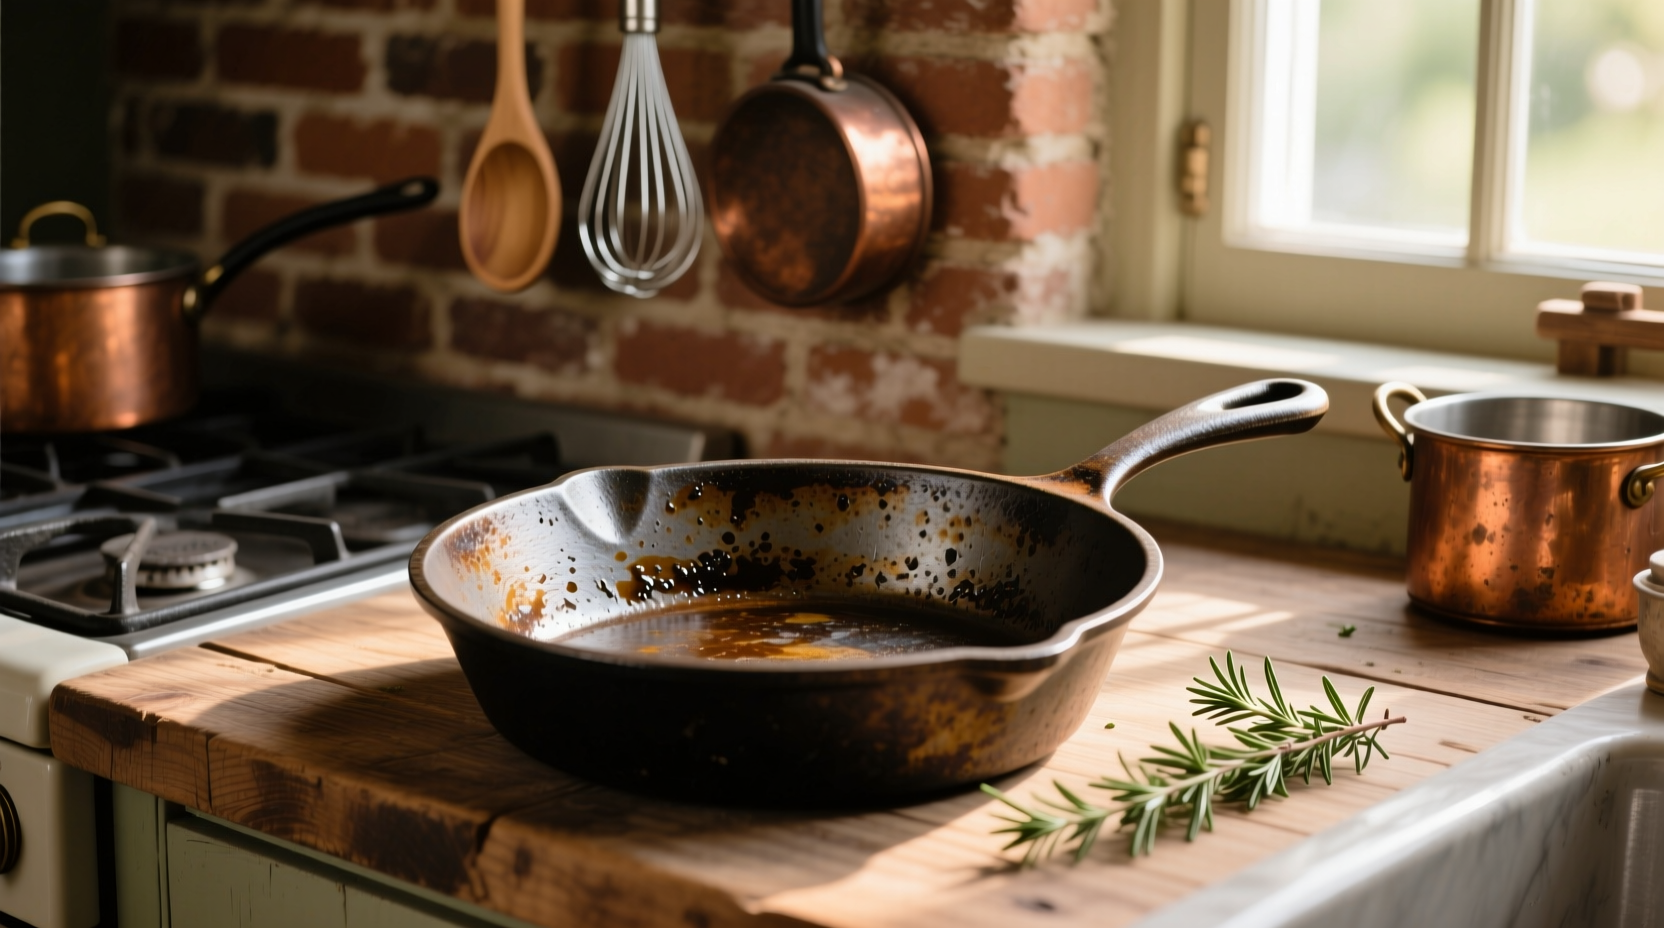
There’s just something special about that old cast iron skillet that has been passed down for generations. Maybe you came by it through your grandma, stumbled upon some rusty wonder at a yard sale, or rescued your own neglected pan from the back of a cabinet.
Regardless of how it came to be in your hands, that caked, rust-encrusted hunk of cookware has the potential for awesome. A little elbow grease and patience, and you can make it good as new and cooking like crazy again.
I have restored countless cast iron skillets, and I’ll guide you through the whole process. Whether your pan is merely coated in surface rust, is caked with decades of gunk, or looks like it was plucked from the bottom of a lake, we’ll have you cooking again in no time.
Restoring Cast Iron – Is it Really Worth It?
Before we get into the ‘how’, let’s talk about the ‘why’. Cast iron isn’t just some trendy kitchen accessory — it can take a lifetime of abuse. That rusted pan you picked up off the floor? It’s probably fine. Unlike modern non-stick pans that have to be replaced every few years, cast iron pans can be passed down for generations with proper care.
Old cast iron, particularly the pieces made before 1950 or so, is often have a smoother cooking surface than most modern skillets.
Griswold and Wagner castings were amazingly smooth and are highly sought after to this day. Even a dilapidated old pan from a thrift store can end up being your go-to cooking utensil.
Also, it’s just inherently satisfying to save a piece of cookware from the landfill. You’re not just buying a great pan — you’re holding on to a bit of history.
Assessing Your Cast Iron’s Condition
Examine your skillet carefully before you begin. Everything can be fixed, but it helps to know what you’re up against.
Surface rust is the most frequent issue and is the simplest to repair. It manifests as reddish-brown dots or patches on the iron. This is simply cosmetic and should not have an impact on the pan function once you clean up.
Severe rust penetrates into the metal, causing pitting and rough areas. Although more difficult, pans that are extremely rusted can be salvaged. The pitting may persist but it won’t affect the cooking.
Layered seasoning and gunk is hardened and sticky and builds up over years of use. Some people confuse this with good seasoning, but if it is flaking off or is feeling gummy, it needs to go.
The only thing to look out for is cracks. Run your finger around the pan for the cooking surface and the handle. A pan that is cracked is neither safe to use nor can it be fixed. When your cast iron skillet is cracked, there’s no saving it – time to replace it with a new one.
Warping is another deal breaker too. Place the pan on a countertop and test if it rattles. You can get away with a slightly warped pan on a gas stove, but you cannot on an electric or induction stove.
Gathering Your Restoration Supplies
You don’t have to have fancy tools to refinish cast iron cookware. Most of the procedures involve typical household goods.
For preparing a solution to remove rust, white vinegar, water and scrubbing pads are required. I use-Fine steel wool (the coarse stuff), chainmail scrubbers, or stiff brushes all work well. Don’t use power tools if you’re a restoration novice—unless you know what you’re doing, they can strip and pit the iron.
You can do away with the bad, old seasoning and accumulated grime in a number of ways. The commonly used Easy-Off oven cleaner (with yellow cap with lye) is effective. Alternatively, use a lye bath if you are cleaning multiple items. The self-clean oven way will work too; however, it is debatable (more on that later).
To re-season your clean pan, get some cooking oil. Flaxseed oil, grapeseed oil, and vegetable shortening work. All have their proponents, but really any oil with a high smoke point will get the job done.
You’ll also need some rubber gloves, old towels or rags, a big bucket or tub, and an oven.
The Rust Removal Process
Let’s start with getting that rust off. The vinegar bath method is my go-to for moderately rusty pans.
Step 1: In a bowl, mix equal parts white vinegar and water, enough to fully soak your skillet. A plastic storage tub or bucket also works. Put your pan in the solution and sit back. Check it every 30 minutes to an hour.
That’s important: don’t let it stay too long. Vinegar is acidic and it will begin to eat away at the iron a light grey film forms which is also hard to remove. 30 mins is good for light rust. Several hours may be required for extensive rust, but never exceed 24 hours.
Step 2: When the rust is loose, take out the pan and scrub it with steel wool or a stiff brush. The rust should be pretty easy to get off. If there are any stubborn spots left, give it another session in the bath.
Step 3: After all the rust is gone, wash the pan immediately with hot soapy water and dry it thoroughly. Don’t allow it to air dry — the bare iron will flash rust in minutes. Typically, I place mine in a warm oven for 10 minutes to be sure all moisture is gone.
If the surface rust is light, you can skip the vinegar bath and just scrub with steel wool and some soap. Great for pans with just a few rusty spots. Stripping Old Seasoning and Buildup
Step 4: If your skillet has thick layers of old, caked-on seasoning or sticky residue, you’ll need to strip it down to bare metal before re-seasoning.
The lye bath treatment is considered the best treatment for hardcore cast iron fans. Lye eats away at organic matter, (old seasoning, food residue), but doesn’t impact the iron. You can make a lye bath by mixing together drain cleaner crystals (which are 100% sodium hydroxide) and water in a plastic container. Use one pound of lye to five gallons of water.
Safety: LYE IS CAUSTIC AND CAN CAUSE SEVERE BURNS. Always be sure to wear gloves and eye protection. Add lye to water, and not vice versa, to prevent a hazardous reaction. Be sure to work outside or in a well-ventilated space.
Step 5: Soak your skillet in the lye bath for a few days, checking it every so often. When the old seasoning begins loosening up, brush the pan and then rinse well. The lye bath may be used again for more pans.
For anyone who thinks the lye bath procedure is a bit too much labor, Easy-Off oven cleaner offers a more simplified option. Coat the pan liberally with the cleaner (in a well-ventilated area or outside), put it in a garbage bag, close it up, and leave it for 24 hours. The lye in the oven cleaner will eat through the old seasoning.
Step 6: Rinse, scrub and repeat as necessary. Run your pan through a self-clean cycle using your self-cleaning oven procedure. All organic material is baked off by the high temperatures. It’s fast and you don’t have to use any chemicals, but some folks are concerned about the heat causing cracks via thermal shock. I have used this method with success, but if you are working on a valuable antique, stick to the lye bath.
Cleaning and Final Prep
After you have removed the rust and old seasoning, your pan will look like raw gray metal. Rinse and give a final good scrubbing with hot water and dish soap. Yes, I said dish soap—it’s completely fine to wash bare cast iron with dish soap.
Rinse thoroughly and dry immediately. I can’t stress this enough: bare cast iron rusts insanely quickly. Dry with a towel, then warm in the oven or on a stovetop burner for a few minutes to evaporate any remaining moisture.
Your pan is now seasoned and ready to go. Don’t let it sit around—move on to the seasoning process, or your iron will begin rusting once again.
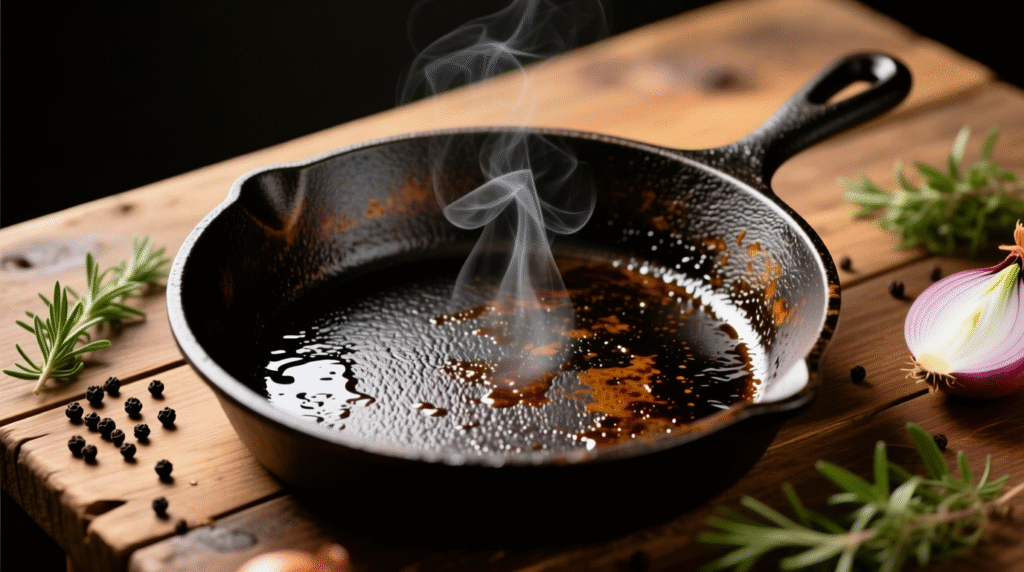
Re-Seasoning Your Restored Skillet
It’s the seasoning that makes cast iron non-stick. It’s really just a layer of polymerized oil that becomes bonded to the iron, creating a smooth, protective coating.
Preheat oven to 450-500 degrees F. The temperature to use depends on the smoke point of the oil you have chosen – you want to heat a little bit above the smoke point.
Put a very thin layer of oil all over the pan – inside, outside, handle, up to everything. Using a paper towel or cloth, spread the oil around then use a clean towel/paper to remove the oil that is in excess. It should look almost dry. Far too much oil creates a sticky, lumpy coating.
Invert the pan and place it on a rack in the oven. Place a baking sheet on the rack below to catch any drippings. One and a half hours of baking and turn off the heat and let the pot cool down completely in the oven. Allow to bake for one hour, switch off the oven and leave the pan in it to cool.
Repeat this process at least three to six times. Yes, it takes some time, but each coat is already building strength, making it harder and less sticky. It will get darker and slicker with each application,” he says.
Once you have applied your last seasoning coat, your rehabilitated cast iron skull is good to go. The seasoning will continue to develop the more you cook, particularly if you use it for fatty foods such as bacon or sautéed veggies.
Keeping Your Restored Pan in Great Shape
You’ve done all this work, now let’s make your pan look good. Use hot water and a brush or a scraper to clean it while still warm. Don’t soak it, and be sure to dry it thoroughly after you wash it.
After each use, a light coat of oil will help keep your seasoning in good condition. You can tell with cook conversions — you just use your cast iron pan more often and the food gets better. Steer clear of acidic foods such as tomato sauce for the first couple of months while the seasoning is building up.
If you observe food beginning to stick or some rust spots forming, don’t worry. A little scrubbing and a fresh coating of seasoning will usually take care of the minor problems. Most likely, you will not need to completely refurbish it again for years, if ever.
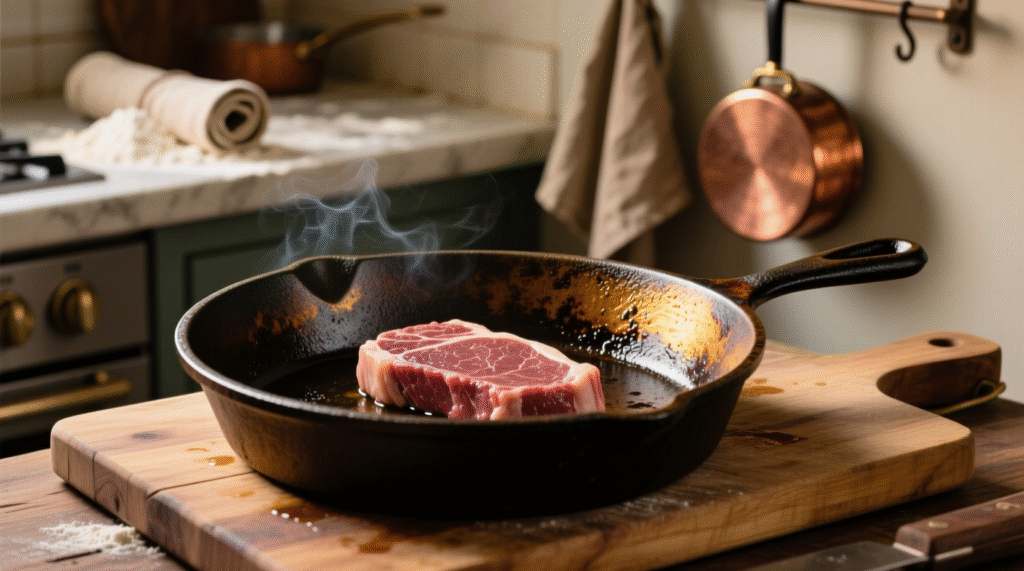
Refurbishing iron skillets is very satisfying work. That crusty old pan you began with is now a stunning, usable piece of cookware poised for decades more service. Whether you’re flipping pancakes or searing steaks, you’ll love having the peace of mind that comes with knowing exactly what was involved in restoring your skillet.
Leave a Reply